If dinner always takes way longer to cook, your electric stove might be trying to tell you something's wrong. Not all burner issues are super obvious—sometimes it's just a weird humming noise or a part of the coil that stays cold while the rest is burning hot. Little things like that can mean your stove element is on its last legs.
Most of us don't want to shell out for a repair call unless it's needed, so knowing how to quickly check your stove's burner is pretty handy. You don't need fancy gadgets or special training—just a bit of know-how and maybe a screwdriver.
Whether you've got a coil-style stove or a smooth glass top, there are some telltale signs of a bad element you can spot with just your eyes (and maybe your nose). Next, we'll break down what to watch (or smell!) for, plus how you can test the element safely without frying yourself or blowing a fuse.
- Signs Your Element Might Be Failing
- Common Causes of Element Issues
- How to Inspect the Element
- Testing with Simple Tools
- When to Repair or Replace
- Tips to Avoid Future Problems
Signs Your Element Might Be Failing
It’s easy to miss the early signs of a faulty element on your electric stove, especially if you don’t use all the burners every night. But a few common red flags mean trouble is coming sooner rather than later.
- Uneven heating or cold spots: If your pan is only sizzling on one side or you notice food never cooks evenly, there’s a good chance that part of the stove element isn’t working.
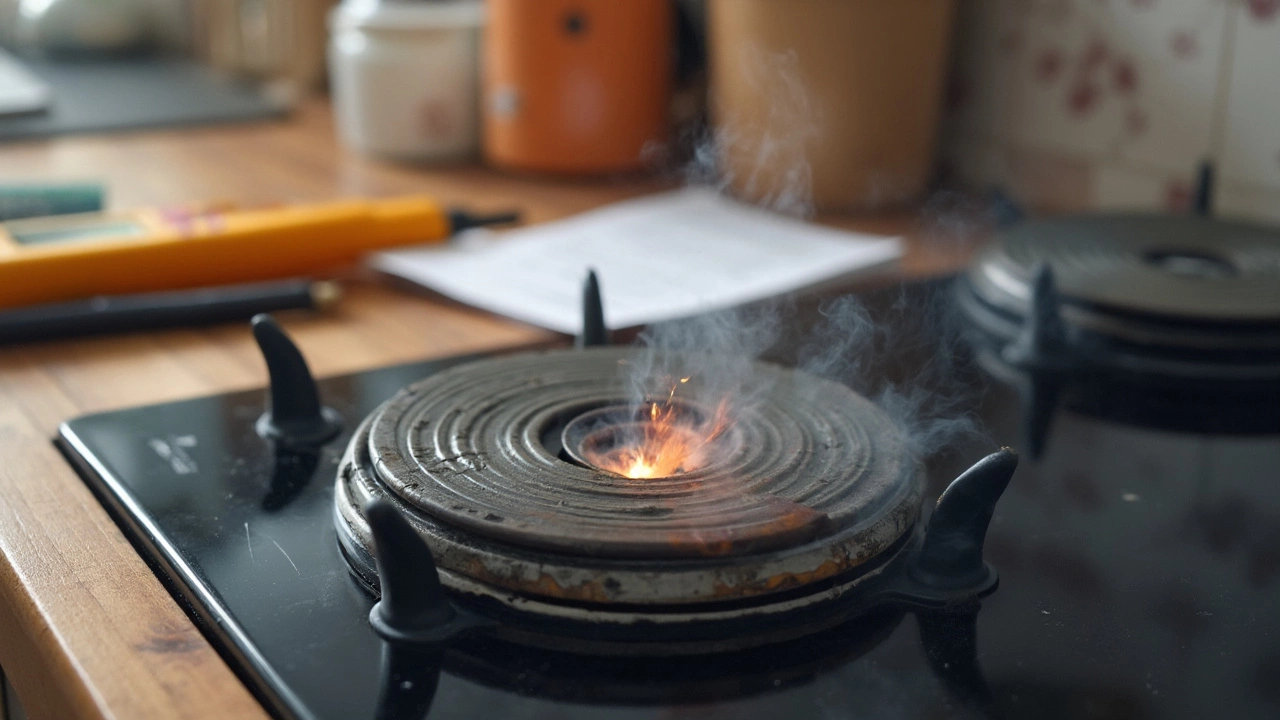
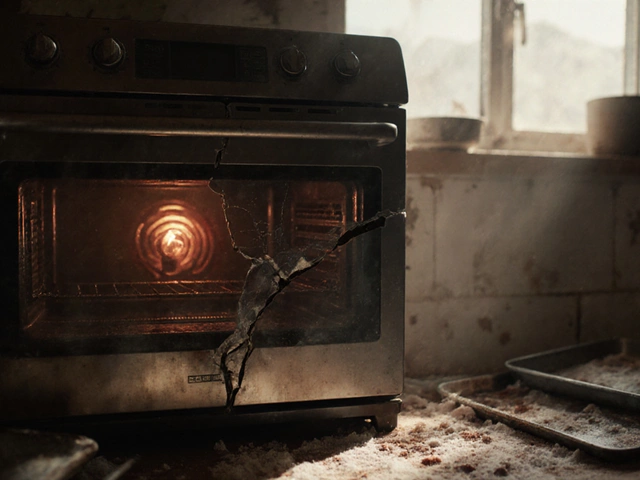
- Visible blisters or breaks: Take a look at the coil. Do you see dark spots, blisters, or actual breaks? You might spot cracks on a glass-top stove. These almost always point to failure.
- Burner won’t turn red: Electric stove coils should glow red after a few minutes on high. If you’ve got a spot that never gets that glow, that area is likely dead.
- Strange smells: Smelling burning plastic or sharp metallic scents? When an element is breaking down, the wiring can start to melt, and that stink is a warning.
- Sparking or buzzing: See sparks or hear weird buzzing you never heard before? That's usually electrical arcing and is a definite sign the burner isn’t safe to use.
Check out this quick reference table that sums up some symptoms and what they could mean:
| Symptom | Likely Cause |
|---|---|
| Cold spots on burner | Partial failure in element |
| Sparking/buzzing | Electrical short or loose connection |
| Strange odors | Worn wiring or melting insulation |
| Visibly damaged coil | Element is broken, needs replacement |
| Doesn’t turn red hot | Failed or dying heating element |
None of these signs are normal. If you spot them, it’s time to either stop using that burner or move on to checking the next steps. Messing around with a bad electric stove element can be risky, so don’t ignore any odd behavior.
Common Causes of Element Issues
Most problems with an electric stove element come down to a handful of usual suspects. It’s almost never something mysterious. The main culprits mess with your meal times more often than you’d think.
- Wear and Tear: All stove elements burn out eventually. Repeated heating and cooling makes the metal brittle, so it can crack or break.
- Contacts and Connections: Loose or corroded connections inside the burner socket or where the wires clip on can break the circuit. This is common if you unplug coils to clean under them.
- Spills and Moisture: Boil-overs and liquids can seep into sockets or onto wiring. Sugar and salts are especially rough—they corrode metal and can burn onto the element, causing hot spots.
- Overloading: Using super heavy pots or leaning on the element can actually distort the coil. If it sits unevenly, it may not heat right, or it can even short out.
- Faulty Switch or Infinite Switch: Sometimes the issue isn’t the element itself, but the control switch. These can wear out and stop delivering power.
If you want to see what typically goes wrong, here's a quick breakdown based on service calls from appliance repair techs:
| Issue Type | How Often It Happens (%) |
|---|---|
| Worn Out Element | 40% |
| Connection Problems | 30% |
| Moisture or Spills | 15% |
| Bent or Warped Coils | 10% |
| Faulty Switch | 5% |
So, if your stove element quits working, there’s a pretty good chance it’s just old or something got spilled on the contacts. Keeping burners dry, handling them gently, and checking connections every so often can keep your electric stove cooking smoothly for years.
How to Inspect the Element
First thing: always cut the power before poking around inside your stove. Unplug it, or flip the breaker for your kitchen if it’s hardwired. Safety first—you do not want to learn the hard way why electricians wear thick boots.
Once it’s safe, remove the electric stove element. For coil burners, you usually just lift up the coil and gently pull it straight out of the socket. If you’ve got a smooth glass top, grab your model’s manual (most are online) and check their instructions, since these elements are tucked under the glass.
Now, actually look at the element. You’re looking for obvious stuff, like:
- Cracks or blisters on the coil or surface
- Burn marks, discoloration, or melted spots
- Any parts of the coil that look broken or split
- Loose or corroded connections in the socket
Even a tiny crack can lead to bigger issues—if electricity can’t flow smoothly, you get cold spots or, worse, shorts that trip your breaker every time you cook. According to appliance experts at Repair Clinic,
"Visible damage like cracks, bubbles, or burn marks is a sure sign the burner needs to be replaced. Don’t keep using it—it’s not going to fix itself, and it could get dangerous."
Sometimes, you’ll find white or green gunk (that’s corrosion) where the coil meets the socket. That mess interrupts power and can make the stove element fail even if the coil itself looks ok.
If you see this kind of damage, replacing the element is usually easier and cheaper than fixing the old one. Most new coil burners aren’t expensive—usually between $15 and $35. Take a photo of yours or write down the model number so you don’t end up with the wrong part.
Here’s a quick table with what to check and what it might mean:
| What You See | What It Means |
|---|---|
| Cracks or bubbles | Element is burnt out |
| Rust or corrosion | Poor connection; possible power loss |
| Burn marks on socket | Wiring may be damaged—needs attention |
| Element won’t sit tight | Connection is loose or clip is worn |
If you aren’t sure what you’re looking at, snap a quick photo and ask at your local hardware store—they’ve usually seen it all. If your oven repair still feels like a mystery, the next step is testing with a meter, but for loads of bad elements, a simple eyeball check is all it takes.

Testing with Simple Tools
You don’t have to be a master electrician to test a electric stove element—just be safe and don't skip the obvious stuff. The easiest way to get started? Try swapping the suspect burner with one of the same size and wattage from another spot. If it heats up in its new spot, the problem isn’t the stove element, but maybe the socket or switch. If it still won’t glow, it’s very likely the element itself has checked out.
If you want to get more hands-on, a basic multimeter is your best friend. These little testers run about $15 at hardware stores and can tell you if the coil is truly dead. Before you do anything, UNPLUG the stove. Don’t risk messing with live wires—it’s not worth singed eyebrows or worse.
- Remove the suspect element. For coil-style burners, pull them straight out. For glass-ceramic cooktops, you might need a screwdriver and a little patience.
- Set your multimeter to the “ohms” setting (Ω symbol). Touch one probe to each of the element’s metal prongs.
- A typical working stove element should give a reading between 20 and 120 ohms. If your meter stays at zero or jumps up to infinity, that element is shot.
For those who like a visual breakdown, here’s a small table showing what common readings mean for home appliance repair:
| Meter Reading | What It Means |
|---|---|
| 20–120 ohms | Element is good |
| 0 ohms | Shorted element (replace it) |
| Infinite or 'OL' | Open circuit—element is burned out |
If your element looks fine but fails this test, it's probably hiding an internal break you just can't see. Swapping with a working element and confirming with a multimeter can save you money (and a heap of second-guessing) next time your dinner is late. Stove elements aren’t pricey and replacing one is usually DIY-friendly if you’re careful.
When to Repair or Replace
Deciding whether to repair or replace your electric stove element comes down to a few simple realities: safety, cost, and performance. If the burner has obvious physical damage—like a broken coil, visible scorch marks, or melted spots—replacement is almost always the way to go. Burners that spark, crackle loudly, or stay cold no matter what setting you use are also toast. Trying to patch up stuff like that just isn't worth the risk.
Now, if the issue is from a loose connection, a bit of corrosion, or grime on the terminals, a repair might save you time and money. Tightening up the screws, cleaning the contacts, or replacing a worn-out receptacle block usually costs less than buying a whole new element. Just unplug the oven or flip the breaker—nobody wants a shocking surprise—and give those connections a quick check.
If you have a glass top stove and the radiant heating element under the glass goes out, most folks find it's cheaper and easier to replace the element. Trying to repair a sealed unit is a pain, and replacement parts are pretty straightforward to swap if you're comfortable with basic tools.
Here's an easy way to compare your options:
| Problem | Repair | Replace |
|---|---|---|
| Loose connections | ✔️ | |
| Bent or cracked coils | ✔️ | |
| Burnt or melted spots | ✔️ | |
| Dead radiant element | ✔️ | |
| Dirty contacts | ✔️ |
If you do choose to replace the stove element, double-check the part number (usually found under the coil or in your manual) to make sure you get an exact match. Swapping in just any element can damage the appliance or even void your warranty.
One last thing—if your electric stove is less than five years old or still under warranty, see if repairs are covered before you spend anything. And if you're ever unsure or the wiring looks sketchy, call a pro. Sometimes it’s better to pay a little upfront than risk a kitchen fire.
Tips to Avoid Future Problems
Not looking to replace your electric stove element again anytime soon? Good thinking. The truth is, most folks run into problems because of a few easy-to-avoid habits. A little care goes a long way in stretching the life of your stove element and keeping your kitchen running smooth.
- Clean your burners regularly. Spilled food, grease, and crumbs can burn onto the coils. Once that builds up, hotspots form and can fry an element. After the stove cools, wipe it down and check under burner plates if you have a coil model.
- Don’t use oversized pans. If your pan is way bigger than the burner, heat gets trapped between the pan and element. That can cause overheating and short out the electric stove element.
- Avoid yanking on the burners. On coil stoves, people often pull the element straight up instead of wiggling it out gently. This can break internal connections or damage sockets.
- Don’t cover your stovetop with foil. A lot of people do this for easy cleaning, but foil can reflect heat right back at your stove element—risking warping or electrical problems.
- Watch the wattage. Replacement elements that don’t match your stove’s original wattage will heat unevenly or not last as long. Always double-check the specs.
Quick note—data from appliance repair shops in the US show that over 60% of coil element failures come from liquid spills, not electrical problems. Most of these could be avoided with simple cleaning after cooking.
| Habit | Chance of Causing Damage |
|---|---|
| Never cleaning burners | High |
| Using oversized pans | Medium |
| Yanking elements out hard | Medium |
| Using foil under burners | High |
| Using mismatched elements | Medium |
The cost of a new stove element is a lot less painful than shelling out for a technician visit, so treating these parts with a little respect usually pays off. And don’t forget—if your oven or burners are still acting up after good maintenance, that's when it’s smart to call a pro.


