Ever faced the annoyance of your oven refusing to heat up or giving you half-baked casseroles? It might be time to think about that heating element. You know, that part of the oven that actually gets hot and cooks your food. When it goes out, your cooking adventures can come to a screeching halt. But before you start panicking about costs, let’s dive into what you might expect to pay for a replacement.
First up, there’s a big difference between doing it yourself and calling in the pros. For the hands-on folks out there, DIY could cost you as little as $20 for the part itself. But if you’re not comfortable playing electrician for a day, hiring someone might set you back anywhere from $100 to $200, labor included. So, should you do it yourself or call the experts? Well, it depends on your comfort level around wires and screwdrivers.
- Signs You Need a New Heating Element
- Cost Breakdown: DIY vs Professional
- Steps to Replace It Yourself
- Tips for Maintaining Your Oven
Signs You Need a New Heating Element
So, you suspect your oven might be on the fritz, huh? Recognizing the signs that your oven heating element is on its way out can save you time and maybe even a bundle of cash on unnecessary repairs. Here are some telltale signs to watch out for:
Uneven Cooking
If you’ve noticed your meals coming out half-cooked with one side burnt and the other still raw, it’s a pretty clear sign. An inconsistent heat distribution usually indicates a worn-out heating element. Think of it like a light bulb going dim before it finally gives out.
Visible Damage
A quick visual check can reveal a lot. Is there any visible break or blistering on the element? Take a peek—a damaged element will sometimes show obvious signs of wear and tear. If it looks like the surface of Mars, it’s probably time to replace it.
It’s Cold, Literally
This one’s a no-brainer: if your oven is refusing to heat up, or is just doing a miserable job at it, the culprit could be your heating element. Try turning your oven on and see if it warms up. If not, you might be dealing with a malfunctioning element.
Sporadic Functioning
One day it works, the next it doesn’t—sound familiar? An element that's on the brink of failing can sometimes operate in bursts, making you think you’ve fixed the problem, only to frustrate you at the worst possible moment (like when guests are over).
If these signs sound familiar, don't sweat it. Identifying the problem is half the battle won. The next step is deciding whether to tackle it yourself or bring in a professional for a repair cost assessment. Either way, you’re one step closer to a working oven!
Cost Breakdown: DIY vs Professional
Okay, so you're stuck deciding between DIY repair or calling in a professional. Let’s break down what each option might cost you and what you get for your money. And, yep, we’ll throw in some handy tips along the way.
DIY Costs and Considerations
If you’re leaning towards a DIY repair for your oven heating element, you’re in for a budget-friendly route. Here’s a typical rundown:
- Heating Element: Usually, you'll find replacements for around $20 to $50, depending on the make and model of your oven.
- Tools: Basic tools like a screwdriver and multimeter are typically needed. Chances are, you may already have these lying around.
- Your Time: Factor in an hour or two for the actual replacement task, plus some time to learn from YouTube or DIY forums if you’re new to this.
The key here? Confidence. You need to be comfy handling electricity safely. If you’re careful and follow step-by-step guides, you can save a fair amount of money.
Professional Costs and What’s Included
Now, if electricity makes you queasy, calling a pro might be worth the extra cost.
- Labor: Labor charges can run from $50 to $150. This usually includes travel to your home and getting the job done right.
- Parts: The cost of the heating element still applies, but sometimes companies include it in the service fee, so there’s less hassle for you.
What are you paying for with a professional? Peace of mind. There’s a lot to be said for having someone who knows what they’re doing get your oven back to business, pronto.
DIY or Professional: Making the Choice
| Factor | DIY | Professional |
|---|---|---|
| Cost | $20 - $50 for parts | $100 - $200 total |
| Time | Up to 2 hours | 1 - 2 hours (includes potential wait time) |
| Skill Level | Medium | None needed |
Bottom line? If you’re looking to save cash and feel adventurous, DIY could be your jam. But if convenience and avoiding stress sound more like your cup of tea, calling a pro might be wiser. Either way, knowing the trade-offs helps you make the best choice for your situation.

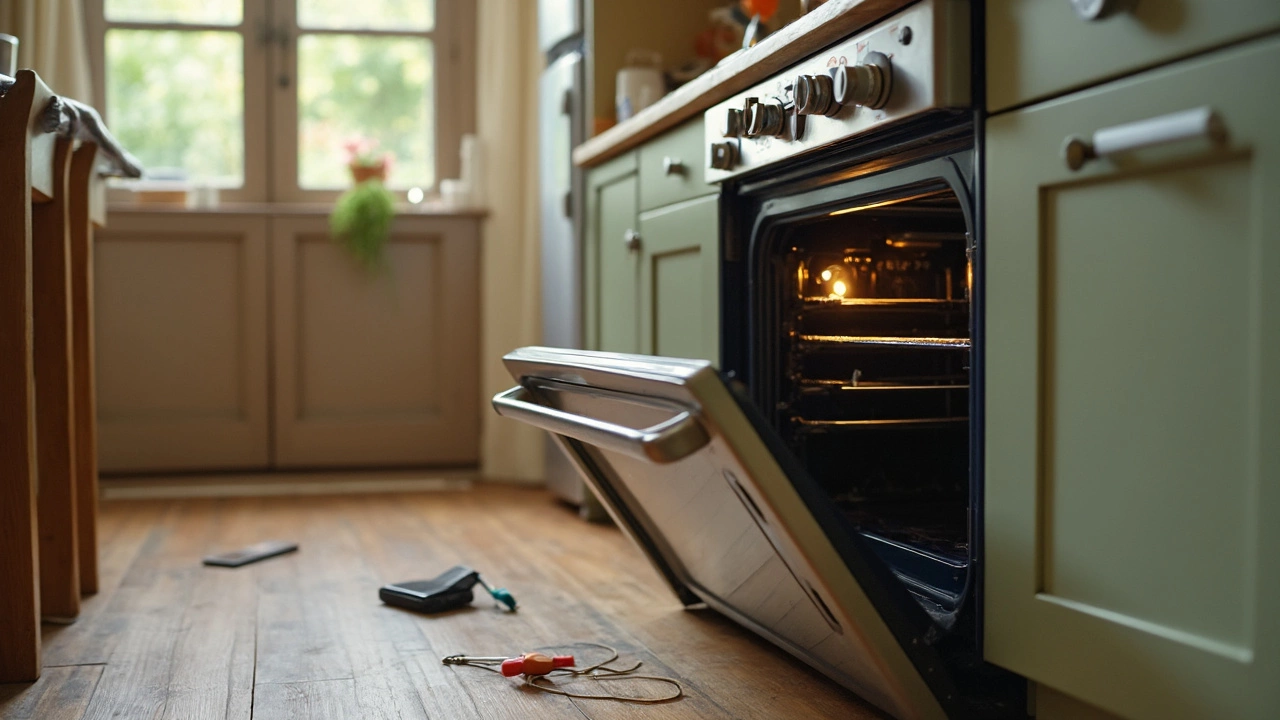
Steps to Replace It Yourself
Ready to tackle your oven heating element replacement? If you're feeling up to a bit of DIY, we've got you covered with a simple guide. Just make sure you've got the right tools handy and a new element to pop in.
Gather Your Tools and Supplies
- New heating element (make sure it matches your model)
- Screwdriver
- Work gloves
- Multimeter (optional, for testing)
Safety First
- Unplug the oven from the electrical outlet to avoid any nasty shocks. Safety cannot be overstated here.
- Put on those work gloves to protect your hands from sharp edges.
Removing the Old Element
- Open your oven and locate the faulty element—usually found at the top for broilers or the bottom for baking.
- Carefully unscrew the element from its place.
- Gently pull the element out, revealing the wires that connect it. Disconnect these wires, but remember their setup for later.
Installing the New Element
- Take your new heating element and connect the wires as they were with the old one. Secure them tightly.
- Slide the element back into its position, ensuring it's aligned properly.
- Screw it back into place to secure it firmly.
Final Check
Before putting your tools away, it's time for a quick test. Plug your oven back in and turn it on to see if it heats up as expected. If you have a multimeter, this is a good time to double-check the electrical connectivity.
| Step | Time Estimate |
|---|---|
| Preparation | 10 minutes |
| Replacing the Element | 30 minutes |
| Testing | 10 minutes |
Congratulations! You've just replaced your oven's heating element all by yourself. This skill can save you money and is pretty handy the next time your cooking gets interrupted by a temperamental oven.
Tips for Maintaining Your Oven
Keeping your electric oven in tip-top shape can save you from frequent repairs and prolong its life. Sure, it's easy to ignore maintenance when everything seems fine, but a little attention can go a long way.
Regular Cleaning
This one's obvious, but it still needs saying. Clean spills and crumbs inside your oven regularly. Build-up can block the oven heating element and affect performance. Use a damp cloth and mild detergent, avoiding abrasive pads that might damage the interior.
Inspect the Door Seals
The seal around your oven door ensures heat stays inside. Check it for breaks or tears. A damaged seal means your electric oven works harder, leading to potential breakdowns. If needed, replacing the seal is usually inexpensive and straightforward.
Calibrate the Temperature
If your oven seems off, recalibrating its temperature settings can help. Place an oven-safe thermometer inside and adjust as necessary. Refer to your manual for specific instructions on recalibration.
Check the Heating Elements
While cleaning the interior, take a close look at the heating elements. Look for any signs of wear like discoloration or burning. Making a visual check every few months can catch small issues before they become major repairs involving a full replace heating element task.
Use the Right Cookware
Light-colored and dull-finished bakeware works better for even cooking. Shiny pots and pans might reflect heat unevenly. It’s a quick swap that'll improve your baking results.
Why It Pays Off
| Maintenance Activity | Average Cost Savings |
|---|---|
| Bi-Annual Cleaning | $50 per year |
| Seal Replacement | $80 in energy costs |
| Element Inspection | $150 in repair avoidance |