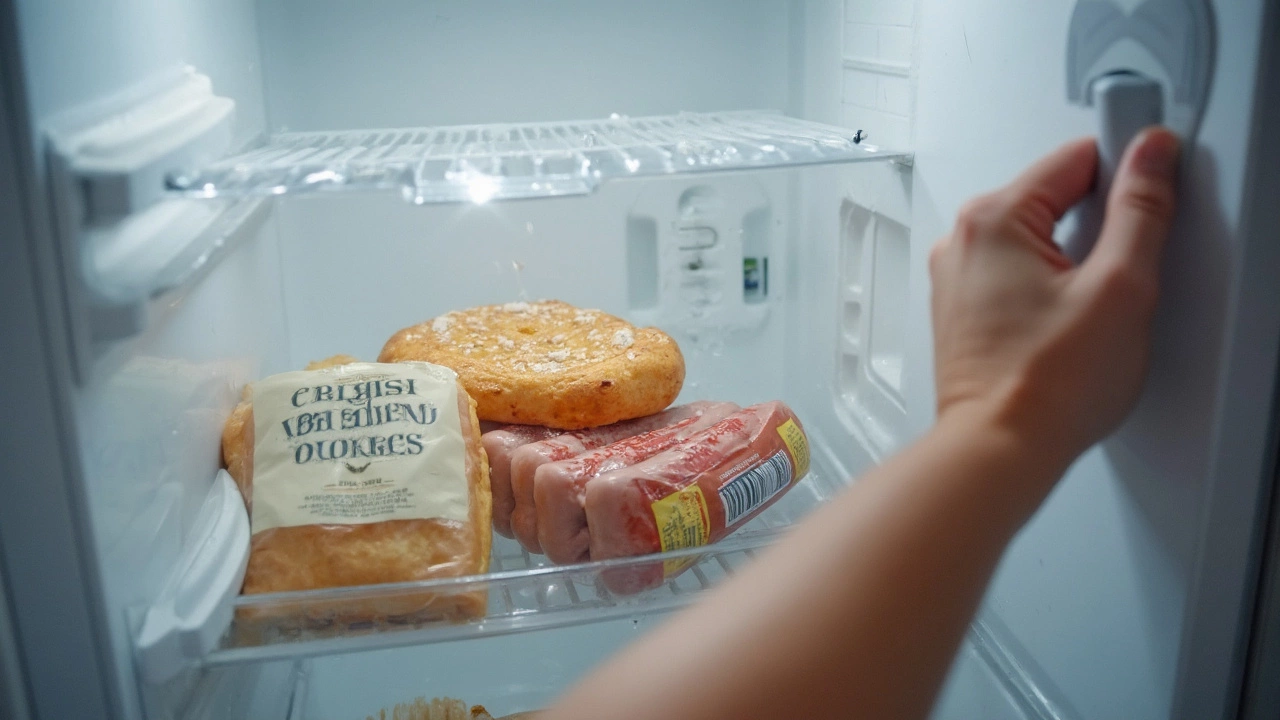
Ever opened your freezer for ice cream and found everything mushy? That sinking feeling is all too real—especially if you just did a big grocery run. The good news? Most freezer problems have pretty simple fixes you can handle without fancy tools or experience.
First thing, don’t touch the thermostat right away. People usually think cranking the cold up will solve the issue, but it might just make things worse or mask another problem. Instead, there’s a checklist of basics to go through. You’d be surprised how many times pulling the freezer away from the wall or adjusting a jammed gasket brings things back to normal.
If you jump straight to panic mode or start tossing food, you could end up wasting money. Slow down and work through some easy tests—like checking for blocked vents, or making sure the freezer door seals tight. Sometimes, a little dust or a blocked air vent is all it takes to knock your freezer out of action.
- Signs Your Freezer Has a Cooling Problem
- Quick Fixes: The First Things to Check
- Digging Deeper: Common Causes and Solutions
- When You Need Replacement Parts
- Preventing Future Freezer Headaches
Signs Your Freezer Has a Cooling Problem
Sometimes, it’s obvious your freezer isn’t doing its job—you reach in and things are soft or even starting to smell. But some signs are sneakier and easy to miss until it’s too late. Spotting these clues early can make all the difference in avoiding spoiled food and expensive repairs.
Here’s what to watch out for if you think you might have a freezer repair on your hands:
- Soft or thawed food: If items feel mushy, or your ice cream is a slushy mess, your freezer isn’t cold enough. Frozen food should be rock solid.
- Frost building up: A little frost is normal, but thick ice all over the walls or your food means something’s off with temperature or airflow.
- Unusual noises: Buzzing, grinding, or loud clicking usually mean a part inside is struggling. Sometimes it’s the compressor, other times it’s the fan.
- Water pooling: Leaks or puddles under or inside the freezer signal melting ice, probably from a cooling problem.
- Freezer light and fan problems: If the light turns on but the fan doesn’t blow cold air, there’s a definite cooling issue.
- Bad smells: Musty or unpleasant odors mean food has thawed and is spoiling—time to act fast.
If you spot any of these, don’t just hope the freezer ‘fixes itself.’ Quick action keeps things from getting worse, and most issues are easier to catch early rather than after everything’s gone bad.
Quick Fixes: The First Things to Check
Most freezer cooling problems start with the basics. Before you grab your phone for repairs, check these things. Over half of home freezer issues end up being something simple—no tools or fancy know-how required.
- Freezer repair starts by making sure your unit is actually plugged in and getting power. Sounds silly, but loose plugs or tripped breakers are way more common than you’d think.
- Peek at the temperature settings. Someone might have bumped the control, moving it higher than the usual 0°F (-18°C). For most models, sticking near that 0°F spot works best.
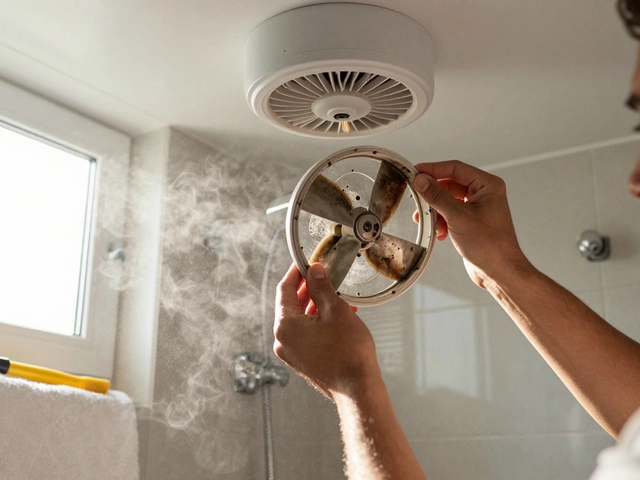
- Check for blocked vents, both inside the freezer and behind it. A box of pizza or bag of veggies can block cold air from circulating. Clean up that area and see if it helps.
- Look at the door seal—the gasket. Run your hand along the edges and feel for cold air leaking out. If the seal is dirty or cracked, the freezer struggles to keep cold. Give it a soapy wipe, and line it back up tight when you close the door.
- Move your freezer a couple of inches from the wall. Squeezed between the wall and the unit, those coils can’t breathe, and heat gets trapped. Most brands suggest 2-3 inches of space behind and on the sides.
| Quick Check | What to Look For | Easy Fix |
|---|---|---|
| Power Connection | Plug secure, outlet working | Reset breaker, replug power cord |
| Thermostat | Set at or below 0°F/-18°C | Adjust setting if needed |
| Air Vents | No frozen food blocking vents | Rearrange food, clear vents |
| Door Gasket | Feels tight, no cracks or dirt | Clean or realign seal |
| Condenser Coil Space | 2-3 inches behind/sides clear | Pull freezer away from wall |
If your freezer runs but still isn’t cold, a quick defrost might help. Ice build-up on the back wall or floor can block airflow. Turn it off for a couple of hours and let things thaw. Plug it back in and see if the cold comes back.
Digging Deeper: Common Causes and Solutions
So your freezer is still not chilling after those quick fixes? Time to roll up your sleeves and get into the guts of what can go wrong. Most freezers have a few parts that tend to fail more than others. Knowing what to look for—and what to ignore—can save you a ton of money and lost food.
One of the most common culprits: dirty condenser coils. When coils are packed with dust, the freezer can’t get rid of heat properly, so the inside doesn’t get cold enough. Cleaning these coils is dead simple. Just unplug the freezer, pull it away from the wall, and use a coil brush or a vacuum to clear the gunk.
Another big one is the evaporator fan. If this little guy isn’t spinning, cold air won’t circulate, and your food suffers. Listen for a whirring sound when the freezer’s running. If it’s quiet, the fan might be stuck or burned out. Don’t forget to check if there’s ice buildup around the fan too.
Sometimes the problem is a broken thermostat or temperature control. If the thermostat stops working, the freezer never gets the signal to cool. You can test it with a multimeter or see if it clicks when you turn it from the lowest to the highest position while the freezer is unplugged.
| Failure Point | What It Does | DIY Solution |
|---|---|---|
| Condenser Coils | Dissipate heat | Vacuum/clean coils |
| Evaporator Fan | Circulates cold air | Check for ice, replace if silent |
| Thermostat | Controls temperature | Test with multimeter, replace if faulty |
| Gasket | Seals door shut | Inspect for cracks, replace if loose |
Here’s a surprising fact—according to the U.S. Department of Energy, cleaning dusty coils can cut freezer energy use by up to 30%. That’s a difference you’ll see on your power bill.
Water pooling in or under your freezer? You might have a clogged defrost drain. Fish out any ice or gunk from the drain hole (usually along the back wall inside your freezer) by pouring a little hot water down and clearing it with a pipe cleaner.
"A freezer not cooling often boils down to blocked airflow or failed parts like the fan or thermostat. Most fixes aren't complicated, but regular maintenance always helps you dodge expensive repairs." — Appliance Repair Specialist at FixMyFridge HQ
Don’t forget the freezer door seal—called the gasket. If air leaks out, you’ll get frost, weird noises, or food that never quite freezes. Take a dollar bill, close the door on it, and see if you can slide it out. If it slips out easily, replace that gasket.
All these steps target the real trouble spots. Most times, when someone Googles freezer repair, one of these parts is the offender. It’s almost never anything complicated or mysterious—just a little time and elbow grease, and you’re back in business.
When You Need Replacement Parts
If your fixes so far haven’t done the trick, it might be time to swap out some faulty parts. Freezers work like a team, and if one player stops pulling their weight, the whole system can struggle. The sooner you spot which part is acting up, the faster you’ll stop food from spoiling and save yourself a headache.
Here are the parts that most commonly fail in a freezer repair:
- Evaporator Fan Motor: If you don’t hear the usual hum when you open the freezer, your fan might not be running. Without it, cold air doesn’t get pushed around, so some spots stay warm.
- Start Relay: This small gadget helps the compressor kick in. If your freezer is oddly silent or just clicks, the relay could be the problem. Testing and swapping it out is usually quick and doesn’t break the bank.
- Defrost Timer: When the frost builds up thicker than a winter morning, your timer could be toast. A broken timer stops the automatic defrosting, leading to icy blockages that keep the cold from doing its job.
- Temperature Control Thermostat: This part tells the freezer when to cool things down. If the freezer runs non-stop or not at all, the thermostat’s your suspect.
- Compressor: It’s the heart of the machine, and if it’s shot, you’ll hear it trying (clicking) but failing to start. Technical to replace, but sometimes worth it for high-end models.
Wondering what’s most likely to go bad? Check out this real-world breakdown:
| Part | Failure Rate (Lifetime) | DIY-Friendly |
|---|---|---|
| Evaporator Fan Motor | 18% | Yes |
| Start Relay | 15% | Yes |
| Defrost Timer | 10% | Yes |
| Thermostat | 7% | Yes |
| Compressor | 5% | No |
Most of these parts are plug-and-play, especially fan motors and timers. You can snag them online with your freezer’s model number. But if you’re looking at the compressor, weigh the cost—it’s often close to the price of a new freezer, and that job is best left for a pro.
One last thing: always unplug your freezer before you mess around inside. And snap a quick photo of the wiring before you swap anything—that little habit can save hours and some loud cursing. If you get stuck or aren’t sure, call in a tech. Sometimes, spending fifty bucks on a diagnosis can help you dodge a way bigger bill down the line.
Preventing Future Freezer Headaches
If you don’t want to fix a dead freezer every few months, some simple habits will keep things running smooth. Truth is, most freezer breakdowns come from stuff we totally control—like overfilling, bad cleaning habits, or ignoring weird noises.
Let’s talk about airflow. When you jam your freezer so full there’s no space for air to move around, things stop freezing right. Always leave a couple of inches open around the air vents. This helps the freezer repair itself, in a way, by not stressing the compressor or the fan.
Here’s what else knocks down freezer headaches before they start:
- Clean the coils. Once every six months, unplug your freezer and vacuum the condenser coils. If those coils clog with dust, your freezer runs way hotter, which burns out parts a lot faster.
- Check the seals (gasket) often. Close a dollar bill in the freezer door and try to pull it out. If it slips out easy, your seals aren’t tight, and cold air leaks out. Replace those seals if they’re cracked or loose.
- Defrost when you see buildup. That frost monster in the back isn’t just annoying—too much ice blocks airflow. Manual defrost freezers need a full defrost when frost gets thicker than a quarter inch.
- Don’t ignore weird noises. Clicking, humming, or rattling can actually mean trouble with the fan, compressor, or even the ice maker. Catching those sounds early saves you from major repairs later.
- Keep it level. Freezers should sit level on the floor. If they tilt, the door won’t seal right, and parts start to wear unevenly. Just use a bubble level—it only takes a minute.
Finally, plug your freezer into a surge protector to make sure it doesn’t fry whenever there’s a power spike. A quick five-minute check every few months beats paying for a new freezer or losing a whole week’s worth of groceries. A little attention now keeps your freezer cold and your ice cream safe year-round.