You press start, the drum turns, and… damp clothes. Or worse-nothing happens. Most dryer failures follow a familiar pattern, which is good news: you can usually diagnose the root cause fast with a few simple checks.
Clothes dryer is a household appliance that removes moisture from fabric by circulating heated air and tumbling the load; common types include vented (ducted), condenser, and heat pump, with electric or gas heating sources. Typical power draw: 1.8-5.0 kW; common capacity: 6-10 kg.
If you’ve been wrestling with dryer problems, this guide breaks down the usual suspects, the quick tests that separate them, what parts actually fail, and how to avoid repeat issues-tailored to real-world use in 240 V homes like here in Australia.
TL;DR
- No heat: check airflow first (lint screen and vent), then the heating element, thermal fuse, and thermostats. Gas models: also igniter and gas valve coils.
- No spin: drive belt, idler pulley, drum rollers, or motor. Door switch can also block the cycle.
- Takes forever: 8 out of 10 times it’s a blocked duct or crushed hose. Moisture sensor and control logic are close seconds.
- Stops mid-cycle or trips breaker: overheating (blocked vent, failed fan), shorted element, or failing motor bearings.
- Safety first: unplug mains and shut gas before panels come off. Replace single-use thermal fuses-don’t bypass them.
How dryers fail: the real-world pattern
Dryers fail in two broad ways: they stop heating or they stop moving air/drum effectively. Heat without airflow scorches and trips safety parts; airflow without heat just tumbles damp clothes. Most fixes target those two systems first.
Heating element is a resistive coil (electric models) rated roughly 1.8-4.5 kW that converts electrical energy to heat; expected resistance often ranges 7-20 Ω depending on model.
Thermal fuse is a single-use safety cutoff that opens at a preset temperature (typically 72-196 °C) to prevent fires when airflow is compromised or temperatures spike.
Thermostat is a temperature control switch (often multiple: cycling and high-limit) that opens/closes to keep drum temperature in range-commonly 50-80 °C for delicates and up to ~120 °C for cottons.
Drive belt is a rubber-reinforced loop that transfers motor torque to the drum; typical failure is cracking or stretching leading to slip or breakage.
Drum roller is a bearing-supported wheel that the drum rides on; flat spots or seized bearings cause rumble or thump, often louder with heavy loads.
Idler pulley maintains belt tension; dry bearings squeal, and a seized pulley makes the belt burn or snap.
Moisture sensor is a pair of conductive bars in the drum that detect wet fabric by measuring conductivity; residue can insulate and misread as “dry.”
Control board is the electronic circuit (PCB) that manages cycles, sensors, and relays; failures include bad relays, burnt traces, or corrupted firmware.
Quick symptom-to-cause map
- Heats poorly or not at all → clogged lint filter/vent, failed heating element (electric), blown thermal fuse, bad thermostat; gas: failed igniter or valve coils.
- Drum won’t turn → broken belt, seized idler or rollers, failed motor, tripped belt switch, door switch fault.
- Takes too long → vent blockage, crushed hose, weak blower fan, dirty moisture sensor, oversized loads.
- Loud noise (squeal/rumble/thump) → idler pulley bearing, worn rollers, worn drum glides/slides, foreign object in baffles, coins at felt seal.
- Stops mid-cycle → overheating trip (blocked vent), failing motor overheating, intermittent control relay.
- Burning smell → belt slipping, lint touching element, jammed roller causing friction.
- Error codes → sensor fault (moisture/thermistor), door switch, motor tach, or control firmware.
Step-by-step diagnosis (no guesswork)
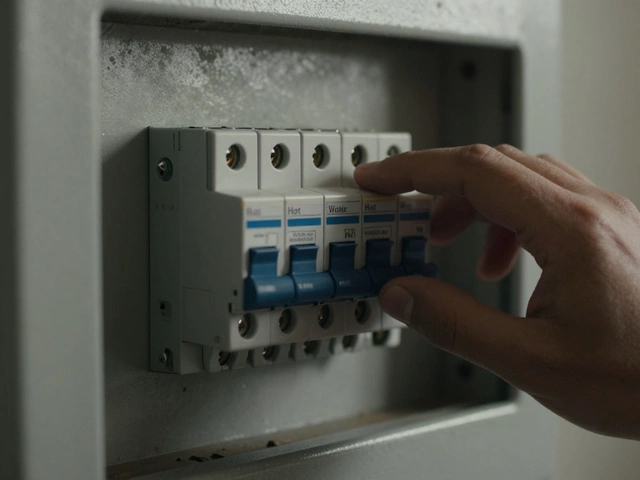
Before you start: unplug the dryer from 240 V mains. For gas models, close the isolation valve. Wear gloves-sheet metal edges are sharp.
No heat (electric)
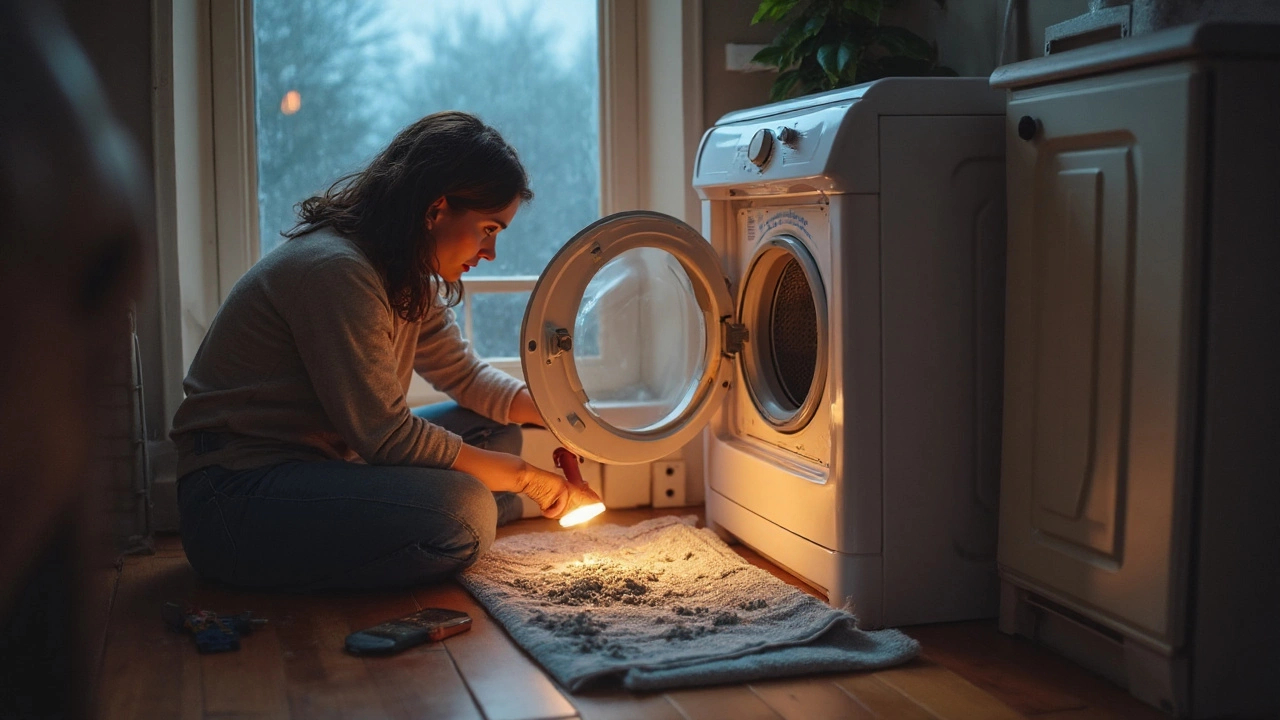
- Check airflow: clean the lint screen; inspect the wall duct and outdoor flap. If the external flap barely opens when the dryer runs, you have a blockage. A blocked vent often triggers the thermal fuse.
- Test the thermal fuse: remove back panel; locate the small inline fuse on the blower housing. Continuity should be near 0 Ω. If open, replace it and fix the airflow cause.
- Test the heating element: disconnect leads; measure resistance across the terminals. Typical 7-20 Ω. Infinite resistance means it’s broken.
- Check thermostats: cycling and high-limit thermostats should show continuity at room temp. A stuck-open cycling thermostat prevents heat.
No heat (gas)
- Airflow first (same as electric).
- Check igniter: remove lower front panel (kick panel). The igniter should glow within ~30 seconds of start. If it never glows, test for continuity (usually 40-800 Ω depending on type).
- Gas valve coils: if the igniter glows and goes out without flame, coils may be weak. Coils often fail hot-works once, then stops.
- Flame sensor: should read closed (0 Ω) when cool; opens when hot. A failed sensor prevents gas ignition.
Igniter is a hot-surface element that glows to ignite gas; typical resistance tens to hundreds of ohms; fragile and prone to shock damage.
Gas valve coil is an electromagnetic actuator that opens the gas valve; failure shows as intermittent flame or no re-ignition mid-cycle.
Drum won’t spin
- Open the door and press the door switch with a finger. Try Start. If the drum now runs, the switch actuator is worn or misaligned.
- Spin test: with power off, rotate the empty drum by hand. Stiff or crunchy rotation suggests seized rollers or a jammed felt seal.
- Inspect the belt: if the motor hums but the drum doesn’t move, the belt likely snapped. Remove front panel to view.
- Idler pulley and rollers: any wobble, grinding, or flat spots? Replace as a set to keep noise consistent.
- Motor: if it just hums and trips, check for lint-packed blower wheel or a stuck object. Persistent hum suggests failed start winding or capacitor (on some models).
Takes too long or stops mid-cycle
- Vent test: run the dryer, step outside-does the vent flap swing open strongly? If weak, remove the duct and test airflow directly at the dryer outlet.
- Hose geometry: keep runs under 6 m, with minimal bends; avoid foil flex duct-go semi-rigid or rigid aluminium.
- Moisture sensor: wipe the metal bars inside the drum with rubbing alcohol to remove fabric softener residue.
- Thermistor (if fitted): resistance should change with temperature. A faulty thermistor confuses the control board and can end cycles early.
Common parts, what they do, and what they cost (AUD)
- Thermal fuse: $15-$40; always replace if blown, and fix the airflow issue that caused it.
- Heating element: $80-$180; DIY replaceable on most rear-element models; front-load heaters may be more involved.
- Cycling/high-limit thermostat: $25-$60 each; often sold in kits.
- Belt: $15-$40; plan 45-90 minutes DIY with basic tools.
- Idler pulley: $25-$50; replace with belt for best results.
- Drum rollers/glides: $20-$60 (each/set); replace both sides to balance wear.
- Motor: $180-$350; heavier lift; consider age of machine.
- Control board: $200-$450; diagnose carefully-relay failures can mimic element faults.
- Professional vent clean: $120-$250; worth it if duct runs are long, through-roof, or bird-infested.
Vented vs condenser vs heat pump: which parts usually fail?
| Dryer type | Common failures | Telltale signs | Maintenance priority | Notes |
|---|---|---|---|---|
| Vented (ducted) | Thermal fuse, element, belt, rollers, vent blockage | Weak outdoor flap, hot cabinet, long dry times | Keep duct short/clean; clean lint screen every load | Most sensitive to duct restrictions |
| Condenser | Condenser matrix clogging, pump blockage, thermistor | Water tank not filling, damp laundry, warm humid room | Rinse condenser matrix monthly; descale if needed | No external vent; room needs ventilation |
| Heat pump | Lint on evaporator, sensor errors, control board | Low heat, frequent pauses, error codes | Vacuum filters/evaporator fins; gentle cleaning only | Most energy-efficient; more electronics on board |
| Gas | Igniter, flame sensor, valve coils | Igniter glows/no flame, heat works once then stops | Keep burner area lint-free; check venting | Needs licensed gasfitter for burner work (AU) |
Condenser is a heat-exchange module in condenser/heat pump dryers that condenses moisture from moist air into water; performance drops when fins are lint-clogged.
Vent duct is the exhaust path for humid air in vented dryers; excessive length, bends, or lint buildup reduce airflow and cause overheating.
Safety notes you shouldn’t skip
- Never bypass a thermal fuse for testing and then leave it. It exists to prevent fires.
- Australian gas work: the burner train is not DIY. A licensed gasfitter is required under state regulations and AS/NZS 5601 standards.
- Standards: household dryers are covered by AS/NZS 60335.2.11 for appliance safety. If you see scorch marks or melted harnesses, stop and call a pro.
- Fire stats: dryer fires are often linked to lint and poor venting. Fire authorities and NFPA data point to “failure to clean” as the leading factor.
Practical checks and fixes you can do today
Airflow service (15-45 minutes)
- Clean the lint filter with water and dish soap if you use fabric softener sheets-residue blocks airflow.
- Pull the dryer out; remove the duct; vacuum inside the outlet and the first metre of duct.
- Outside, clear the vent hood. Replace crushed flex duct with semi-rigid aluminium. Keep runs under 6 m; add a booster fan only if absolutely necessary and rated for lint.
Noise cure kit: belt, idler, rollers (60-120 minutes)
- Unplug; remove top/front panels per model service sheet.
- Release belt tension from the idler; lift drum; inspect rollers and glides. Replace any with play or roughness.
- Install a matched kit (belt + idler + rollers) to avoid mixed wear.
Restore accurate auto-dry (10 minutes)
- Find the moisture sensor bars inside the drum (often near the lint screen).
- Wipe with isopropyl alcohol to remove invisible wax film that reads as “dry.”
- Run a small load; if it still ends early, test the thermistor and wiring to the control board.
When to repair vs replace
- Under 6-8 years old and a single failed part (fuse, belt, idler, element): repair is sensible.
- Over 10-12 years with motor or control board failure: weigh total cost and expected remaining life.
- Chronic vent-related trips or repeated element failures: invest in a proper duct fix; it’s cheaper than parts roulette.
- Heat pump models: parts can be pricier; still worth repairing if under 7-8 years due to lower running costs.
Australia-specific tips
- Humidity and coastal lint: in places like Brisbane, fine lint plus humidity cakes faster on condenser fins-clean more often in summer.
- Power: standard 240 V supply means elements are high wattage; don’t share circuits with high-load heaters to avoid nuisance trips.
- Roof vents: many Aussie homes vent through the roof-bird guards clog. Annual roof-hood inspection saves heating elements.
- Recalls: check the ACCC Product Safety database if your dryer shows overheating smells or scorch marks.
Connected topics you might explore next
- Washing machine spin speed: poor spin leaves clothes wetter, making the dryer look weak.
- Electrical testing basics: multimeter safety on 240 V circuits.
- Home ventilation: why laundry rooms need make-up air.
- Heat pump vs vented running costs: payback periods in kWh and dollars.
Checklist: fast triage before you buy parts
- Lint screen washed and clear?
- Vent duct short, not crushed, flap opens wide?
- Thermal fuse continuity OK?
- Element or igniter tested (resistance/visual)?
- Belts/rollers/idler smooth and tight?
- Moisture sensor bars cleaned?
- Door switch clicks and tests closed when pressed?
- Error codes noted from the panel?
Parts glossary (quick definitions)
Door switch is a safety interlock that signals door closed; failure stops motor or heat.
Blower wheel is the fan that moves air through the drum and duct; cracked hubs spin on the shaft and reduce airflow.
Lint filter is a mesh screen that captures lint; clogged filters cut airflow, raise temperatures, and trip safety devices.
Motor is an electric drive unit with a start winding and often a centrifugal switch; worn bearings cause hum and overheating trips.
Next steps and troubleshooting paths
- If no heat and airflow is poor: book a vent cleaning and replace the thermal fuse; re-test before replacing elements.
- If belt or idler failed: install a full mechanical wear kit (belt, idler, rollers) to stop recurring noises.
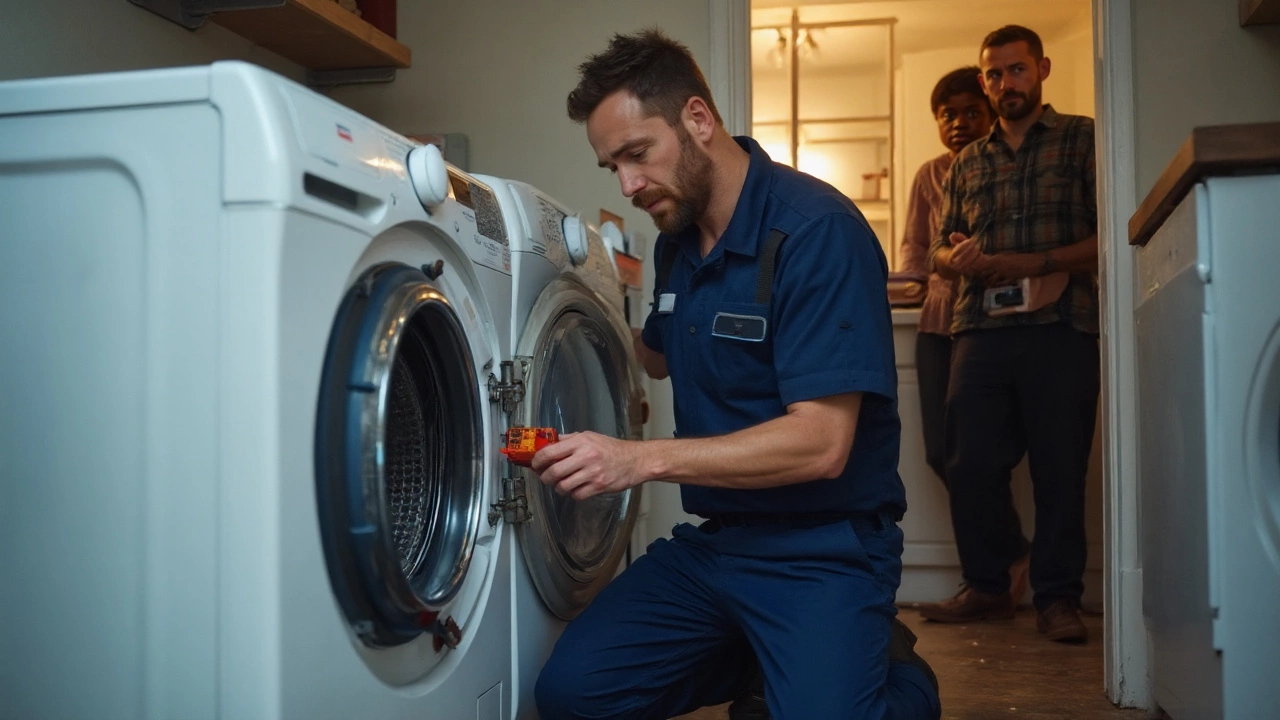
- If gas ignition is intermittent: have a licensed tech test the igniter current draw and replace valve coils if weak.
- If control board is suspected: verify power to the heater relay and sensor inputs before ordering a PCB; boards are expensive.
- Any signs of scorching or melted wiring: stop use and call a qualified technician.

Frequently Asked Questions
What usually causes a dryer to stop heating?
Airflow blockages are the top cause. Lint-clogged screens and ducts overheat the system and blow the thermal fuse. After clearing the vent and verifying strong airflow, test the thermal fuse for continuity, then the heating element (electric) or igniter and gas valve coils (gas). Thermostats can fail too, but usually after airflow issues have been ignored.
Why does my dryer take two or three cycles to dry?
Weak airflow. Check that the outdoor vent flap opens fully when running; if not, the duct is blocked or crushed. Clean the lint filter with soapy water to remove softener residue. On condenser and heat pump dryers, rinse the condenser matrix and clean the evaporator fins. Also make sure the washing machine spins at a high speed-wet loads can double drying time.
Is it worth replacing a dryer heating element?
Usually yes if the dryer is under about 8 years old and otherwise sound. Elements cost roughly $80-$180 AUD, and the job is DIY-friendly on many models. If the dryer is older than 10-12 years and also needs rollers, idler, or a motor, it may be better to replace, especially if the control board looks suspect.
Why does my dryer smell like burning rubber?
A slipping belt or seized idler pulley is the usual culprit. The belt rubs and overheats, producing a rubber smell. Unplug the dryer, remove the front panel, and inspect the belt and idler. Also check for lint contacting the heating element, which can char and smell burnt.
What maintenance prevents most dryer failures?
Clean the lint screen every load and wash it monthly if you use softener sheets. Vacuum the duct and vent hood twice a year (quarterly if you dry pet hair or towels often). Keep runs short and avoid crushed flex. Wipe the moisture sensor bars with alcohol monthly. For condenser/heat pump models, rinse the condenser and clean filters monthly.
Can a bad moisture sensor stop the dryer early?
Yes. If the sensor bars are coated with residue, the control may think clothes are dry and end the cycle too soon. Clean the bars with isopropyl alcohol. If auto cycles still end early, test the thermistor and wiring to the control board, or use a timed cycle to confirm whether heat and airflow are normal.
Is it safe to run the dryer with the vent hose disconnected?
You can briefly test airflow by disconnecting the hose at the dryer and aiming it into a large lint-safe area. Don’t operate it like this long term-lint goes into the room and moisture can cause mould. Gas dryers must always vent outdoors; never run them indoors unvented.
Why does the dryer run but the clothes are cold?
That’s a heat circuit issue. On electric units, check the heater circuit (element, thermal fuse, thermostats) and that the outlet supplies full voltage. On gas, watch for igniter glow and flame. Also verify the cycle-“air fluff” or “cold” will tumble without heat by design.
What standards or sources back these safety tips?
Household dryer safety is covered by AS/NZS 60335.2.11 in Australia, and gas work by AS/NZS 5601. Fire risk data and causes are frequently reported by the National Fire Protection Association (NFPA) and consumer safety agencies. Manufacturers’ service manuals also specify diagnostic resistance values and procedures for each model.