Surprisingly, swapping out an extractor fan isn’t as complicated as you might think, but it’s definitely not a plug-and-play job. The scariest part for most people? Getting hands-on with the wiring, especially if you’ve never touched anything electrical before. If you’re comfy changing a light fixture, you’ll probably be fine. Still, most extractor fans hide a few little gotchas that catch folks off guard—rusted screws, tricky ducting, or a wire that feels impossible to reach.
Other times, it’s less about electrical skills and more about working in tight spots—the corner of a steamy bathroom ceiling or above your stove where nothing seems to fit your screwdriver. If your fan’s been in place more than ten years, expect some grime buildup and maybe a surprise or two behind the faceplate. Having the right tools and a chunk of patience saves headaches later.
- Spotting When Your Fan Needs Replacing
- What You’ll Need: Tools and Prep
- Step-by-Step Replacement Breakdown
- DIY or Call a Pro?
Spotting When Your Fan Needs Replacing
So, when is it time to swap out that old extractor fan? Most fans won't just quit out of nowhere; they usually give you some warning signs. It's not just about age—though if yours is pushing past the 10-year mark, it's probably not working anywhere near as well as a newer one.
The most obvious sign is noise. If your extractor fan suddenly starts rattling, grinding, or screeching louder than usual, something’s up. Fans sometimes get noisier as dust and grease build up or parts get worn out. Sometimes, it’s just a loose cover, but if tightening it doesn’t help, you’re probably looking at a replacement soon.
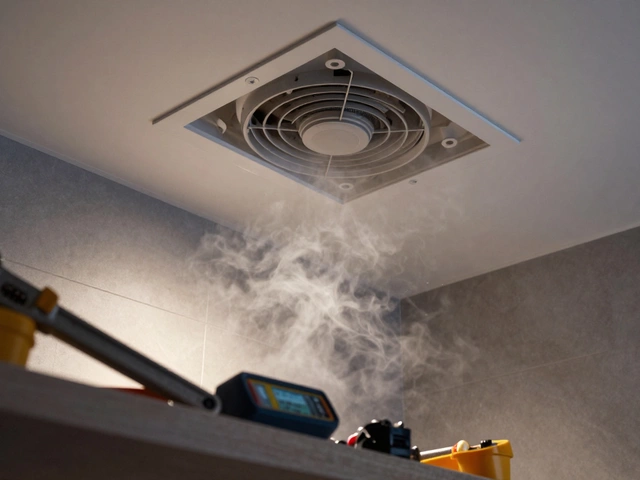
Another dead giveaway is weak airflow. Put your hand near the vent—if it barely pulls air, even on the highest setting, the motor could be on its last legs. A good fan should clear a small bathroom or kitchen of steam in minutes. If your mirror is still foggy after a long shower, or cooking smells hang around forever, the extractor fan isn’t doing its job.
- Persistent odors: If smells and humidity stick around much longer than before, the fan might be clogged or the motor is dying.
- Moisture stains or mold: Yellowish marks or mold patches on the ceiling are bad news—they usually mean the ventilation isn’t working at all.
- Fails to start: Sometimes fans just refuse to turn on, or the switch works inconsistently. Electrical faults are a sign it’s time for a change.
One surprising fact: research from the Building Services Research and Information Association (BSRIA) shows many homes run extractor fans less often than needed, which leads to faster build-ups of grime and shorter fan lifespans. Just running them during showers or cooking isn’t always enough. If your fan’s already struggling, waiting will only make the repairs pricier later on.
Quick checklist—if your extractor fan replacement is making weird noises, not pulling air, or leaving mould spots, it’s probably time for a new one. Don’t wait for total failure, or you’ll end up dealing with bigger headaches like damp walls or extra cleaning.
What You’ll Need: Tools and Prep
Before you rip out your old extractor fan, make sure you’ve got everything ready. Missing one tool can turn a 30-minute job into an all-day messing around. Trust me, there’s nothing worse than being halfway through a extractor fan repair and realizing your screwdriver doesn’t fit.
- Screwdrivers: Both flathead and Phillips. Most fans use Phillips, but if yours is ancient, it could be flathead or even security screws.
- Voltage tester: You have to be sure the power’s off. Even if you think you turned the right breaker, double-check. These things cost under $10 and can save your life.
- Wire cutters/strippers: Handy for trimming back old wires and prepping the new ones.
- Drill with bits: You might need to enlarge screw holes or drill a new mounting bracket, especially if you’re swapping to a different size fan.
- Mask and gloves: Old fans are dust magnets. If yours is caked with bathroom or kitchen gunk, these will help.
- Duct tape and insulation tape: For sealing up old ducting or fixing minor cracks around the fan housing.
- Replacement fan: Obvious, but match the size and airflow rating (measured in m³/h or CFM) to your space to avoid headaches like under-ventilating a bathroom.
| Tool | Why You Need It |
|---|---|
| Voltage Tester | Double-checks electricity is off |
| Screwdrivers (Flathead, Phillips) | Removes and installs fan fixture |
| Wire Strippers | Preps fan wiring |
| Drill | For new screw or mounting holes |
| Replacement Fan | Direct swap for your old one |
It’s smart to read your new fan’s manual before you start. Models differ, and some come with quick-connect terminals while others make you wire the whole thing up yourself. Also, if you’re dealing with a kitchen fan, be prepared for extra grease and stickier grime than a bathroom fan. Give yourself space—clear the area, lay down a dropcloth if you can, and double check if you need adapters for the ductwork or wiring. This bit of prep makes the rest of the extractor fan replacement go way smoother.
Step-by-Step Replacement Breakdown
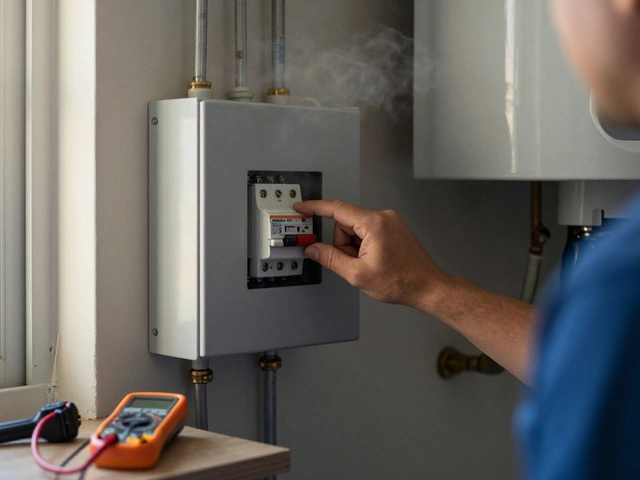
Tackling an extractor fan replacement means sticking to a few clear steps. Let’s keep things real: always kill the power at the breaker before you go anywhere near wires. Seriously, don’t skip that part. If you feel nervous, double-check with a voltage tester. Here’s how to get the job done right:
- Turn Off Power
Head to your fuse box and flip the relevant breaker. Test switches and double-check with a tester to make sure everything is dead. - Remove the Old Fan
Pop off the fan cover. You’ll usually see a couple of screws holding the fan body to the wall or ceiling. If the fan’s in a ceiling, sometimes you’ll need to unscrew it from the attic side—awkward, but doable. Disconnect wires by loosening the terminal screws. - Check Ducting and Wires
Quickly check the vent duct isn’t blocked or falling apart, and that the cable looks clean (no burn marks or cracked insulation). - Fit the New Fan
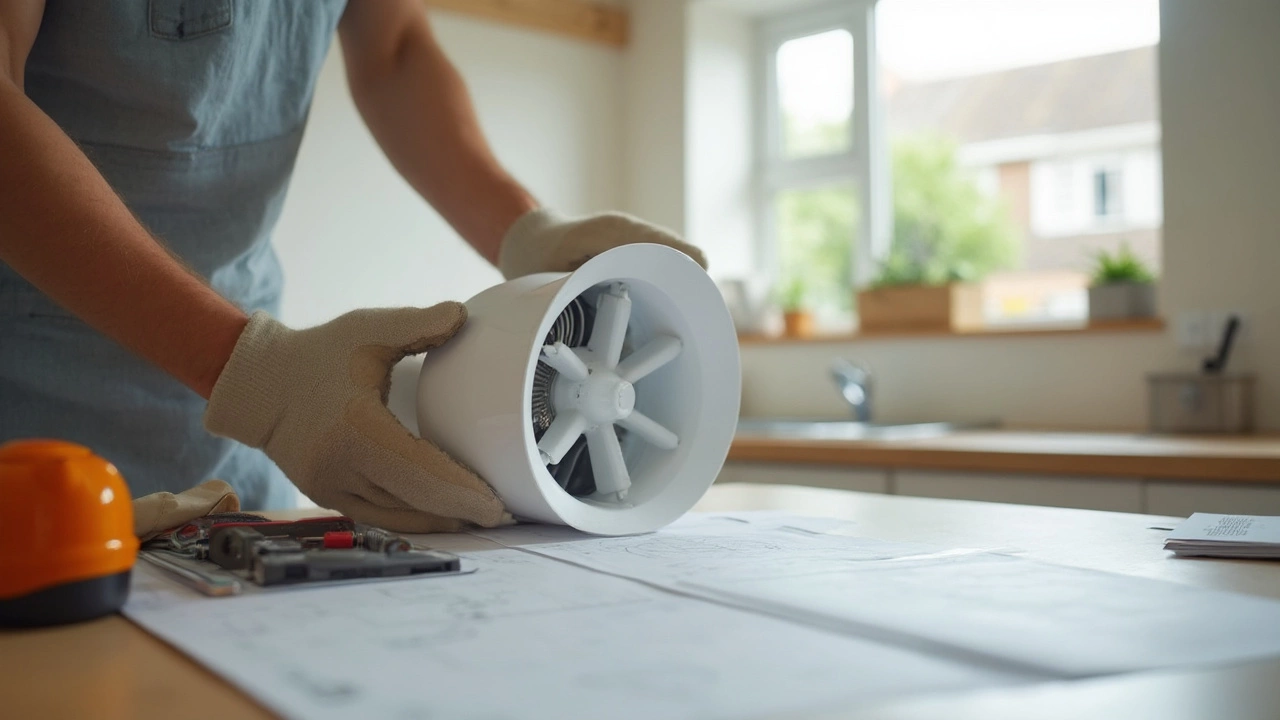
Match up the new fan’s wiring—usually live, neutral, and sometimes earth. Your wiring colors might not match new ones exactly, so keep the manual handy and don’t guess. Secure the new body to the ceiling or wall. - Connect Up the Duct
If there’s flexible ducting, attach it firmly using the clamps or tape. Poor duct connections hurt performance big time. - Power Up & Test
Refit the cover, switch the power back on, and flick the fan switch. Listen for any odd rattles. Does it actually pull air? Try holding a piece of toilet paper near the grille. If it sticks, your install is probably solid.
Here’s a quick look at common wiring color codes, since many UK homes (and some elsewhere) still have old wires mixed with new installs:
| Function | Older Wires | Modern Wires |
|---|---|---|
| Live | Red | Brown |
| Neutral | Black | Blue |
| Earth | Green/Yellow | Green/Yellow |
One pitfall a lot of DIYers hit is using the wrong size fan. Bathrooms and kitchens need very different extraction rates. A bathroom fan usually needs to shift at least 54 m³/hour while kitchen fans often run from 110 m³/hour and up—check your new fan’s box or manual before you start. Matching the right extractor fan to your room size matters if you want less steam and fewer smells.
Save the screws and old cover, just in case the new one doesn’t fit as neatly as promised. Sometimes the holes don’t match up, and you might need to drill new ones or swap bits between the old and new fan. Tighten everything up, wipe down, and you’re good to go.
DIY or Call a Pro?
Let’s be real—deciding between a DIY approach and calling in an expert for extractor fan replacement is mostly about your comfort level (and sometimes, local rules). If you’ve got basic tools on hand and don’t panic at the sight of a wire, many people knock this job out in an hour or two. But there are a few things to think about first.
If your existing fan is identical in size and design to your new one, swapping is usually straightforward: disconnect the old fan, match the wires, and hook up the new one. But things change if you’re moving up to a bigger or different-style extractor fan, or if the hole in your wall or ceiling doesn’t line up. You might have to cut drywall or patch up gaps—which isn’t fun without some experience. Messing with ducts is another curveball. If you see lots of dust, mold, or a nest of wires, it might be time to hit pause and phone a pro.
- If you rent, do yourself a favor and check your lease or call your landlord—some spots won’t let tenants tackle electrical work themselves.
- Newer homes (or apartments) might have stricter electrical codes. In the UK and several US states, only licensed electricians can mess with certain wiring. Not following the rules could void insurance or get you fined during an inspection.
Why do people call a contractor? Usually, it’s for these reasons:
- No confidence with electrical connections.
- Fan location is hard to reach (like high ceilings above stairs).
- Worried about damaging expensive tiles, drywall, or cabinetry.
- Need the extractor fan repair done quick without trial and error.
The average price for professional extractor fan replacement runs $100-$350 in 2025, depending on where you live and how tricky the install is. That price includes both labor and the extractor fan itself. Some pros charge extra if new wiring or ductwork is required.
| Situation | DIY Suitability | Pro Recommended? |
|---|---|---|
| Simple swap, same size fan | Easy for DIY | No |
| Wiring upgrades needed | Risky for beginners | Yes |
| Fan in hard-to-reach area | Time-consuming | Yes |
| Need to patch drywall | Tricky | Yes |
Bottom line: If you’ve got a screwdriver, a voltage tester, and know where your breaker box is, the average extractor fan repair isn’t out of reach. But if things start looking more complicated or you just don’t feel safe, there’s no shame in hiring help. Safety and working gear should always come first!