Cooker Problem Checker
Before You Start
WARNING: Never attempt repairs if you smell gas, see sparks, or hear buzzing. Turn off power/gas immediately and call a professional.
What's Your Cooker Problem?
Repair Guide
A damaged cooker can turn your kitchen into a frustration zone-whether it won’t light, heats unevenly, or stops working entirely. You don’t always need to call a technician or replace the whole unit. Many common cooker problems can be fixed with basic tools and a little patience. This guide walks you through real, tested fixes for the most frequent issues you’ll encounter with gas and electric cookers in 2026.
Check the Power Supply First
Before you assume the cooker is broken, rule out the simplest cause: no power. Electric cookers won’t work if they’re not getting electricity. Start by checking the circuit breaker. If it’s tripped, reset it. If it trips again immediately, there’s a short circuit somewhere in the cooker or wiring-stop here and call a professional.
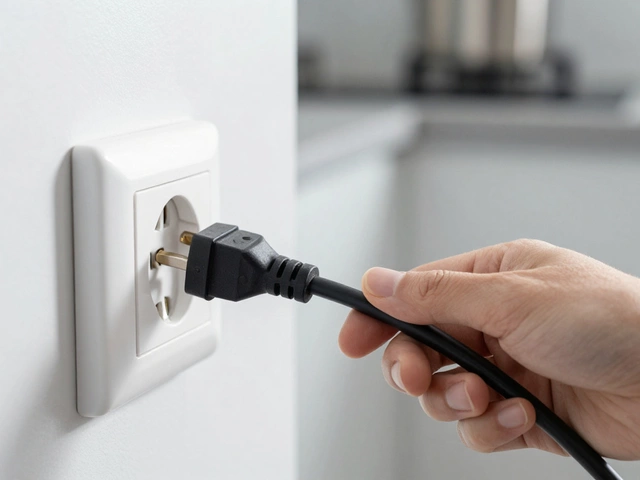
For plug-in models, unplug the cooker and plug something else into the same outlet. A lamp or toaster should turn on. If it doesn’t, the outlet is dead. Check other outlets on the same circuit. If they’re also dead, the issue is in your home’s wiring, not the cooker.
For hardwired cookers, look behind the unit. Some models have a separate isolator switch near the wall. Make sure it’s turned on. Older cookers sometimes have a fuse in the plug. If you find a blown fuse, replace it with the exact same rating-usually 13A for UK models.
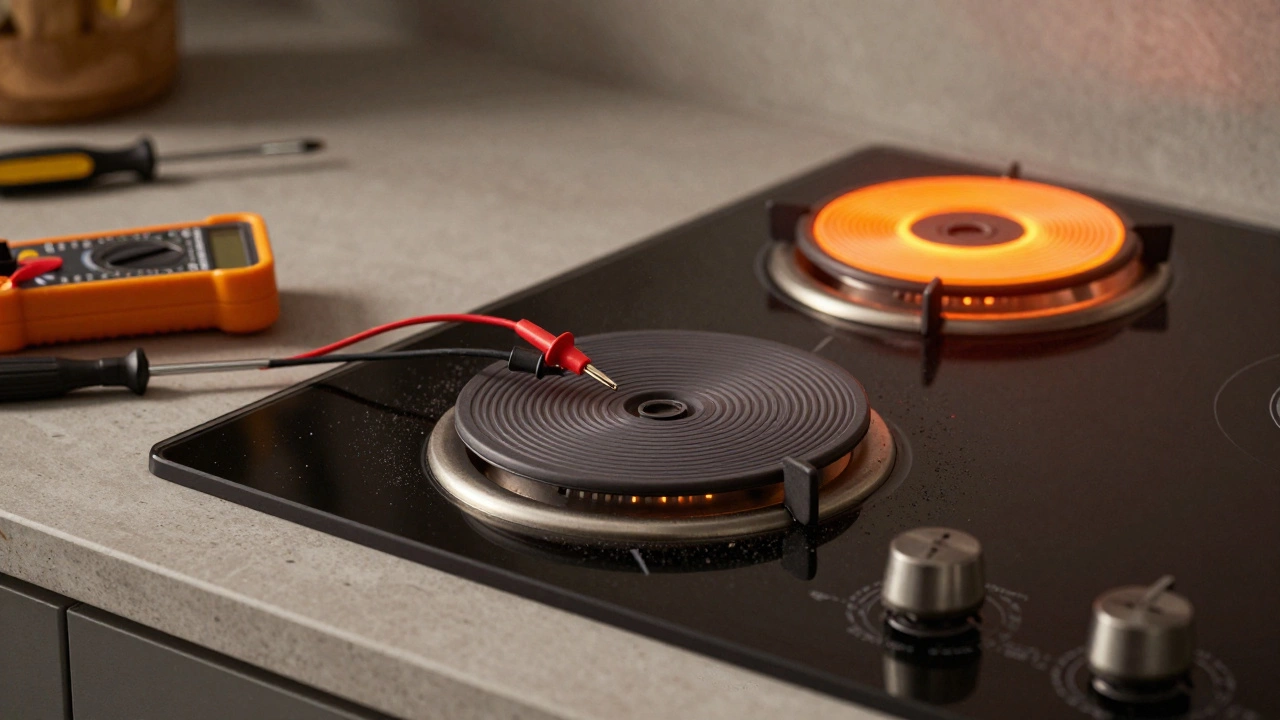
Gas Cooker Won’t Ignite
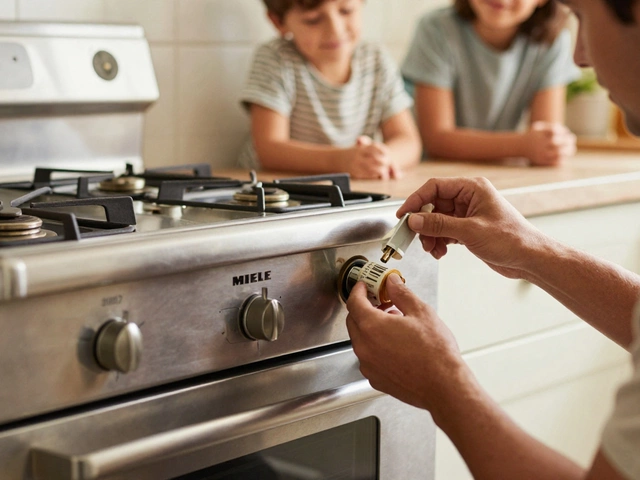
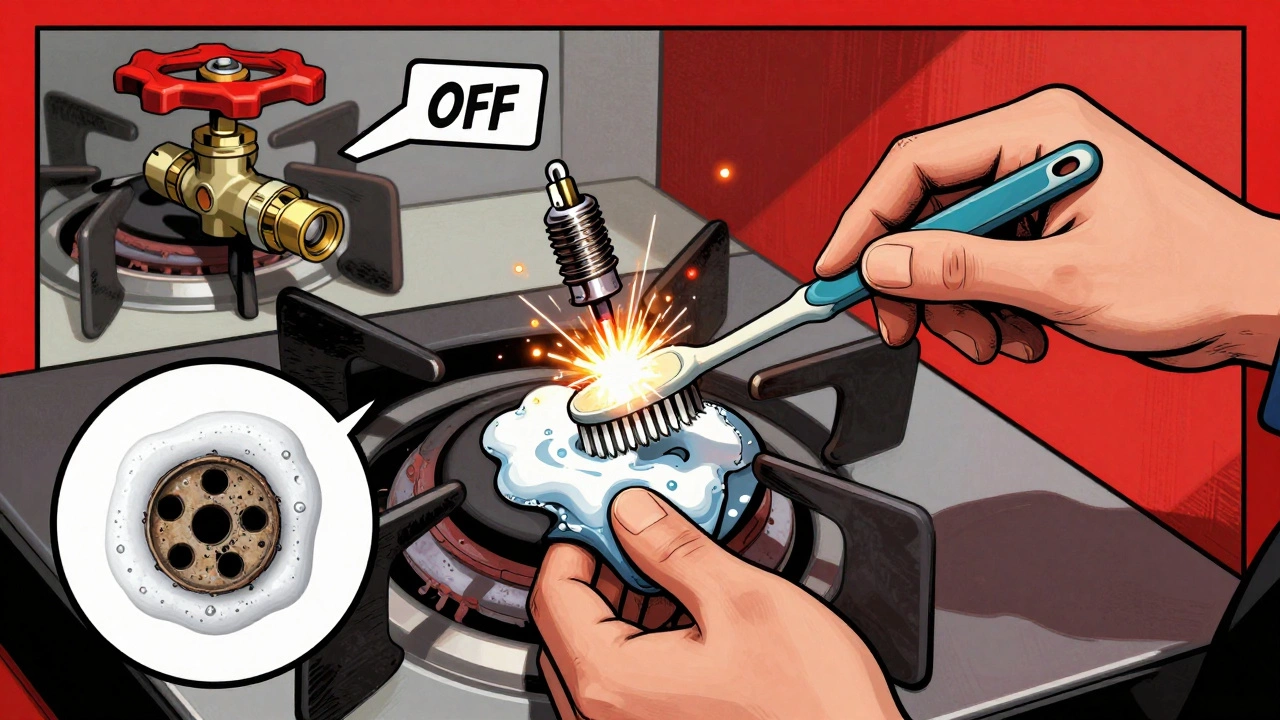
If your gas cooker clicks but doesn’t light, the problem is likely with the igniter, gas flow, or blockage. Start by cleaning the burner heads. Food debris and grease build up over time and clog the tiny holes around the burner. Use a toothbrush and warm soapy water. Don’t use metal picks-they can widen the holes and mess up the flame pattern.
Next, check the gas supply. Is the main valve turned on? Sometimes it gets accidentally shut off during cleaning. If the valve is open and other gas appliances in the house work fine, the issue is likely with the cooker’s gas valve or regulator.
The igniter itself might be faulty. On most modern gas cookers, the igniter sparks when you turn the knob. If you hear clicking but no spark jumps to the burner, the igniter is worn out. You can test it with a multimeter. Set it to continuity mode and touch the probes to the igniter’s terminals. If there’s no beep, the igniter needs replacing. Replacement igniters cost between £20 and £40 and usually take under 30 minutes to install.
Uneven Heating or Hot Spots
If one side of your oven cooks faster than the other, the heating element is probably failing. Electric ovens have two main elements: the top (grill) and bottom (bake). If the bottom element is burnt out, your baked goods will be raw on the bottom and overdone on top.
To check, turn the oven on to 180°C and watch through the window. The element should glow bright orange. If it stays dark or only glows in patches, it’s dead. Turn off the power, remove the screws holding the element in place, and pull it out. Note the model number and wattage (usually printed on the back). Replacement elements are cheap-£15 to £35-and easy to swap. Make sure the new one matches the shape and connector type.
For gas ovens, uneven heat often comes from a blocked burner or faulty thermostat. Clean the burner tubes with compressed air. If that doesn’t help, the thermostat may be off by 10°C or more. You can test it with an oven thermometer. Place it in the center of the oven and set the dial to 180°C. Wait 20 minutes. If the thermometer reads 170°C or 190°C, the thermostat is inaccurate and needs replacing. Most thermostats cost £40-£70 and are located behind the temperature dial.
Door Doesn’t Seal Properly
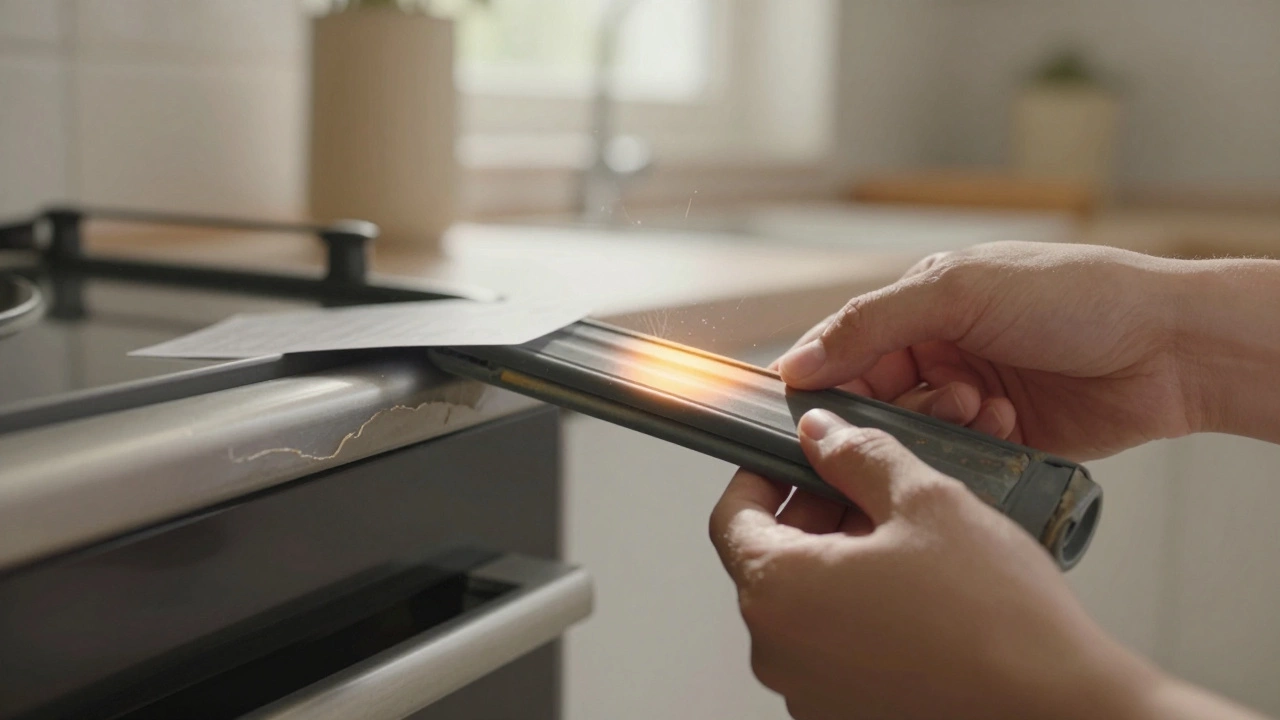
A damaged door seal lets heat escape, making your cooker work harder and increasing your energy bill. Check the rubber gasket around the door. If it’s cracked, brittle, or pulled away from the frame, it needs replacing. You can buy universal replacement seals for under £15. To install, peel off the old one, clean the groove with rubbing alcohol, and press the new seal in place. Start at the top and work your way around-don’t stretch it.
If the door doesn’t close flush, the hinges might be bent or worn. Try lifting the door slightly when closing it. If it clicks into place more easily, the hinges are misaligned. Most cookers have adjustable hinges. Look for small screws on the hinge arms. Loosen them, reposition the door, then tighten again. If the hinges are rusted or broken, replace them. They usually come in pairs and cost £25-£50.
Control Panel Not Responding
If your digital display is blank or buttons don’t respond, the control board might be faulty. But don’t jump to replace it. First, try a power reset. Unplug the cooker or turn off the circuit breaker for 10 minutes. Plug it back in. Sometimes this clears a glitch.
If that doesn’t work, check for moisture damage. Did you recently clean the panel with water? Moisture can short out the electronics. Use a hairdryer on low heat to dry the area thoroughly. Wait an hour, then test again.
If the panel still doesn’t work, the control board is likely dead. Replacement boards cost £80-£150 depending on the model. You’ll need to remove the front panel, unplug the old board, and connect the new one. Match the connectors exactly-plugging them in wrong can fry the new board. If you’re not comfortable with this, hire a technician. It’s not worth risking a fire.
When to Call a Professional
Some repairs are dangerous to attempt yourself. If you smell gas, stop everything. Turn off the main gas valve, open windows, and leave the house. Call your gas provider immediately. Never try to fix a gas leak yourself.
Also call a pro if:
- The cooker is over 15 years old and has multiple failures
- You’re dealing with electrical wiring inside the wall or behind the unit
- The control board or thermostat keeps failing after replacement
- You hear buzzing, sparking, or popping from inside the cooker
These signs point to deeper issues-faulty wiring, failing components, or structural damage. A certified technician can test the insulation, check for gas leaks with a detector, and verify that everything meets current safety standards.
Prevent Future Damage
Once your cooker is fixed, keep it running smoothly. Clean spills immediately. Wipe down the burners weekly. Use oven liners to catch drips. Don’t use abrasive cleaners on enamel surfaces-they scratch and trap dirt.
Test the door seal every three months. Close the door on a piece of paper. If you can pull it out easily, the seal is weak. Replace it before it gets worse.
Keep a record of repairs. Note the date, part replaced, and cost. This helps when you’re deciding whether to repair again or upgrade. Most cookers last 10-15 years. If you’ve spent over half the cost of a new one on repairs, it’s time to replace it.
Can I fix a cooker that won’t heat on one side?
Yes. If only one side of your oven isn’t heating, the problem is usually a failed heating element. Turn off the power, remove the back panel, and check if the element glows. If it’s dark or has burn marks, replace it. Match the wattage and shape. Replacement costs under £40 and takes 20 minutes.
Why does my gas cooker click but not light?
This happens when the igniter is faulty, the burner holes are clogged, or the gas valve isn’t opening. Clean the burner with a toothbrush and warm water. If that doesn’t help, test the igniter with a multimeter. If it shows no continuity, replace it. Also check that the gas supply valve is fully open.
Is it safe to repair a cooker myself?
It’s safe for simple fixes like replacing a burner, seal, or heating element-if you turn off the power or gas first. But never attempt repairs involving gas lines, electrical wiring behind the wall, or control boards unless you’re trained. Mistakes can cause fires or gas leaks. When in doubt, call a certified technician.
How much does it cost to repair a cooker?
Simple repairs like replacing a heating element or igniter cost £20-£50 in parts. Labor adds £50-£100 if you hire someone. More complex repairs like control boards or thermostats run £80-£150 in parts. If the total repair cost exceeds half the price of a new cooker, replacement is usually smarter.
How long should a cooker last before needing repair?
Most cookers last 10 to 15 years with regular use and cleaning. The first signs of wear usually appear around year 8-burner problems, seal leaks, or thermostat drift. If your cooker is older than 12 years and has multiple issues, it’s likely nearing the end of its life. Replacing worn parts can extend it, but frequent repairs become costly.