Kitchen Extractor Motor Compatibility Checker
Check Motor Compatibility
Enter your fan's specifications to see if a replacement motor will fit. Remember: matching the exact model number is critical for proper operation.
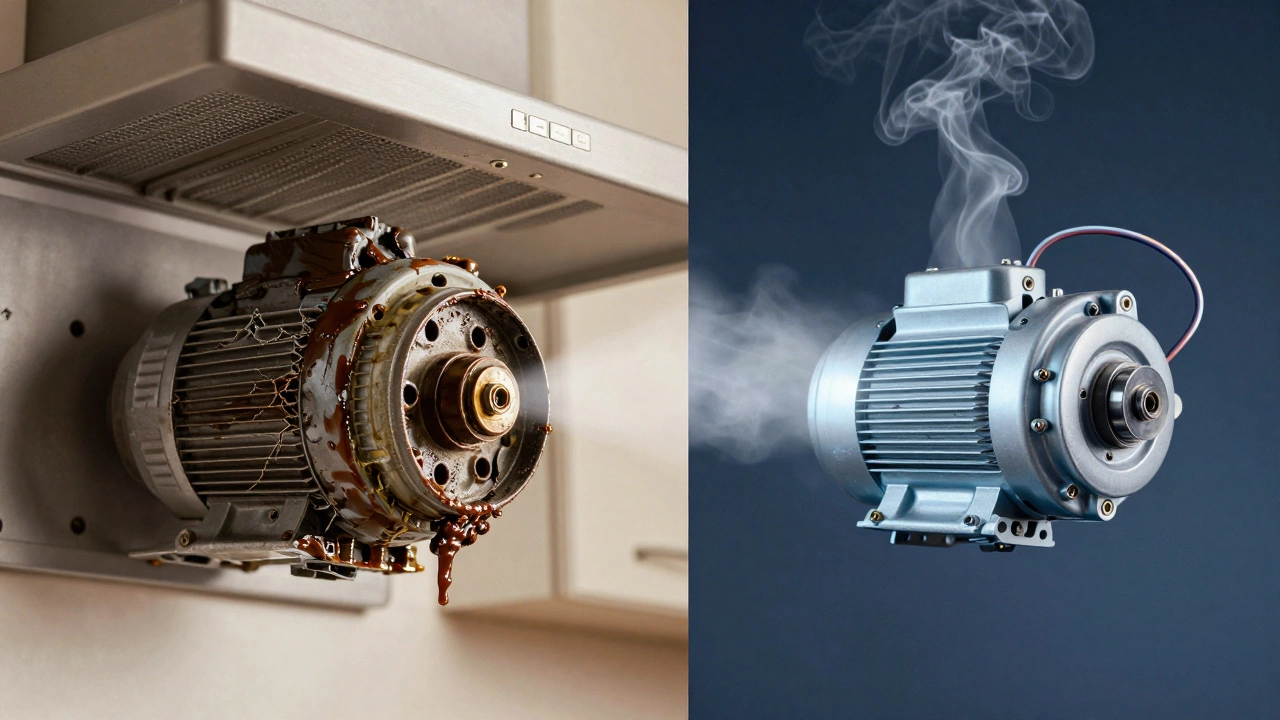
When your kitchen extractor fan starts humming louder than your dishwasher or stops pulling smoke out of the air altogether, it’s usually not the grill or the grease trap that’s broken-it’s the motor. Replacing the motor in a kitchen extractor fan isn’t as hard as it sounds, and doing it yourself can save you hundreds compared to calling a technician. Most motors fail after 5 to 10 years of use, especially in homes where the fan runs daily. If you’ve got basic tools and a bit of patience, you can fix this yourself in under two hours.
First, confirm it’s the motor
Before you buy a new motor, make sure the problem isn’t something simpler. A clogged grease filter, blocked duct, or loose fan blade can mimic motor failure. Turn the fan on and listen. If you hear a buzzing sound but the blades don’t spin, that’s a classic sign of a dead motor. If the fan spins slowly or wobbles, it could be a bad capacitor or worn bearings. Check the power first-make sure the circuit breaker hasn’t tripped and the wall switch is working. Use a multimeter to test for voltage at the motor terminals. No power? Trace the wiring. Full power but no spin? Time to replace the motor.
What you’ll need
You don’t need a toolbox full of fancy gear. Here’s what you’ll actually use:
- Phillips and flathead screwdrivers
- Socket wrench or spanner (for motor mounting bolts)
- Needle-nose pliers
- Electrical tape or wire nuts
- Multi-meter (optional but helpful)
- Replacement motor (match the model number exactly)
- Work gloves and safety glasses
Don’t guess the motor model. Pull the old one out first and write down the part number printed on the casing. Common brands include Extracto, Vent-A-Hood, Broan, and NuTone. If you can’t find the number, take a photo and search online using your extractor fan’s make and model. Buying the wrong motor means starting over-and you’ll waste time and money.
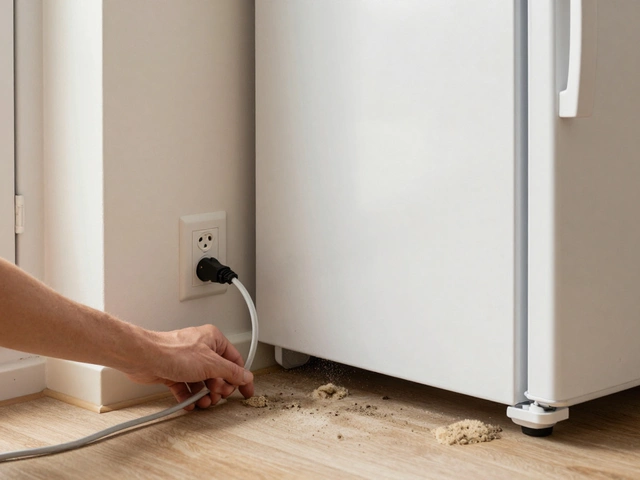
Turn off the power
This isn’t optional. Even if the switch is off, the wires behind the wall might still be live. Go to your circuit breaker and shut off the power to the kitchen extractor fan. Label the breaker so no one flips it back on accidentally. If you’re unsure which breaker controls the fan, test the fan with a non-contact voltage tester after turning off each one until the fan stops receiving power.
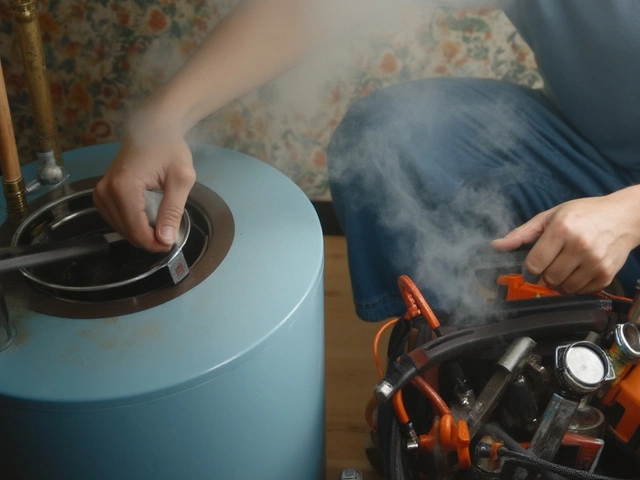
Remove the fan unit
Most kitchen extractor fans are mounted under a cabinet or built into the wall. Start by removing the grease filter and any visible screws holding the front panel or cover in place. Some units have clips-gently pry them open with a flathead screwdriver. Once the cover is off, you’ll see the motor mounted behind the fan blade. Disconnect the wiring harness. Take a photo before you unplug it so you remember which wire goes where. Some motors use color-coded wires: black to live, white to neutral, green to ground. If yours doesn’t match, label the wires with tape before removing them.
Unscrew the mounting brackets holding the motor in place. These are usually 6-8mm bolts. Some motors are held in by a metal cage or spring clips-carefully release those. Once the motor is free, pull it out slowly. Don’t yank the wires. If the motor is stuck, check for hidden screws or adhesive seals.
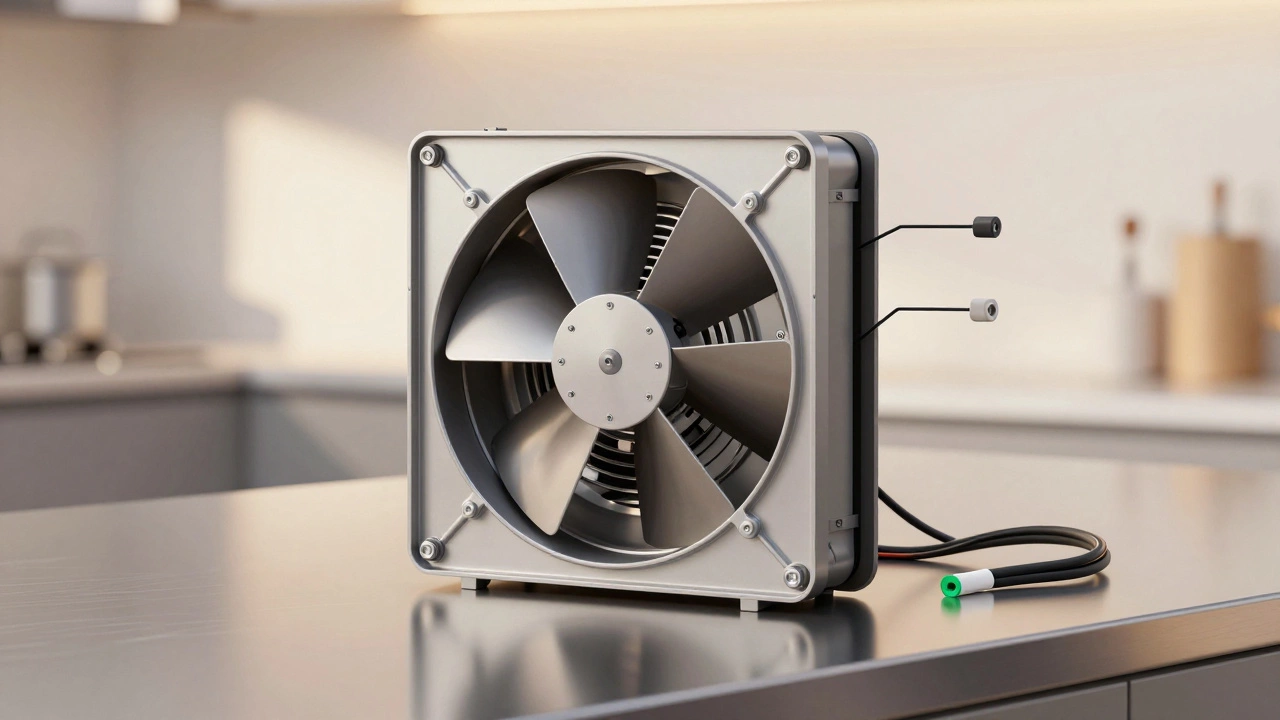
Install the new motor
Compare the new motor to the old one. The size, shaft length, and mounting holes should match exactly. If they don’t, you bought the wrong part. Slide the new motor into place. Reattach the mounting brackets and tighten the bolts, but don’t over-torque them-plastic housings can crack. Reconnect the wires exactly as you photographed or labeled them. Use wire nuts or electrical tape to secure connections. A loose wire is the #1 cause of post-repair failures.
Reinstall the fan blade. Make sure it sits straight on the motor shaft. A crooked blade will cause vibration and noise. Hand-tighten the retaining nut or clip-it should be snug but not forced. If your fan has a capacitor (a small cylindrical component near the motor), make sure it’s reconnected too. Some motors come with the capacitor built-in; others require a separate one. Double-check the wiring diagram on the new motor’s label.
Test it before reassembling
Now’s the time to turn the power back on. Flip the breaker and switch on the fan. Listen. Does it spin smoothly? Is there any grinding, squealing, or wobbling? If it runs quietly and pulls air well, you’re good. If it’s noisy or doesn’t start, turn the power off again and check the wiring. A reversed neutral and live wire can cause the motor to spin backward-which means no airflow. If it spins the wrong way, swap the two main wires (black and white).
Reassemble and clean up
Once the fan runs properly, reattach the front cover, grease filter, and any trim pieces. Wipe down the inside of the housing with a damp cloth to remove grease buildup. Clean the duct opening if you can reach it-grease clogs reduce airflow and make the motor work harder. Reinstall the filter and make sure it clicks into place.
Why this matters
A working extractor fan isn’t just about removing smoke. It removes moisture, cooking odors, and airborne grease that can build up on walls, ceilings, and cabinets. Over time, that grease turns into a sticky, flammable mess. In high-humidity climates like Brisbane, poor ventilation leads to mold on kitchen walls and peeling paint. Replacing the motor isn’t just a repair-it’s preventative maintenance that protects your home.
Common mistakes to avoid
- Skipping the power shut-off-electrical shocks are real and dangerous.
- Using the wrong motor-size, voltage, and RPM must match.
- Forgetting to label wires-color codes aren’t universal.
- Tightening screws too hard-plastic housings crack easily.
- Not cleaning the duct-replacing the motor won’t fix a blocked vent.
When to call a pro
You can handle most motor replacements yourself. But if you’re dealing with a built-in range hood that’s hardwired into a complex duct system, or if your unit is over 15 years old and has multiple failed components, it might be cheaper to replace the whole unit. Also, if you’re not comfortable working with electrical wiring, hire a licensed electrician. Safety always comes first.
How long does a replacement motor last?
A good quality replacement motor should last 5-8 years with normal use. If you cook heavily or have a large family, it might wear out faster. To extend its life, clean the grease filter every 2 weeks and check the duct for blockages every 6 months. Avoid running the fan on high for hours at a time-continuous high-speed operation overheats the motor.
Where to buy a replacement motor
Don’t buy from random online sellers. Stick to appliance parts suppliers like Appliance Parts Australia, Repair Clinic, or your original manufacturer’s website. Generic motors might fit but won’t match the airflow or noise levels. A $40 motor from a reputable supplier will outperform a $20 knockoff every time.
Final tip: Keep the receipt
Even if the motor works, keep your receipt and packaging for at least 12 months. Some suppliers offer 1-2 year warranties on replacement motors. If it fails again, you might get a free replacement.
Can I replace the motor without removing the entire extractor fan?
In most under-cabinet models, yes-you can access the motor from below after removing the front panel and grease filter. But for built-in or island hoods, you’ll usually need to remove the entire unit from the wall or ceiling to get proper access. Always check your model’s service manual online for disassembly instructions.
What if my extractor fan has no visible model number?
Take clear photos of the entire unit, the motor, and any labels inside the housing. Search Google Images using keywords like ‘kitchen extractor fan [brand] model’ or upload the photo to forums like Reddit’s r/ApplianceRepair. Many users have posted teardowns of common models. You can also call the manufacturer’s customer service with the photos-they often help identify parts.
Why does my new motor make a loud humming noise?
A loud hum usually means the motor isn’t seated properly or the fan blade is unbalanced. Turn off the power and check that the blade is centered on the shaft and the mounting screws are tight. Also, check that the duct isn’t touching the fan housing-vibration from the motor can cause metal ducts to rattle. Adding foam tape between the housing and duct can reduce noise.
Can I upgrade to a quieter or more powerful motor?
Not easily. Extractor fans are designed for specific airflow and electrical loads. A more powerful motor might overload the wiring or create too much suction, pulling air from other vents in your home. Stick to the manufacturer’s recommended replacement. If you want better performance, consider upgrading the entire unit to a modern, energy-efficient model with variable speed settings.
How do I know if my motor has a built-in capacitor?
Look for a small, cylindrical component-usually silver or black-attached to the motor housing or nearby. If you see two wires going into it, it’s a capacitor. Some motors have it integrated inside the casing. If your old motor had one, the replacement must have it too. If you’re unsure, match the part number exactly.