Bathroom Extractor Fan Size Calculator
This calculator helps you determine the right size bathroom extractor fan for your space based on the article's recommendations. Proper sizing ensures effective moisture removal and prevents mold growth.
Enter Bathroom Dimensions
Results
Enter your bathroom dimensions above to see the recommended fan size.
When the fan in your bathroom starts humming loudly or fails to pull fresh air out, it’s usually a sign that it needs a good service. A regular service bathroom extractor fan can keep the unit running efficiently, cut down on moisture‑related mould, and save you from costly replacements.
Why Service Matters
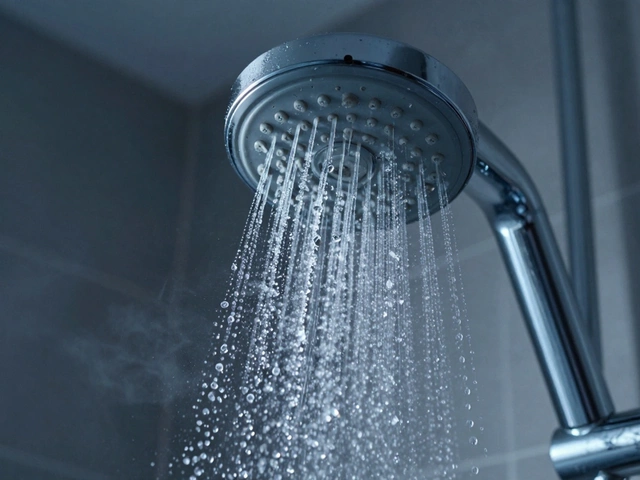
Bathroom fans work in a damp environment, so dust, hair, and soap scum quickly build up on the internal parts. Over time this reduces airflow, forces the motor to work harder, and can cause premature wear. Cleaning and lubricating the fan once or twice a year restores the original airflow rating and helps the fan stay quiet.
Safety First
Before you lift a cover or touch any wires, make sure the electricity is completely off. Switch off the circuit breaker that powers the fan or pull the dedicated fuse. Use a multimeter a handheld device that checks for voltage to double‑check that the terminals are dead. Wearing safety gloves cut‑resistant gloves that protect your hands also reduces the risk of accidental cuts.
Tools You’ll Need
- screwdriver usually a Phillips‑head for fan screws
- Vacuum cleaner with a narrow nozzle attachment
- Soft brush (an old toothbrush works well)
- Drop cloth or old towel to catch debris
- Non‑abrasive cleaning solution (mild detergent mixed with warm water)
- Light machine oil or silicone‑based lubricant (optional)
Step‑by‑Step Service Procedure
- Turn off power. Verify that the fan is dead with your multimeter.
- Remove the outer cover. Most bathroom fans have a snap‑on grille. Use the screwdriver to undo any screws, then gently pull the cover away. Set it aside on the drop cloth.
- Inspect the filter the removable mesh that catches dust and lint. If it looks clogged, rinse it under warm water, scrub with the brush, and let it air‑dry completely. Replace if torn.
- Clean the fan blades. Locate the blade the rotating part that moves air attached to the motor shaft. Wipe each blade with the damp brush, removing any grime.
- Vacuum the motor housing. Use the narrow nozzle to pull out dust from the motor’s vents. Be careful not to disturb the wiring.
- Lubricate if needed. Some models have serviceable bearings; a drop of light oil on the shaft can silence squeaks. Check the manufacturer’s guide first-many modern fans are sealed and don’t require oil.
- Re‑assemble. Snap the cover back on, replace any screws, and ensure the grille sits flush.
- Restore power and test. Turn the breaker back on, flip the fan switch, and listen. Airflow should be noticeably stronger and the noise level lower.

How Often Should You Service?
In Brisbane’s humid climate, a twice‑yearly service (once after summer, once after winter) works well. If you notice any drop in performance, schedule a clean‑up immediately.
Common Problems & Quick Fixes
- Fan is silent but no airflow. The motor may be stuck. Gently spin the blade by hand; if it resists, the motor bearings could be seized and need replacement.
- Humming noise. Loose screws or a warped grille can cause vibration. Tighten all fasteners and ensure the cover is flat.
- Intermittent operation. Check the fan’s electrical circuit the wiring that supplies power for loose connections. If the fan still cuts out, the thermal overload may be tripping-replace the overload sensor.
When to Call a Professional
If you encounter any of the following, it’s safer to hire an electrician or qualified fan technician:
- Burnt smell or visible scorch marks.
- Repeated motor burnout despite cleaning.
- Complex wiring (e.g., fan combined with a heater or light).
Types of Bathroom Extractor Fans - Quick Comparison
| Feature | Ceiling‑mounted | Wall‑mounted |
|---|---|---|
| Typical airflow (m³/h) | 100-200 | 80-180 |
| Installation height | Above ceiling | Mid‑wall |
| Noise level (dB) | 30-40 | 35-45 |
| Maintenance access | Through ceiling grille | Directly from wall |
| Best for | New builds, high‑ceiling bathrooms | Renovations, low‑ceiling spaces |
Final Checklist Before You Finish
- Power off and verified dead?
- Cover removed and set safely?
- Filter cleaned or replaced?
- Blades and motor housing dust‑free?
- Bearings lubricated if applicable?
- All screws tightened, grille seated?
- Power restored and airflow confirmed?
Frequently Asked Questions
How often should I clean the filter?
At least twice a year, or whenever you notice reduced airflow. In high‑humidity climates, a quarterly clean‑up is ideal.
Can I use any oil for the motor bearings?
Only a light, non‑abrasive oil such as 3‑in‑one or silicone‑based spray. Heavy greases can gum up the motor and attract more dust.
What if the fan still makes a humming noise after cleaning?
Check that all mounting screws are snug and that the grille isn’t warped. If the hum persists, the motor’s internal capacitor may be failing and should be replaced.
Is it safe to service the fan myself?
Yes, as long as you turn off the electricity at the breaker, use a multimeter to confirm no voltage, and avoid touching internal wiring. If you’re uncomfortable with any step, call a licensed electrician.
What size fan should I choose for a standard bathroom?
A fan rated for at least 100 m³/h (cubic meters per hour) is sufficient for most average‑sized bathrooms. Larger baths or ensuite showers may need 150 m³/h or more.