Fan Repair: Easy Ways to Get Your Extractor Fan Working Again
If your kitchen or bathroom fan is noisy, weak, or won’t turn on, you don’t have to call a pro right away. Most fan problems are caused by a few simple things – a dirty motor, a loose wire, or a blown fuse. In this guide we’ll walk through the most common issues and show you how to fix them yourself.
Common Fan Problems and Simple Fixes
First, figure out what’s wrong. Turn the fan on and listen. A humming sound with no airflow usually means the blades are stuck or the motor is bad. A clicking noise often points to a loose blade or a foreign object. If the fan won’t start at all, check the power supply.
1. Power check – Make sure the switch is on and the circuit breaker isn’t tripped. Plug another device into the same outlet to confirm it’s working. If the outlet is dead, reset the breaker or replace a blown fuse before moving on.
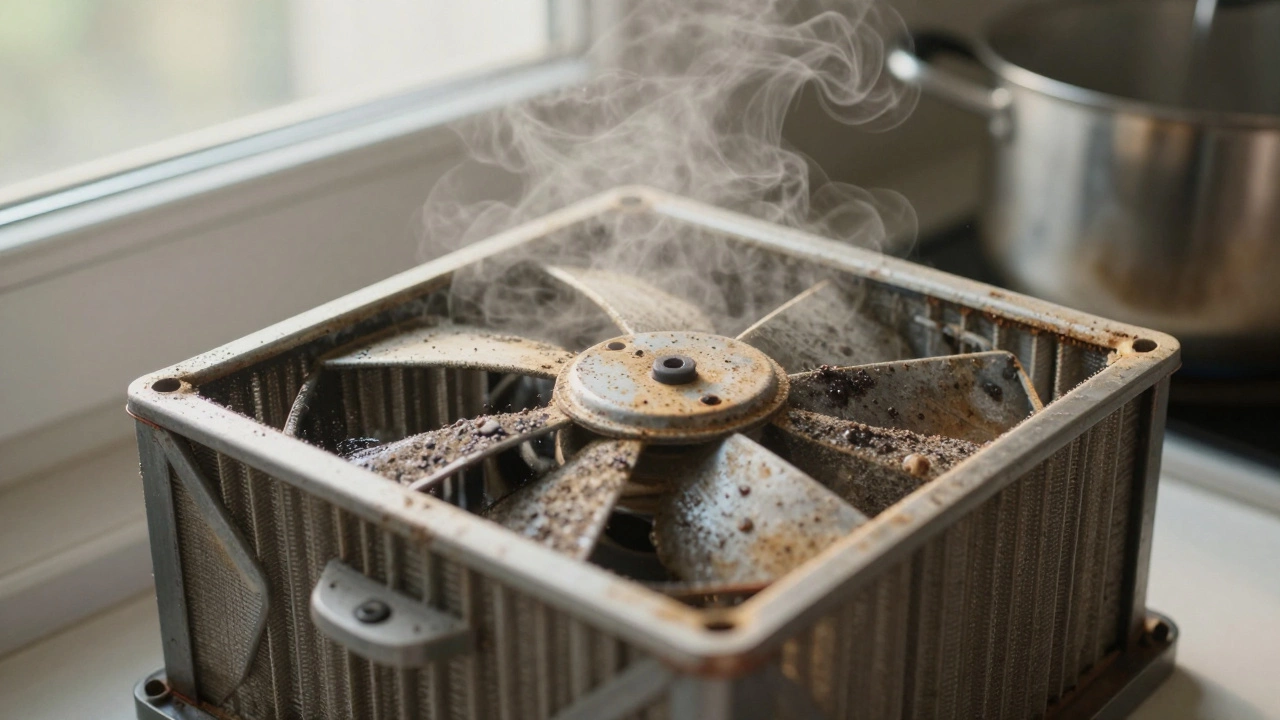
2. Clean the fan – Dust and grease build up on the blades and motor housing, reducing airflow and causing the motor to overheat. Remove the fan cover (usually a few screws), wipe the blades with a damp cloth, and vacuum any debris from the motor vent. Re‑assemble and test.
3. Tighten loose parts – Vibrations can loosen the mounting screws or the blade hub. Use a screwdriver to tighten any screws you see rattling. A tight hub means the blades spin smoothly and the motor lasts longer.
4. Replace a blown fuse or tripped thermal – Some fans have an internal fuse or a thermal cut‑out that protects the motor. Open the fan housing, locate the fuse (often a small glass tube), and replace it with the same rating. If there’s a thermal switch, let the fan cool for 15 minutes, then try again.
After each step, turn the fan on to see if it works. If you’ve tried power, cleaning, tightening, and fuse replacement and the fan still won’t spin, the motor may be dead.
How to Replace or Clean an Extractor Fan Motor
Replacing the motor isn’t as hard as it sounds. You’ll need a new motor that matches the fan’s size and voltage, a screwdriver, and a pair of pliers.
Step 1 – Disconnect power. Turn off the circuit breaker and unplug the fan if it’s plugged in. Safety first.
Step 2 – Remove the fan housing. Unscrew the outer cover and set it aside. You’ll see the motor attached to a metal bracket.
Step 3 – Disconnect wiring. Note which wires go to which terminals (take a quick photo). Loosen the terminal screws and pull the wires off.
Step 4 – Take out the old motor. The motor is usually held by two bolts. Unscrew them and slide the motor out of the bracket.
Step 5 – Install the new motor. Place the new motor in the bracket, bolt it in place, and reconnect the wires to the same terminals.
Step 6 – Re‑assemble and test. Put the housing back, tighten the screws, turn the breaker back on, and switch the fan on. You should feel a smooth airflow and hear a normal hum.
If the new motor runs but the fan still feels weak, double‑check that the blades are clean and that the fan’s vent isn’t blocked. A clear vent is essential for proper airflow.
Doing these checks and repairs can save you a call‑out fee and keep your home smelling fresh. Most fan issues are fixed in under an hour, and you’ll learn a handy skill for future problems.
Remember, if you ever feel unsure about working with electricity, it’s better to call a qualified technician. But for the everyday fan hiccup, these steps should have you breathing easy in no time.
Do Extractor Fans Need Servicing? What You Must Know
Extractor fans need regular servicing to prevent mold, fire risks, and costly repairs. Learn how often to clean filters, when to call a pro, and what signs mean it's time to replace yours.

Extractor Fan Working: How to Easily Check If Yours Is Doing the Job
Not sure if your extractor fan is doing what it's supposed to? This article breaks down easy ways to check if your fan is actually working, signals to watch out for when something’s off, and when you might need to take action. Discover practical tips you can use right now, with zero tech jargon. You’ll also get a few handy tricks to keep your fan running smoothly and spot problems before they get worse. If you want clear answers, you're in the right place.

Who Installs Extractor Fans? Finding the Right Pro
Extractor fans are essential for keeping spaces well-ventilated and free of excess moisture or odors. Knowing who installs them is crucial for ensuring the job is done correctly and safely. This article explores the professionals involved in installing extractor fans, providing insights and tips on finding the right person for the job. It aims to equip readers with practical knowledge, from understanding basic installation needs to recognizing when expert help is required.