Microwave Fuse DIY – Your Step‑by‑Step Guide
When dealing with Microwave Fuse, a small safety component that breaks the circuit if the microwave overheats or draws too much current. Also known as microwave safety fuse, it protects both the appliance and your home from electrical fires. Understanding how a fuse works, why it can fail, and how to replace it is the first step toward a confident DIY repair. microwave fuse DIY projects usually require two things: a reliable test method and the right replacement part. That’s why most homeowners reach for a multimeter and a compatible fuse before opening the cabinet.
Tools, Tests, and Safety – The Core of a Successful Repair
The next key player is Multimeter, a handheld device that measures voltage, resistance, and continuity. It’s the go‑to tool for checking whether a fuse is truly blown or if another component is at fault. Using a multimeter, you can perform a continuity test in seconds: set the dial to the lowest ohm setting, touch the probes to the fuse’s metal ends, and watch for a beep or a low‑resistance reading. No beep means an open circuit – time to swap the fuse. Another important entity is Microwave Repair, the broader process of diagnosing and fixing common microwave issues. While replacing a fuse is a small part, it ties directly into overall repair because a blown fuse often signals deeper problems such as a faulty magnetron or a shorted high‑voltage capacitor. Knowing the relationship between the fuse and these components helps you decide if a simple swap will last or if you should call a pro.
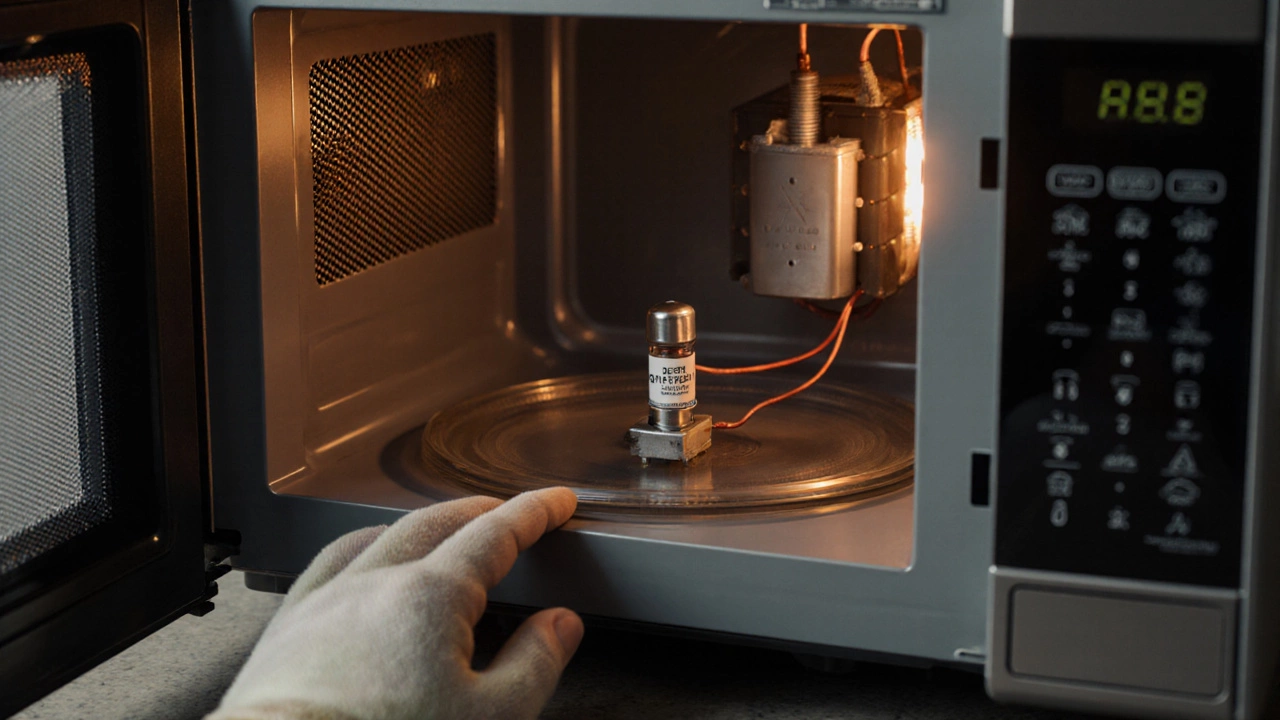
Putting it all together, the workflow looks like this: first, unplug the microwave and locate the fuse housing (usually behind the power cord entry or under the microwave’s outer panel). Second, remove the old fuse, test it with your multimeter, and compare its rating (e.g., 3 A, 250 V) with the replacement part. Third, install the new fuse, reassemble the cabinet, and run a short test cycle to confirm the microwave powers up without tripping the new fuse. Throughout each step, safety is non‑negotiable – wear insulated gloves, double‑check that the unit is fully disconnected from the mains, and never attempt to repair a microwave with the high‑voltage capacitor still charged. By mastering these basics, you’ll not only fix a blown fuse but also gain confidence to tackle other DIY microwave repair tasks. Below you’ll find a curated list of articles that dive deeper into each of these areas, from detailed fuse rating charts to advanced troubleshooting of microwave heating problems.
Microwave Fuse Repair Cost: How Much to Fix a Broken Fuse?
Discover the true cost of fixing a microwave fuse, from part prices to labor fees. Learn DIY steps, safety tips, and when to call a professional for a reliable repair.