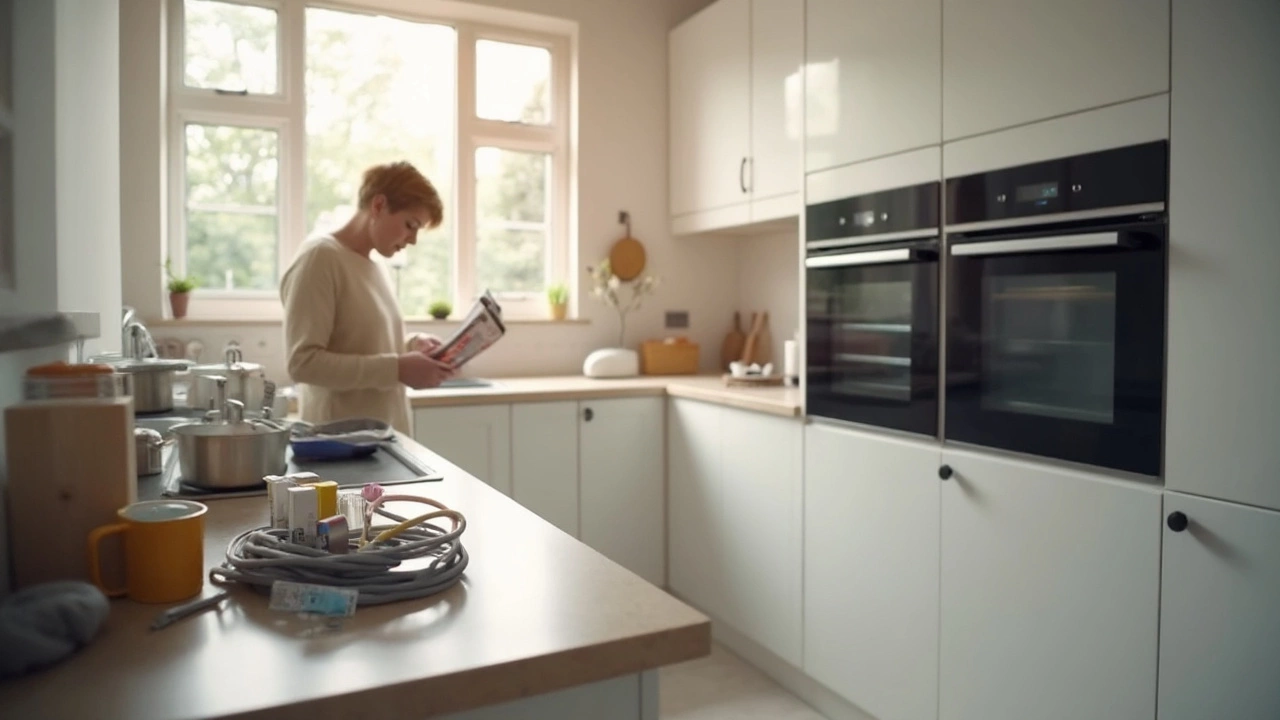
Oven Installation Made Simple: Your Step‑by‑Step Guide
Got a new oven and want it up and running fast? You don’t need to be an electrician or a chef to install it. This guide walks you through everything you need – from checking the space to testing the final bake. Follow along and you’ll have a fully functional oven without the guesswork.
What to Check Before You Start
First, make sure the spot you chose meets the oven’s size and ventilation requirements. Look at the manufacturer’s clearances – a few centimetres at the back and sides keep it cool and safe. Then, decide if you’re dealing with an electric or gas model. Electric ovens need a dedicated 240V circuit, while gas ovens require a proper gas line and a certified shut‑off valve.
Next, gather your tools. You’ll need a screwdriver set, a level, a tape measure, a stud finder, and a voltage tester for electric units. If it’s a gas oven, have a pipe wrench and a leak‑detecting solution ready. Having everything on hand saves you trips to the toolbox mid‑install.
Step‑by‑Step Installation Process
1. Turn off power or gas. For electric ovens, switch off the breaker at the consumer unit. For gas, close the main supply valve. Safety first – you don’t want a surprise spark or leak.
2. Remove the old appliance. Unscrew the mounting brackets, pull the oven out carefully, and disconnect the wiring or gas line. If you’re swapping a built‑in, keep the cabinet doors in place; you’ll only need to free the oven itself.
3. Prepare the new oven. Attach any brackets or levelers that came with it. Use a level to make sure the front edge sits evenly – an uneven oven cooks unevenly, and it can strain the door hinges.
4. Connect the power or gas. For electric, match the wire colours (brown to live, blue to neutral, green/yellow to earth) and tighten the terminal screws. Double‑check with a voltage tester that the circuit is dead before you touch anything. For gas, connect the flexible pipe to the shut‑off valve, tighten with a pipe wrench, then apply a soapy water solution at each joint to spot bubbles – any bubbles mean a leak.
5. Slide the oven into place. Gently push it back into the cabinet, making sure the wiring or gas hose isn’t pinched. Secure the mounting brackets to the wall studs or cabinet frame as instructed.
6. Test the oven. Turn the power back on or open the gas valve, then run a quick heat‑up cycle. Listen for any abnormal noises and check that the temperature matches the display. If everything looks good, you’re done.
That’s the whole process. Most homeowners finish in under an hour, but don’t rush if something feels off. A small mistake now can mean costly repairs later.
If you hit any of these roadblocks – no dedicated circuit, uncertain gas connections, or just a lack of confidence – calling a local Glastonbury professional is a smart move. They’ll guarantee the job meets building codes and give you peace of mind.
Finally, keep the installation manual handy. It’s the best reference for troubleshooting and regular maintenance, like cleaning the fan and checking seals. A well‑installed oven lasts longer, runs more efficiently, and saves you money on energy bills.
Ready to get cooking? With the right prep and careful steps, your new oven will be ready for your favorite recipes in no time.

Can You Just Plug In a New Electric Oven? Here’s What to Know
Thinking about swapping your old oven for a new electric one? It's not always as simple as plugging it in and calling it a day. This guide breaks down what you need to know about wiring, outlets, and safety before you try installing an electric oven yourself. Get clear advice on when you can handle things solo and when to call in a pro. Learn the small details that make a huge difference in how your oven works and how safe your kitchen will be.