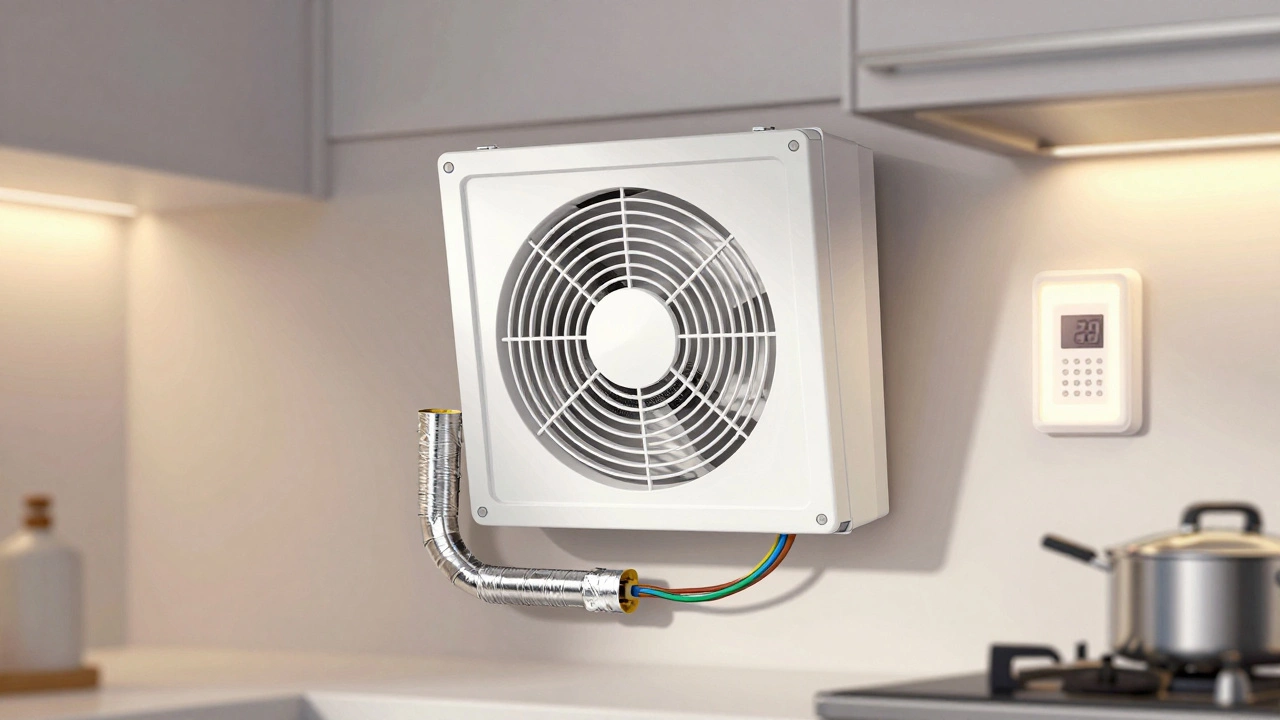
Extractor Fan Sizing Calculator
Select Your Room Type
Room Dimensions
Usage Details
Your Recommended Extractor Fan
Important Notes
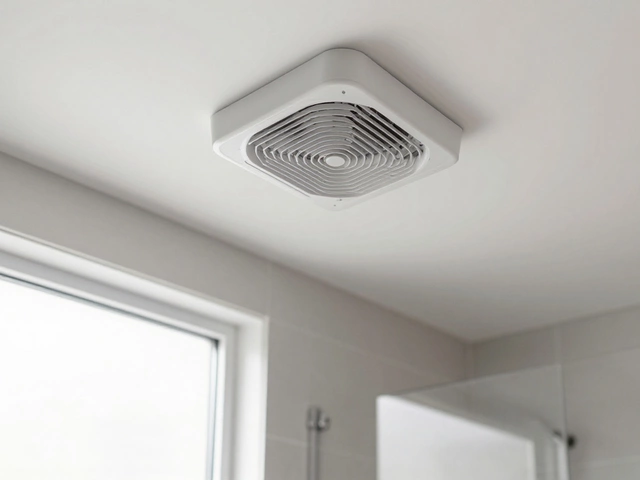
For bathrooms: Look for IP44 or higher rating for water resistance. For kitchens: Ensure minimum 50 L/s airflow to handle cooking fumes.
Critical Warning
Replacing an extractor fan doesn’t have to be a nightmare. If your bathroom smells like mildew after a shower, or your kitchen hood is louder than a lawnmower, chances are it’s time for a new one. Most extractor fans you’ll find in Australian homes are designed to be swapped out without tearing down walls or hiring an electrician. But that doesn’t mean everyone gets it right. I’ve seen too many DIYers struggle because they didn’t check the size, wiring, or ducting first.
What kind of extractor fan do you have?
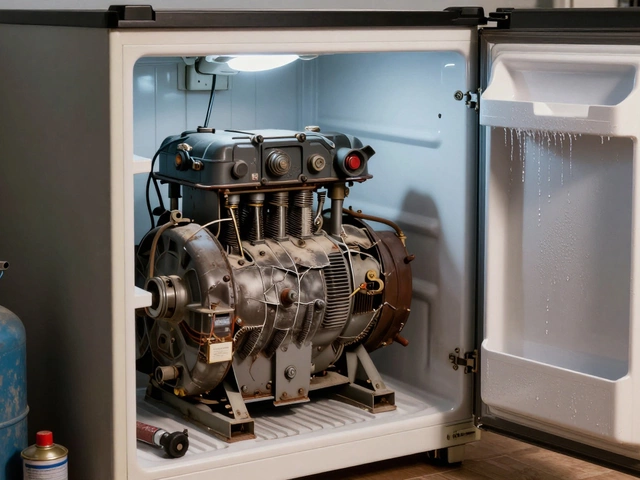
Not all extractor fans are the same. In Brisbane homes, you’ll mostly find two types: ceiling-mounted and wall-mounted. Ceiling fans are common in bathrooms, while wall fans often sit above kitchen stoves. Both are usually 150mm to 200mm in diameter, but the exact size matters. If you buy a fan that’s too big or too small, it won’t fit the existing hole - and you’ll end up patching plaster or cutting into tiles.
Check the old fan’s label. It’ll usually say the model number and airflow rating in litres per second (L/s). A typical bathroom fan runs between 15-30 L/s. A kitchen fan needs more - at least 50 L/s, sometimes up to 100 L/s if you cook often. Don’t just grab the cheapest one. A fan with too little power won’t remove steam or grease, and one with too much will be noisy and waste electricity.
Turn off the power - don’t skip this step
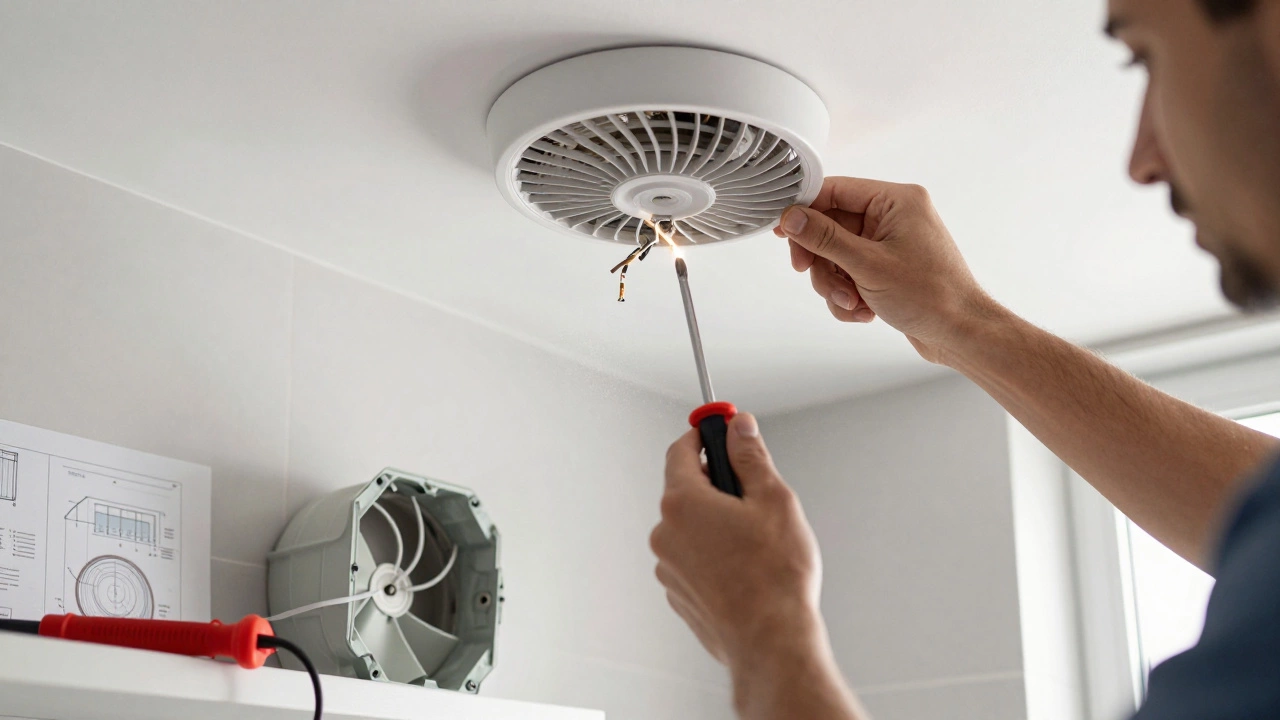
Before you touch anything, switch off the circuit breaker that controls the fan. Even if the switch on the wall is off, the wiring might still be live. I’ve seen people get shocked because they assumed the wall switch was enough. Go to your switchboard, find the right circuit (it’s usually labelled ‘bathroom’ or ‘kitchen’), and flip it off. Then test the fan with a non-contact voltage tester - the kind that beeps when it senses electricity. If it beeps, you’re not done yet.
Take a photo of the wiring before you disconnect anything. Most fans have three wires: live (brown or red), neutral (blue or black), and earth (green/yellow). If your house is older, the colours might be different. Don’t guess. Match the wires by function, not colour. Keep the old fan’s wiring diagram handy if you can find it.
Remove the old fan - it’s simpler than you think
Most ceiling fans are held in place by spring clips or screws around the edge. Gently pry the grille off with a flathead screwdriver. Behind it, you’ll see the motor housing. If it’s screwed in, remove those screws. If it’s clipped, give it a firm but gentle tug - it should pop out. Don’t yank the wires. Disconnect them by unscrewing the terminal connectors or unplugging the quick-connect plug if it has one.
Now look at the ducting. Is it flexible plastic tubing or rigid metal? If it’s plastic and kinked, that’s your problem right there. Flexible ducting restricts airflow and collects grease. If the duct runs through the roof space, check for bird nests or insulation blocking the outlet. Clear it out before installing the new fan. A blocked duct makes even the best fan useless.
Choose the right replacement
When shopping for a new fan, look for these features:
- Same size (diameter) as the old one - measure the hole, not the housing
- At least 15 L/s for bathrooms, 50+ L/s for kitchens
- Low noise rating (under 30 dB is quiet, 40 dB is average)
- IP44 rating or higher for bathrooms (water-resistant)
- Timer or humidity sensor - these save energy and prevent mould
Brands like EnviroVent, Extracto, and Broan are common in Australia and easy to find at Bunnings or local electrical suppliers. Avoid no-name brands from online marketplaces - they often have poor airflow ratings and unreliable motors.
Install the new fan - step by step
- Feed the new fan’s wires through the hole in the ceiling or wall.
- Connect the wires: live to live, neutral to neutral, earth to earth. Use wire nuts or terminal blocks - don’t just twist and tape.
- Slide the fan into the opening. If it’s a clip-in model, press until you hear the clips snap. If it’s screwed in, use the provided mounting brackets.
- Reconnect the ducting. Use metal clamps, not zip ties. Seal joints with aluminium foil tape - not duct tape. Duct tape dries out and cracks in heat and humidity.
- Fit the grille or cover. Make sure it’s flush and secure.
Turn the power back on. Test it. If it hums but doesn’t spin, the motor might be faulty. If it’s loud and rattling, the duct might be loose or the fan isn’t level. If it doesn’t turn on at all, double-check your wiring. Most issues are simple fixes - if you catch them early.

When to call a professional
You can replace most extractor fans yourself - but not all. Call an electrician if:
- Your house has old wiring without an earth wire
- The fan is wired into a dedicated circuit with a fuse box that’s hard to access
- You’re replacing a fan in a wet area (like a shower enclosure) and need a certified IP65-rated unit
- You’re not comfortable working with electricity
Also, if the duct runs through the roof and you need to cut a new vent opening, that’s a job for a builder. Roof penetrations need proper flashing and sealing to prevent leaks - especially in Brisbane’s rainy season.
What happens if you don’t replace a faulty fan?
A broken extractor fan isn’t just annoying - it’s a hidden cost. Moisture builds up, leading to mould on walls and ceilings. In Brisbane’s humid climate, that mould grows fast. One study from Queensland Health found that homes without working extractor fans had 3x higher mould counts in bathrooms. Mould spores trigger asthma and allergies, especially in kids and older people.
Over time, damp walls can rot timber frames and ruin plasterboard. Replacing a $100 fan now saves you $2,000 in repairs later. And if you’re selling your home, a musty bathroom or greasy kitchen hood will turn off buyers. Real estate agents say extractor fans are one of the first things they check during inspections.
Pro tips for a smooth replacement
- Buy the new fan before removing the old one - that way you know it fits
- Keep the old fan’s packaging - it often has the exact dimensions and wiring diagram
- If you’re replacing a wall fan, consider upgrading to one with a built-in light - it’s more convenient
- Run the new fan for 20 minutes after installation to flush out any dust from the duct
- Label your switchboard after you’re done - write ‘Bathroom Fan’ next to the breaker so the next person doesn’t get confused
Most extractor fan replacements take under an hour. With the right tools - screwdriver, voltage tester, wire cutters, and maybe a helper to hold the fan steady - you can do it on a Saturday morning. No special skills needed. Just patience and attention to detail.