Water Heater Flush Checklist & Timer
Follow these steps in order. Check off each step as you complete it. The timer helps track the draining process.
Step-by-Step Procedure
- 1. Turn Off Power/Gas: Flip breaker to 'OFF' or set gas knob to 'Pilot/Off'.
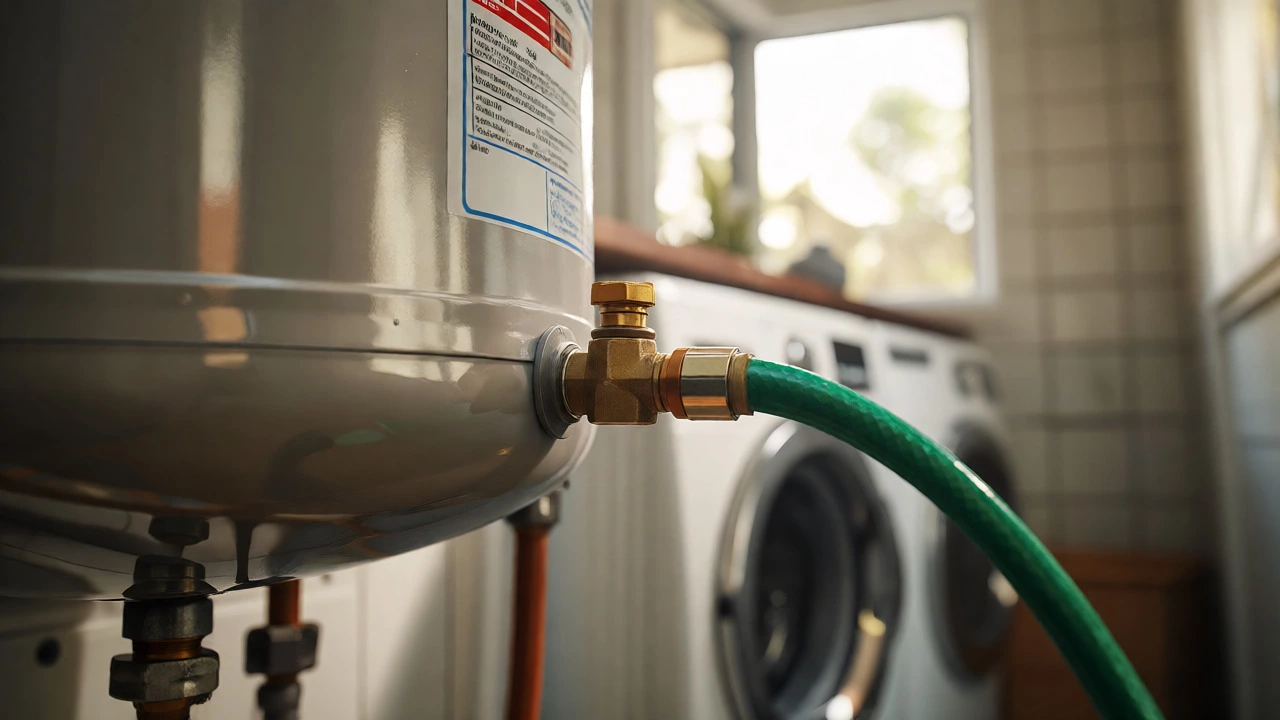
- 2. Connect Drain Hose: Attach garden hose to drain valve (hand-tight + quarter turn).
- 3. Direct Hose: Run end of hose to floor drain or outside.
- 4. Open TPR Valve: Lift lever on Temperature/Pressure Relief valve to let air in.
- 5. Open Drain Valve: Slowly open bottom valve. Start Timer below.
- 6. Wait for Clear Water: Let run until water is clear (usually 10-15 mins).
- 7. Close Drain & Remove Hose: Close valve tightly before removing hose.
- 8. Refill Tank: Open cold water inlet. Keep TPR open until steady flow.
- 9. Verify No Air: Open a hot tap inside house until water flows steadily (no sputtering).
- 10. Restore Power/Gas: Only after tank is full and taps flow steady.
Drain Timer
Critical Safety Checks
Electric: Never touch elements with power on.
Gas: If you smell gas, stop immediately and ventilate.
Old Units: If over 10 years old, be gentle with valves to prevent breakage.
Progress
Ready to start. 0/10 Steps Complete.
Picture this: you turn on the shower, expecting a soothing blast of heat, but instead, you get lukewarm sputters or worse-cold water. If you live in Brisbane, where our tap water is notoriously hard, this isn't just bad luck; it's physics. Sediment buildup inside your tank acts like an insulating blanket, blocking heat transfer and stressing your heating elements. The question every homeowner faces at that moment is simple: Can I flush my water heater myself?
The short answer? Yes, absolutely. But there is a big "if." It depends on your confidence with basic tools, the age of your unit, and whether you're ready to handle potential leaks. This guide breaks down exactly how to do it safely, when to call a pro, and why skipping this step costs you money.
Why Flushing Your Water Heater Is Non-Negotiable
Most modern electric storage water heaters are designed to last about 10 years. In areas with hard water like South East Queensland, minerals such as calcium and magnesium precipitate out of the water and settle at the bottom of the tank. Over time, this layer of grit becomes thick enough to trap air bubbles (causing popping noises) and corrode the steel lining from the inside out.
When you flush a water heater, you aren't just cleaning it; you're extending its lifespan. Think of it like changing the oil in your car. You can drive for a while without doing it, but eventually, the engine seizes. Regular flushing prevents premature failure, saving you thousands on early replacement costs.
Do You Have the Skills? A Quick Self-Assessment
Before you grab a garden hose, be honest about your comfort level. This isn't rocket science, but it involves high-pressure water and electricity. Here’s what you need to have under your belt:
- Basic Tool Proficiency: Can you use a flathead screwdriver and adjust a valve without stripping the threads?
- Troubleshooting Instincts: If water starts spraying unexpectedly, do you know which valve shuts off the main supply?
- Physical Ability: Are you comfortable working in tight spaces, potentially getting wet, and lifting heavy hoses?
If you hesitated on any of these, consider hiring a local plumber. However, if you’re handy and willing to follow instructions precisely, you’re likely good to go.
Step-by-Step: How to Flush Your Electric Water Heater
For most standard electric units found in Australian homes, the process takes about 30-45 minutes. Follow these steps strictly to avoid burns or electrical hazards.
1. Turn Off the Power
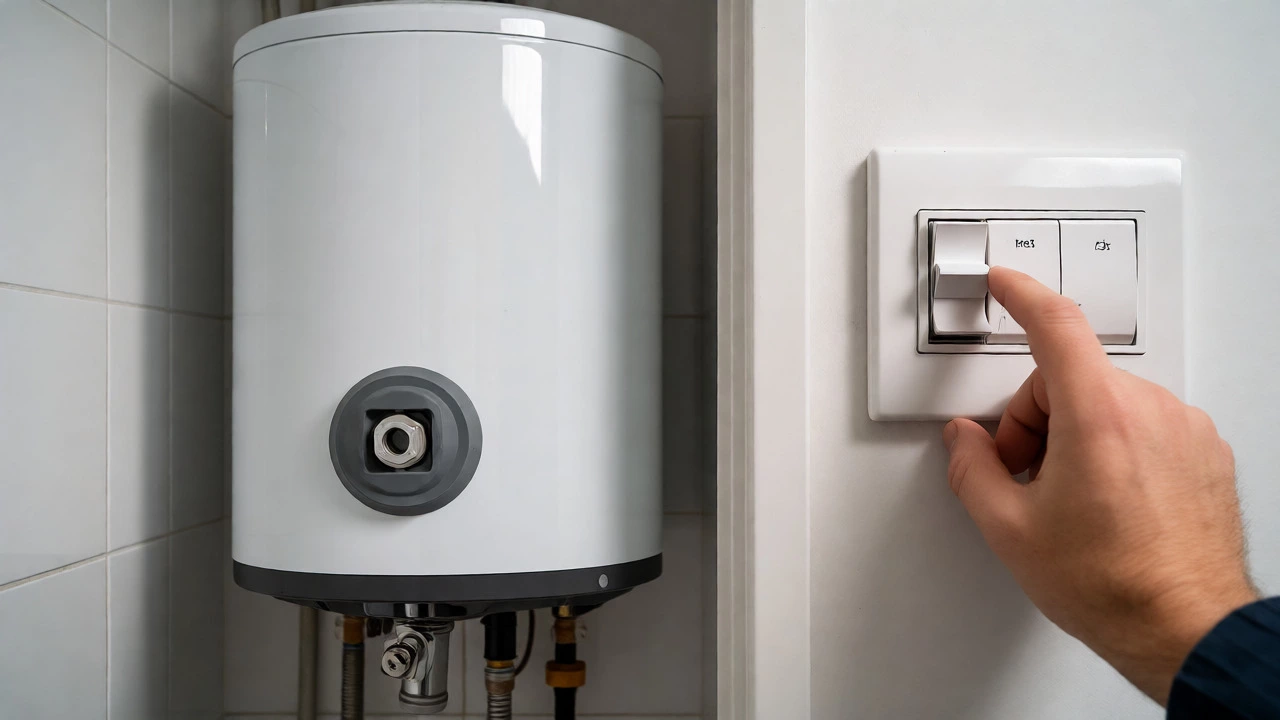
This is critical. Go to your switchboard and flip the breaker labeled "Hot Water" or "Water Heater." If your unit has a dedicated isolator switch nearby, turn that off too. Never skip this step. Trying to work on a live element can result in severe shock or damage to the thermostat.
2. Connect the Drain Hose
Locate the drain valve at the bottom of your tank. Most residential units use a standard garden hose thread. Screw a durable rubber garden hose onto the valve tightly. Hand-tighten first, then give it a quarter-turn with pliers if needed-but don’t overtighten plastic valves, as they crack easily.
3. Direct the Hose to a Drain
Run the other end of the hose to a floor drain, a bucket, or outside into the yard. Ensure the path is clear so water doesn’t back up onto your laundry floor. If you’re using a bucket, be prepared for overflow; a typical 80-liter tank holds a lot of water.
4. Open the Pressure Relief Valve
To allow water to flow smoothly, you need air to enter the tank. Locate the Temperature and Pressure Relief (TPR) valve, usually near the top of the unit. Lift the lever slightly to let air in. You’ll hear a hiss. Leave it open during the draining process.
5. Open the Drain Valve
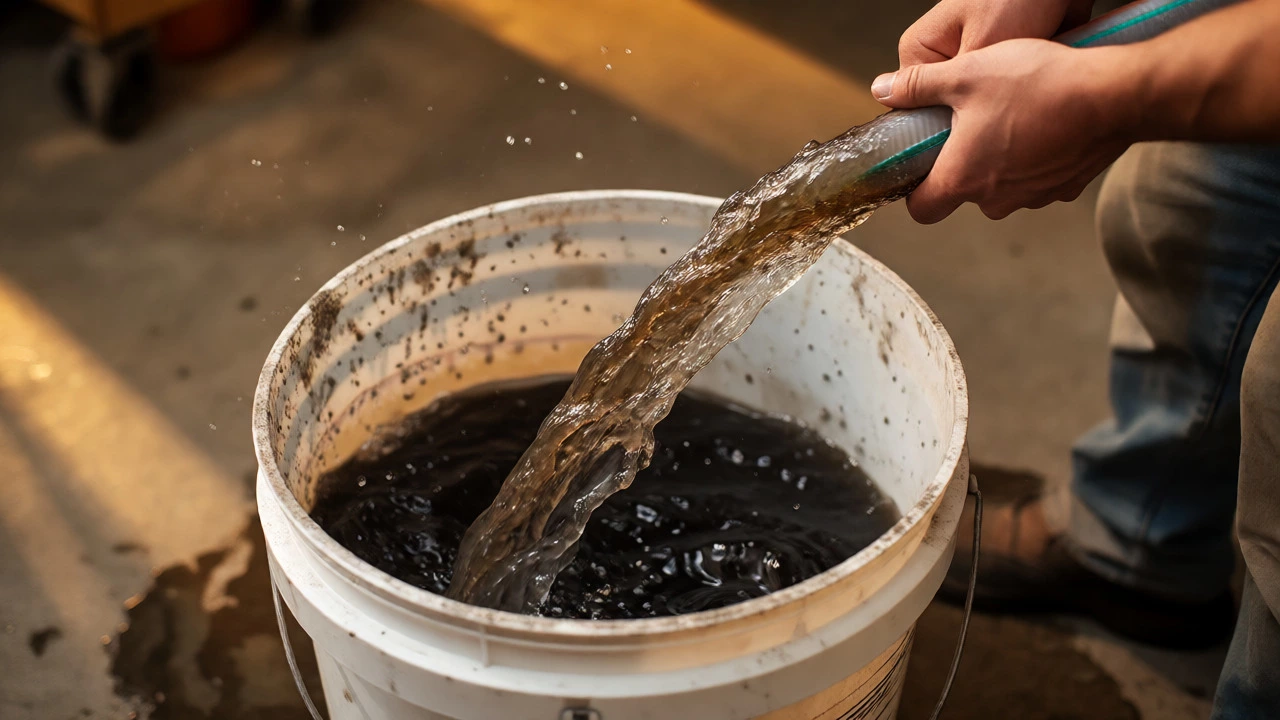
Slowly open the drain valve at the bottom. Expect the initial water to be dark, cloudy, and gritty. Let it run until the water coming out of the hose is clear. This might take 10-15 minutes depending on how much sediment has accumulated.
6. Refill the Tank
Once the water runs clear, close the drain valve. Remove the hose. Now, open the cold water inlet valve to refill the tank. Keep the TPR valve open until a steady stream of water flows from it, indicating the tank is full. Then, close the TPR valve.
7. Restore Power
Check all connections for leaks. If dry, turn the power back on at the switchboard. Wait at least 30 minutes before turning on a hot tap to ensure the elements aren’t exposed to air (which causes instant burnout).
Gas vs. Electric: Key Differences
If you have a gas water heater, the core flushing mechanism is identical, but the safety precautions differ. For gas units, you must turn the control knob to "Pilot" or "Off" rather than flipping a breaker. Also, never attempt to flush a gas unit if you smell gas. Ventilate the area immediately and call a professional.
| Feature | Electric Storage Heater | Gas Storage Heater |
|---|---|---|
| Power Source Cut-off | Switchboard Breaker | Control Knob (Pilot/Off) |
| Risk Factor | Electrical Shock | Gas Leak / Carbon Monoxide |
| Drain Location | Bottom Center | Bottom Side |
| Refill Check | Open Hot Tap Until Flowing | Open Hot Tap Until Flowing |
Common Pitfalls That Turn DIY Into Disaster
Even careful homeowners make mistakes. Here are the three most common issues we see in Brisbane repairs after failed DIY attempts:
- The Stuck Valve: If your drain valve hasn’t been opened in 5+ years, it may seize. Forcing it can break the stem, causing a continuous leak. If it won’t budge, stop. Don’t use excessive force.
- Ignoring Leaks: Sometimes, the pressure of flushing dislodges a seal that was holding back a slow leak. When you reconnect everything, check joints meticulously. A small drip today becomes a flooded ceiling tomorrow.
- Short-Cycling Elements: Turning the power on before the tank is completely full is the fastest way to destroy new heating elements. Always verify water flow from a hot tap before restoring electricity.
When Should You Call a Professional Instead?
While DIY is great for maintenance, some situations require expert intervention. Call a licensed plumber if:
- Your water heater is over 10 years old and showing signs of corrosion (rusty streaks on the tank body).
- The drain valve is leaking or broken beyond simple tightening.
- You have a complex solar or heat pump system with multiple controllers.
- You notice brown or rusty water even after flushing, which suggests internal tank corrosion.
In these cases, the cost of a service call ($150-$250 AUD) is far less than replacing a tank due to negligence.
Maintenance Schedule for Longevity
How often should you flush? For most Brisbane homes, once every 12 months is sufficient. If you have very hard water or a large family, consider every 6 months. Set a reminder on your phone. Consistency beats intensity here. A quick annual flush keeps efficiency high and energy bills low.
Will flushing remove all the sediment?
Not necessarily all of it. Heavy compaction at the bottom of the tank sometimes requires professional hydro-jetting. However, regular flushing removes loose debris and significantly improves performance.
What if the drain valve leaks after flushing?
First, try tightening the packing nut with a wrench. If that fails, replace the washer inside the valve. If the valve itself is cracked, you will need to install a new drain valve, which is a simple part swap.
Is it safe to flush a gas water heater?
Yes, provided you turn the gas control to 'Pilot' or 'Off' and ensure proper ventilation. Never smoke or create sparks near the unit during the process.
How long does it take to refill the tank?
Typically 10-20 minutes, depending on your household water pressure. You’ll know it’s done when water flows steadily from the open TPR valve or a hot tap.
Can I flush a tankless water heater?
Tankless systems require a different method involving a circulation pump and vinegar solution. Do not use the standard gravity drain method on tankless units.