Oven Element Diagnostic Checker
Step-by-Step Symptom Analysis
Answer the following questions about your oven's behavior.
Look at the element while it is running (or recently run). What do you see?
Do you notice any unusual odors or noises from the cavity?
How does the oven maintain temperature? (Use an independent thermometer if available)
If you have tested with a multimeter, select the reading. Otherwise, skip this step.
You’re waiting for dinner to cook, but the food is still cold after an hour. Or maybe you open the door and see a dark spot on the bottom of your oven where it should be glowing red. If this sounds familiar, you might have a faulty heating element. It’s one of the most common reasons ovens stop working properly, and unlike other parts, you can often diagnose it yourself without calling a technician immediately.
The A heating element is a coiled metal wire that converts electrical energy into heat when current flows through it is essentially the engine of your cooking space. When it fails, it doesn’t always break completely; sometimes it just loses efficiency. Knowing the difference between a tired element and a dead one saves you money and frustration. Here is how to pinpoint the issue before you spend cash on unnecessary repairs.
Quick Summary / Key Takeaways
- Visual inspection first: Look for black spots, cracks, or bulges in the coil. A healthy element glows evenly orange-red.
- Smell test: A strong burning plastic or ozone scent usually means insulation has failed inside the element.
- Temperature check: If the oven hits 150°C but never reaches 200°C, the element is likely weak or failing.
- Multimeter test: You need continuity (low resistance) to confirm the circuit is closed. No reading means a broken coil.
- Safety first: Always unplug the oven before touching any internal components.
Visual Cues: What a Bad Element Looks Like
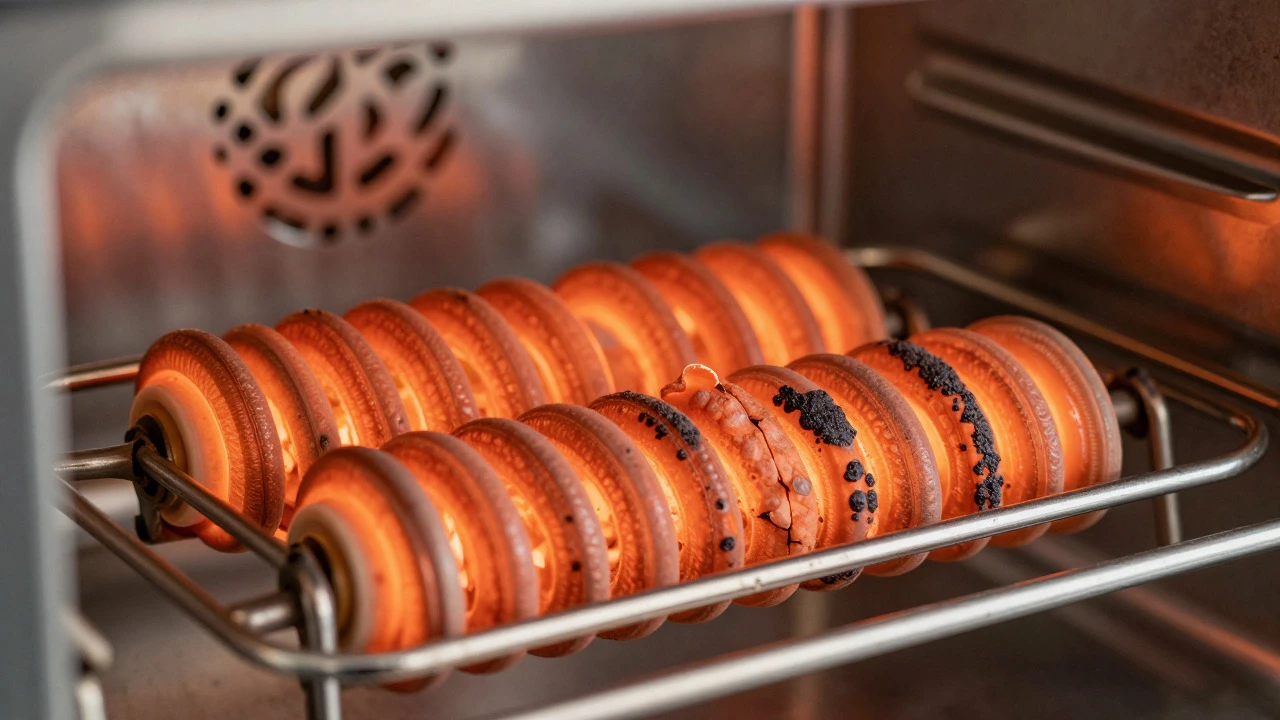
The fastest way to assess your bake element (the flat coil at the bottom) or broil element (the top coil) is simply looking at it. When you run the oven, watch the color. A functioning element turns a bright, uniform cherry-red or orange. If you see distinct black patches, dull gray areas, or sections that don’t light up at all, the metal has burned out or oxidized unevenly.
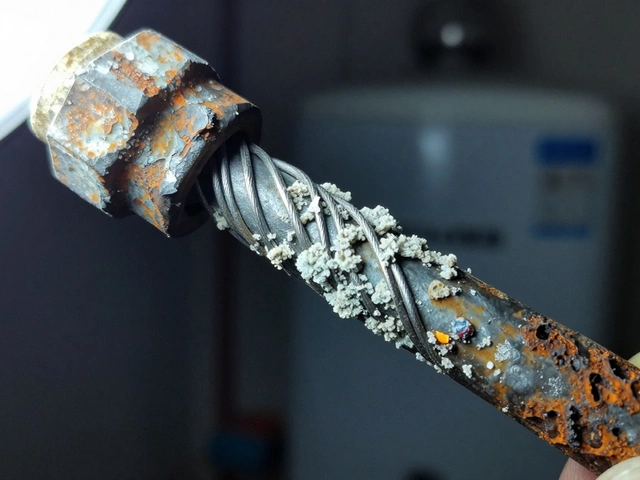
Pay close attention to the shape. The coils should look smooth and consistent. If you notice a section that looks puffed up, melted, or like a small bubble has formed, the internal structure is compromised. This bubbling happens when the ceramic insulator inside the metal sheath cracks, allowing air to reach the hot wire. That contact causes rapid oxidation and eventual failure. While a small bubble might hold for a few more weeks, it’s a ticking time bomb. Replacing the element now prevents a messy short circuit later.
Don’t ignore the mounting brackets either. These are the metal clips that hold the element in place. If they look scorched or warped, the element may have been running too hot for too long, which accelerates wear. In many cases, the brackets themselves can cause issues if they touch the coil directly, creating a ground fault. Check that there is a clear gap between the coil and any metal surface.
The Smell and Sound Test
Your nose is actually a pretty good diagnostic tool. When an oven element starts to fail, it often emits a specific odor. A faint metallic smell is normal during the first few uses of a new oven, but a sharp, acrid smell like burning plastic or ozone is a bad sign. This indicates that the internal insulation material is breaking down due to excessive heat stress. If you smell this while the oven is running, switch it off immediately. Continued use can lead to a short circuit that trips your breaker or, in worst-case scenarios, causes a fire.
Listen closely as well. A healthy element is silent. If you hear a crackling, popping, or hissing noise coming from the bottom or top of the cavity, something is wrong. Crackling usually means debris (like food grease or crumbs) is falling onto the hot coil and burning off. While cleaning fixes this, persistent popping suggests the coil itself is expanding and contracting unevenly, possibly due to a loose connection or a developing crack in the metal.
Performance Clues: How the Oven Cooks
If the element looks okay but the cooking isn’t right, look at the results. Are you baking a cake and the center is raw while the edges are burnt? This uneven heating pattern is classic for a failing element. One side of the coil might be weaker than the other, causing hot spots. Alternatively, if the oven takes forever to preheat, say, over 30 minutes to reach 180°C, the element is losing its ability to generate sufficient wattage.
Use an independent oven thermometer to verify the actual temperature. Set your oven to 200°C and wait for it to stabilize. If the thermometer reads only 170°C or 180°C, the thermostat might be accurate, but the element is underperforming. Conversely, if the oven overshoots the set temperature significantly (e.g., hitting 230°C when set to 200°C), the problem might not be the element but the thermostat or the relay board. However, if the oven struggles to maintain heat once the door is opened (a common test: open the door for 10 seconds and close it; the temperature shouldn't drop drastically), a weak element will struggle to recover quickly.
Testing with a Multimeter: The Definitive Check
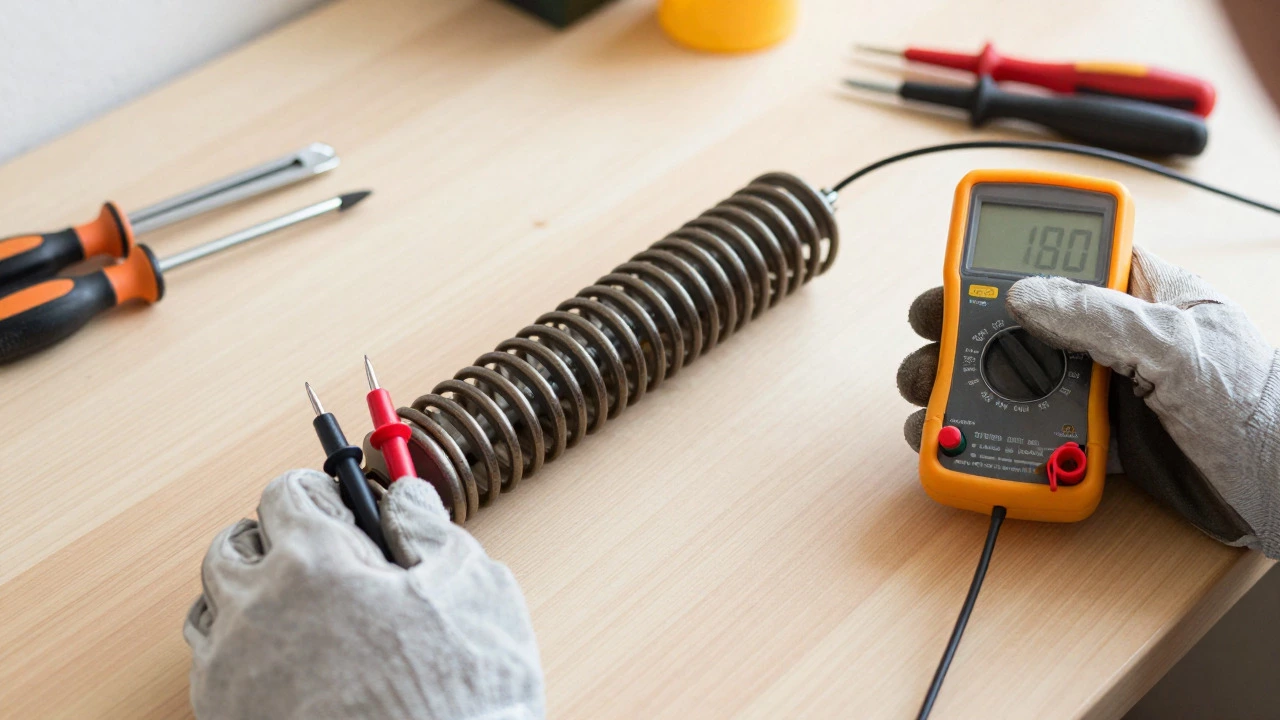
For a 100% confirmation, you’ll need a digital multimeter. This is the gold standard for diagnosing electrical faults. Before you start, ensure the oven is unplugged from the wall socket. Safety is non-negotiable when dealing with high-voltage appliances.
- Access the element: Remove the lower rack and slide out the crumb tray. For most built-in ovens, the bake element is held by two screws on the sides. Loosen these screws carefully so you can pull the element forward enough to access the terminals at the back. You don’t need to remove it completely, just enough to get your probes to the connections.
- Set the multimeter: Turn your multimeter to the 'Resistance' or 'Ohms' setting (Ω). If you have a continuity mode (usually indicated by a sound wave icon), that works too.
- Disconnect the wires: To get an accurate reading, you must disconnect the power wires from the element terminals. Usually, there are two wires connected to the ends of the element. Unclip them or unscrew them depending on your model.
- Test for continuity: Touch one probe to each terminal of the element. You should see a low resistance reading, typically between 10 and 30 ohms, depending on the wattage of the element. If the screen says 'OL' (Open Loop) or '1', the coil is broken internally. If it reads 0 ohms, the element is shorted. Both readings mean the element needs replacement.
- Check for shorts to ground: With one probe on a terminal and the other on the metal chassis of the oven, you should see 'OL'. If you get a low resistance reading here, the element has grounded against the frame, which is dangerous and requires immediate replacement.
| Reading | Meaning | Action Required |
|---|---|---|
| 10 - 30 Ohms | Healthy/Closed Circuit | No action needed. Element is good. |
| OL (Open Loop) | Broken Coil | Replace the element. |
| 0 Ohms | Short Circuit | Replace the element immediately. |
| High Resistance (>50 Ohms) | Weakening Element | Monitor performance; replace soon. |

Common Misdiagnoses: Is It Really the Element?
Before you buy a new part, rule out the easy stuff. Often, people blame the element when the issue is elsewhere. * **The Thermostat:** If the oven cycles on and off frequently but never gets hot, the thermostat might be stuck in the 'off' position. If it stays on constantly and burns everything, the thermostat is stuck 'on'. * **The Relay Board:** In modern ovens, a solid-state relay controls power to the element. If this relay fails, no power reaches the element even if the element is perfect. You can test this by listening for a click when you turn the oven on. No click? Check the control board. * **The Door Seal:** If heat escapes because the gasket is torn or dirty, the oven will struggle to maintain temperature. Clean the seal with warm soapy water. If it’s cracked, replace it. * **Ventilation:** Ensure the vents aren’t blocked by towels or clutter. Poor airflow causes overheating and sensor errors. If you’ve checked the visual cues, the smell, the temperature accuracy, and performed the multimeter test, and the element shows an open loop, you can confidently order a replacement. Most elements cost between $30 and $60 AUD and take about 15-20 minutes to install if you’re comfortable with basic tools.
When to Call a Professional
While DIY replacement is feasible, some situations warrant a pro. If your oven is under warranty, call the manufacturer first. Unauthorized repairs can void coverage. Also, if the wiring harness behind the element looks frayed, burnt, or damaged, don’t try to splice it yourself. Damaged wiring poses a fire risk. Similarly, if you’re unsure about reconnecting the terminals or if the element housing is corroded, a licensed electrician or appliance technician can handle it safely. In Brisbane, local repair services are readily available and often charge less than the cost of a new oven, making professional diagnosis a smart investment for older models.
Frequently Asked Questions
Can I clean my oven element to fix it?
Generally, no. Do not spray cleaner directly on the element. Grease buildup on the outside can be wiped gently with a dry cloth while the oven is cool. However, if the element is discolored or cracked, cleaning won’t restore its function. Replacement is the only permanent fix for internal degradation.
What is the average lifespan of an oven element?
Most residential oven elements last between 5 and 10 years. Heavy usage, frequent high-temperature broiling, and poor ventilation can shorten this life. If your oven is older than 8 years, expect potential component fatigue.
Do I need to replace both the bake and broil elements?
No, they are separate components. Only replace the one that is faulty. However, if you are replacing an old element, consider upgrading to a higher-quality brand that offers better heat distribution and longevity.
Why does my oven trip the breaker when I turn it on?
This is a sign of a short circuit. It could be the element grounding against the chassis or a damaged wire. Stop using the oven immediately and inspect the connections. If you see burn marks on the wires, call a technician.
Is it cheaper to replace the element or buy a new oven?
Replacing an element costs roughly $30-$60 plus labor if you hire someone. A new mid-range oven costs $500-$1000+. Unless your oven is over 10 years old and has multiple other failures, replacing the element is almost always the more economical choice.