Fridge Repair Decision & Diagnostic Tool
Select a common issue below to see if it's a DIY job or requires a pro, along with tools needed and estimated time.
Dirty Coils
Easy DIYFridge running hot or not cooling efficiently.
Faulty Seals
Easy DIYSweating doors or ice buildup near frame.
Clogged Drain
Medium DIYWater pooling inside the fresh food section.
Compressor Issues
Call ProLoud humming/clicking or silent while light works.
Refrigerant Leak
Call ProHard to locate, involves flammable R-600a gas.
Control Board
Call Pro*Erratic behavior. *Diagnosis is tricky for DIY.
Details
Safety & Tools
Estimated Effort
Cost:
Safety Level:
Step-by-Step Guide
Repair vs. Replace Calculator
Use the "50% Rule": If repair cost > 50% of new unit price, replace it.
Quick Pre-Call Checklist
- ● Power Outlet Working?
- ● Temp Settings Correct? (3°C/-18°C)
- ● Vents Not Blocked by Food?
- ● Condenser Coils Clean?
- ● Door Seal Test Passed?
You’re standing in your kitchen, staring at a puddle of water on the floor or listening to that ominous hum that just stopped. The first thought isn’t usually "how do I fix this?" It’s often "how much is this going to cost me?" And honestly, if you call a technician for every minor glitch, you might spend more on service fees than the appliance is worth. But here’s the reality: fridge repair isn't always rocket science. About 60% of common refrigerator failures are things you can actually handle with basic tools and a bit of patience.
Before you grab your screwdriver, though, you need to know where to draw the line. Some fixes are simple swaps; others involve high-voltage electricity or sealed refrigerant systems that require professional certification. This guide breaks down exactly what you can tackle solo, what requires a pro, and how to avoid making a small problem into a very expensive one.
The Safety First Rule
Let’s get the boring stuff out of the way because it matters. Your refrigerator runs on mains electricity. Before you touch anything inside the back panel, unplug it. Not just turn it off-unplug it from the wall. Water and electricity don’t mix well, and fridges are full of both.
Also, check your local regulations. In Australia, working on electrical components generally falls under homeowner privileges, but if you start messing with the wiring harness or replacing the main control board, ensure you’re confident. If your unit is under warranty, opening the sealed system (the compressor and pipes) will void it instantly. Stick to external components like lights, shelves, and door seals unless you’re prepared to lose that coverage.
Common Problems You Can Actually Fix
Most people panic when their fridge stops cooling, but often the issue is trivial. Here are the top three scenarios where DIY is not just possible, but recommended.
1. Dirty Condenser Coils
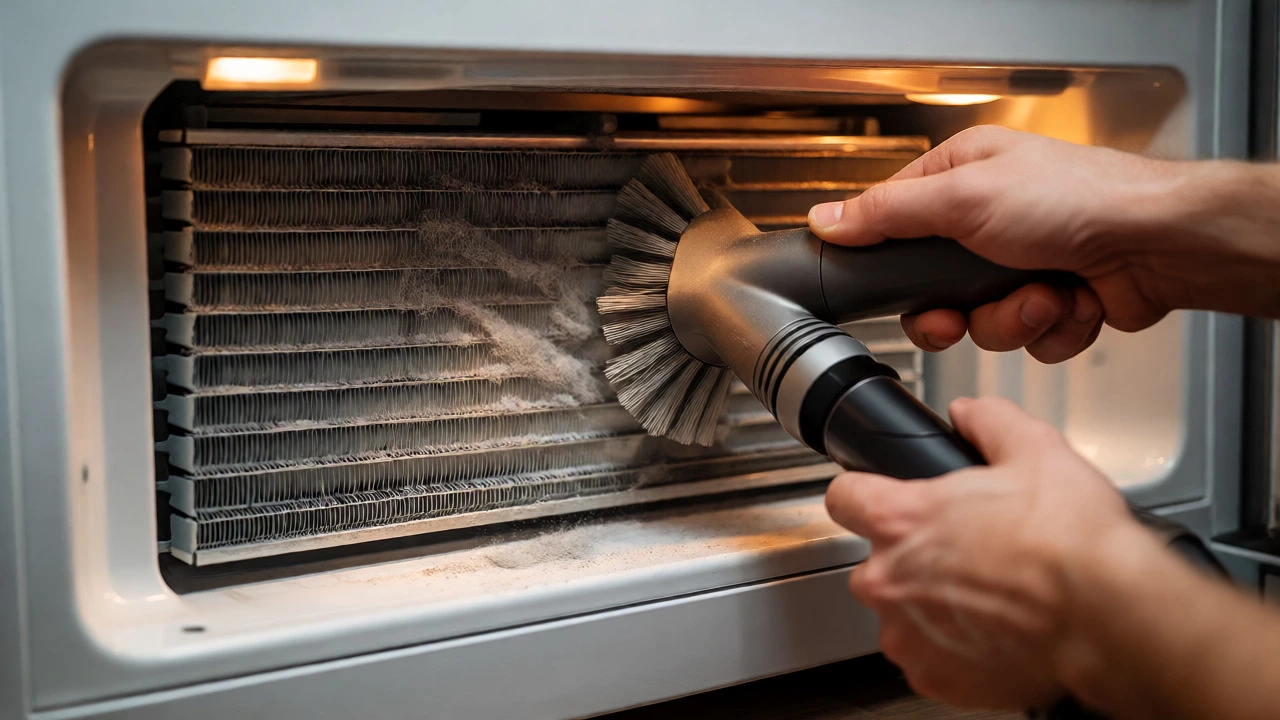
If your fridge is running hot on the outside or struggling to keep cool, check the coils. These are usually located behind a kickplate at the bottom front or on the back of the unit. Over time, dust and pet hair clog them up, insulating the fridge so it can’t release heat efficiently.
- Tools needed: Vacuum cleaner with brush attachment, coil cleaning brush (optional).
- Time required: 15-20 minutes.
- Cost: $0 if you have a vacuum.
Pull the fridge away from the wall. Remove the cover plate if necessary. Gently vacuum the coils. Don’t use compressed air alone, as it blows dirt deeper into the fins. Use the brush to dislodge stubborn gunk, then vacuum again. Push the fridge back, leaving an inch of space for airflow. You’ll likely see the temperature stabilize within 24 hours.
2. Faulty Door Seals (Gaskets)
Is your fridge sweating? Is there ice building up near the door frame? Your door seal might be broken. A bad seal lets warm, humid air in, forcing the compressor to work overtime.
Test it with the "dollar bill trick." Close the door on a dollar bill. Pull it out. If it slides out easily with no resistance, the seal is weak. Do this around all four sides of the door.
Replacing a gasket is surprisingly easy. Most modern fridges use a snap-in design. Order the exact part number (found on a sticker inside the fridge compartment). Clean the channel with warm soapy water. Start at one corner and press the new gasket into place, working your way around. No glue needed for most models. Once installed, leave the door closed for a few hours to let the magnet align properly.
3. Clogged Defrost Drain
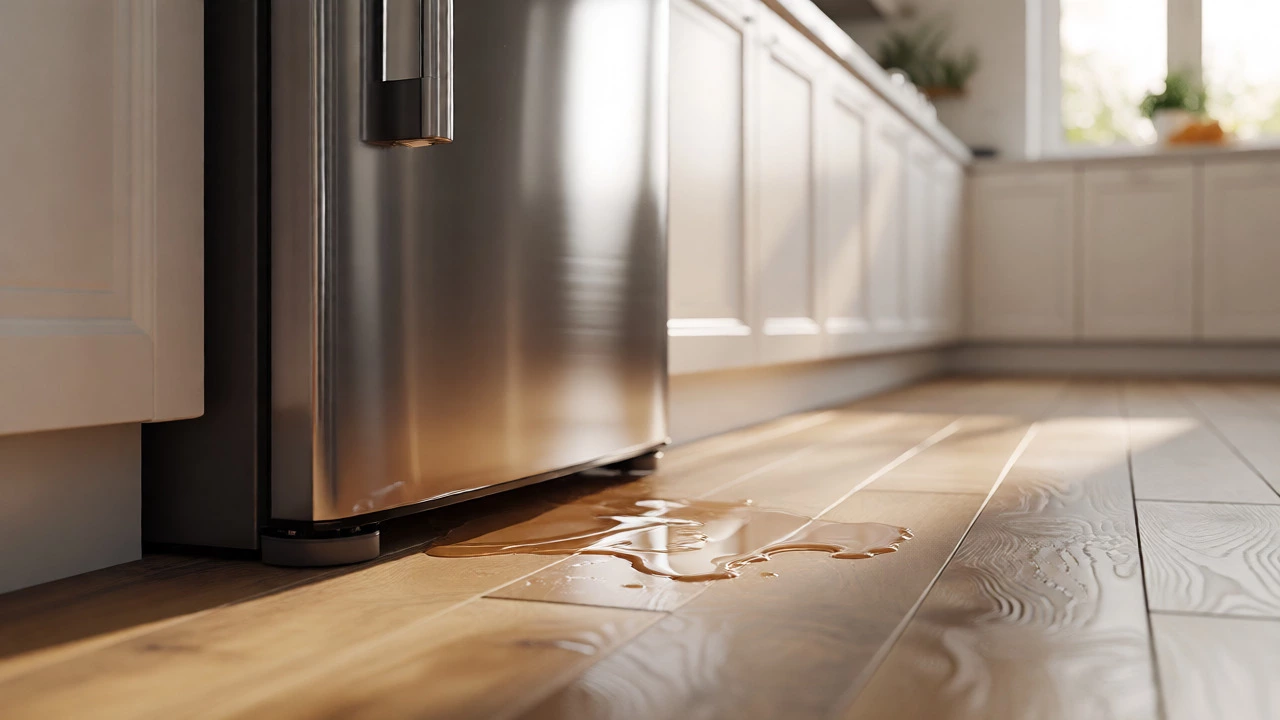
Water pooling inside the fresh food compartment? That’s almost always a blocked defrost drain. When the fridge defrosts, water should flow down a small hole in the back wall and into a pan above the compressor. If that hole gets clogged with slime or food bits, the water backs up and leaks onto your shelves.
- Tools needed: Turkey baster, warm water, baking soda, pipe cleaner or flexible wire.
- Time required: 30 minutes.
Remove the interior back panel (usually held by screws). Locate the drain hole at the bottom of the evaporator tray area. Pour a mixture of warm water and baking soda down the hole using the baster. If it doesn’t drain quickly, gently insert a pipe cleaner to break up the blockage. Flush until clear water flows into the drip pan underneath.
When to Call a Professional
Some repairs are dangerous or technically complex enough to warrant hiring a licensed appliance technician. Here’s where you should put down the wrench.
| Problem | Why DIY? | Why Pro? |
|---|---|---|
| Compressor Failure | Parts are cheap ($100-$200). | Requires brazing skills, refrigerant recovery, and EPA/Australian licensing. |
| Refrigerant Leak | Hard to locate without UV dye. | Handling R-600a (isobutane) requires certified handling due to flammability. |
| Main Control Board | Easy swap if accessible. | Diagnosis is tricky; could be sensor error instead of board failure. |
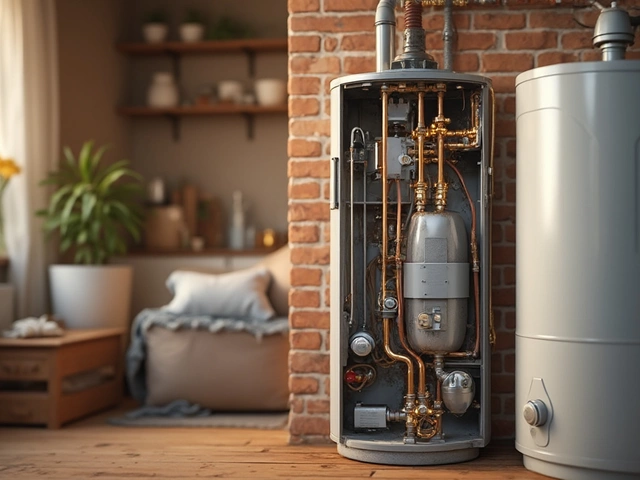
| Evaporator Fan Motor | Often behind panels, but mechanical. | Accessing the evaporator may require removing insulation foam. |
The biggest red flag is the compressor. If your fridge hums loudly then clicks off repeatedly, or stays silent while the light works, the compressor might be seized or the start relay failed. While replacing a start relay is a cheap DIY win ($20 part), replacing the compressor itself involves cutting copper lines, soldering, and recharging the system. Unless you’re handy with HVAC tools, leave this to the pros.
Essential Tools for the DIYer
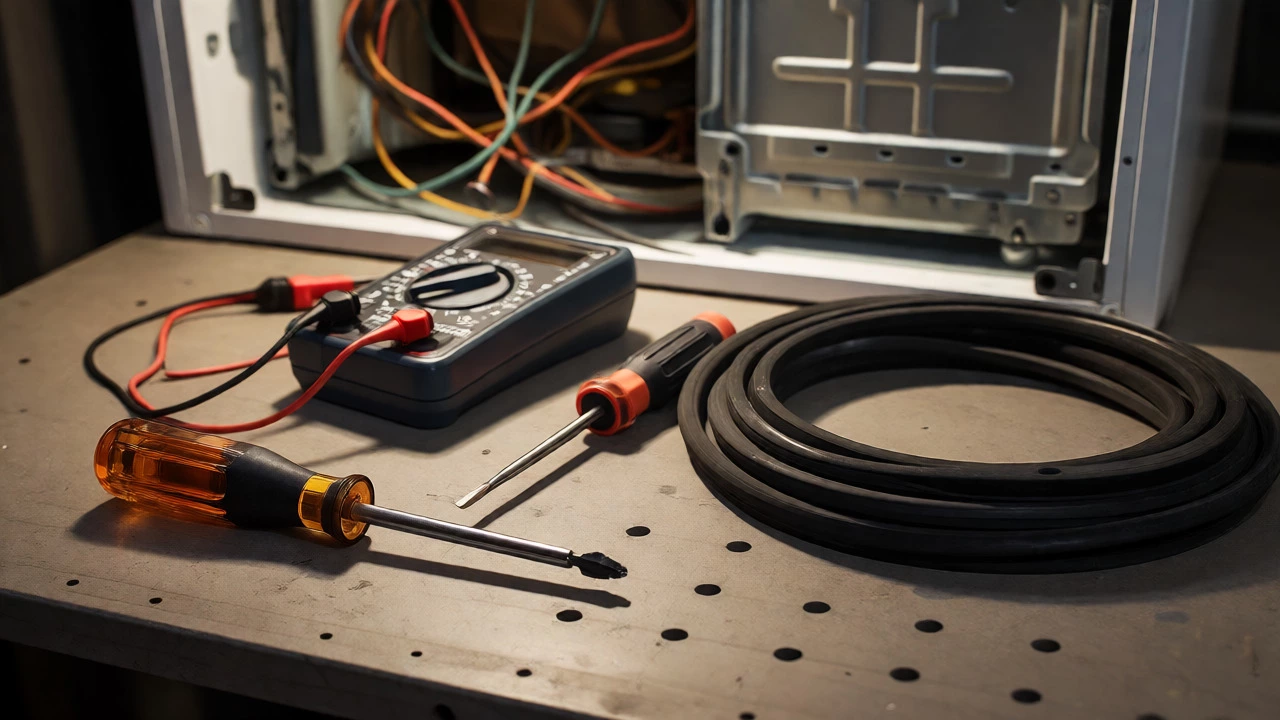
You don’t need a workshop. Most fridge fixes require a standard toolkit. Here’s what you should have ready before starting:
- Screwdrivers: Phillips head (most common) and flathead.
- Nut drivers: 5/16" and 1/4" hex drivers are frequently used in appliance assembly.
- Multimeter: Essential for testing continuity in thermostats and fuses. A basic model costs under $30.
- Putty Knife: For prying off plastic clips without snapping them.
- Vacuum Cleaner: As mentioned, crucial for coil maintenance.
Pro Tip: Take photos before you disconnect any wires. Label them with masking tape. It saves massive headaches during reassembly.
Cost-Benefit Analysis
Is it worth fixing? This depends heavily on the age of your unit. A general rule of thumb in the industry is the "50% Rule." If the repair cost exceeds 50% of the price of a new comparable fridge, buy a new one.
For example, if your fridge is 10 years old and needs a new compressor ($600 labor + parts), and a new energy-efficient model costs $800, replace it. However, if your fridge is only 3 years old and needs a $150 fan motor, definitely repair it. Newer fridges are often less durable than older ones, so keeping a healthy mid-life unit running is smart financial planning.
Troubleshooting Checklist
Before calling anyone, run through this quick diagnostic list. It solves half the support calls technicians receive.
- Check the Power: Is the outlet working? Test it with a lamp. Check the circuit breaker.
- Check the Settings: Did someone accidentally change the temperature dial? Reset it to the manufacturer’s recommendation (usually 3°C for fridge, -18°C for freezer).
- Inspect the Vents: Are vents inside the fridge blocked by large food items? Air needs to circulate.
- Listen to the Fans: Open the freezer. Press the door switch manually. Does the fan spin? If not, the fan motor or switch might be dead.
- Check the Condenser: Is it dirty? Clean it.
If you’ve done all this and it’s still warm, you’re likely looking at a component failure like the thermostat, defrost timer, or control board. These are often swappable with basic tools, but diagnosis is key.
Frequently Asked Questions
How long does a typical fridge last?
The average lifespan of a modern refrigerator is between 10 and 15 years. Older models from the 90s often lasted 20+ years, but current manufacturing trends prioritize energy efficiency over longevity. Regular cleaning of condenser coils can extend this life by several years.
Can I replace the thermostat myself?
Yes, replacing a thermostat is one of the easier electrical repairs. It usually involves unplugging the fridge, accessing the control panel, disconnecting two wires, swapping the part, and reconnecting. Ensure you match the part number exactly, as calibration varies between models.
Why is my fridge freezing everything?
This is often caused by a faulty damper control (which regulates cold air flow from the freezer to the fridge) or a malfunctioning thermistor. If the damper is stuck open, too much cold air floods the fresh food section. Checking the damper operation is a good first step.
What does R-600a mean?
R-600a is isobutane, the refrigerant used in most modern fridges since the early 2000s. It replaced Freon (R-134a) because it is more efficient and has zero ozone depletion potential. However, it is highly flammable, which is why professionals must follow strict safety protocols when handling it.
Is it cheaper to repair or replace a fridge?
Use the 50% rule. If the repair quote is more than half the cost of a new equivalent model, replace it. Also consider energy savings; a 15-year-old fridge uses significantly more electricity than a modern inverter model, potentially saving you money on power bills over time.
Next Steps
Start with the free checks. Clean those coils. Test the door seal. Listen to the fans. These steps take ten minutes and cost nothing. If the problem persists, identify the specific symptom-noise, leak, or lack of cooling-and look up the specific part for your model number. You’ll be surprised how many "dead" fridges are just dirty or misconfigured.