Oven Control Board Diagnostic Tool
Oven Problem Check
Select all symptoms you're experiencing to determine if your issue is likely caused by a faulty oven control board.
Select Symptoms
Diagnostic Results
When your electric oven suddenly refuses to heat, bakes unevenly, or displays strange error codes, the culprit is often the oven control board. Knowing how to spot a failing board saves you time, money, and the frustration of endless service calls.
What Exactly Is an Oven Control Board?
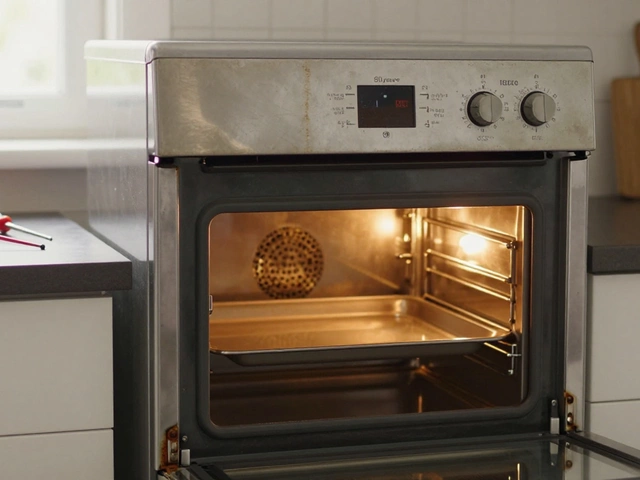
Oven Control Board is a digital circuit board that receives user inputs from the keypad, processes temperature and timer settings, and then tells the heating elements, thermostat, and safety devices what to do. It sits behind the front panel and is the brain of most modern Electric Oven. When the board fails, the oven can act as if it has a mind of its own.
Common Symptoms of a Bad Control Board
Before you grab a screwdriver, run through this checklist. If any of these signs appear, the board is a prime suspect.
- Display stays blank or shows garbled characters.
- Oven won’t heat at all, even when the timer is set correctly.
- Heat comes on but the temperature never reaches the set point.
- Random error codes that don’t match the user manual.
- Intermittent operation - works one day, dead the next.
- Flickering or unresponsive knobs and buttons.
These symptoms can also be caused by a blown fuse, a faulty temperature sensor, or a loose wiring harness, so it’s worth ruling out the simpler issues first.
Step‑by‑Step Diagnosis
Follow this logical flow. Treat each step like a detective narrowing down suspects.
- Safety First: Unplug the oven or switch off its dedicated circuit breaker. Even though ovens run on 240V, a dead circuit eliminates the shock risk.
- Inspect Visual Damage: Open the back panel and look for burnt marks, cracked components, or swollen capacitors on the Oven Control Board. Any blackening is a red flag.
- Check the Fuse: Fuse protects the board from power surges. Use a multimeter (see step 4) to confirm continuity. A blown fuse can mimic a dead board.
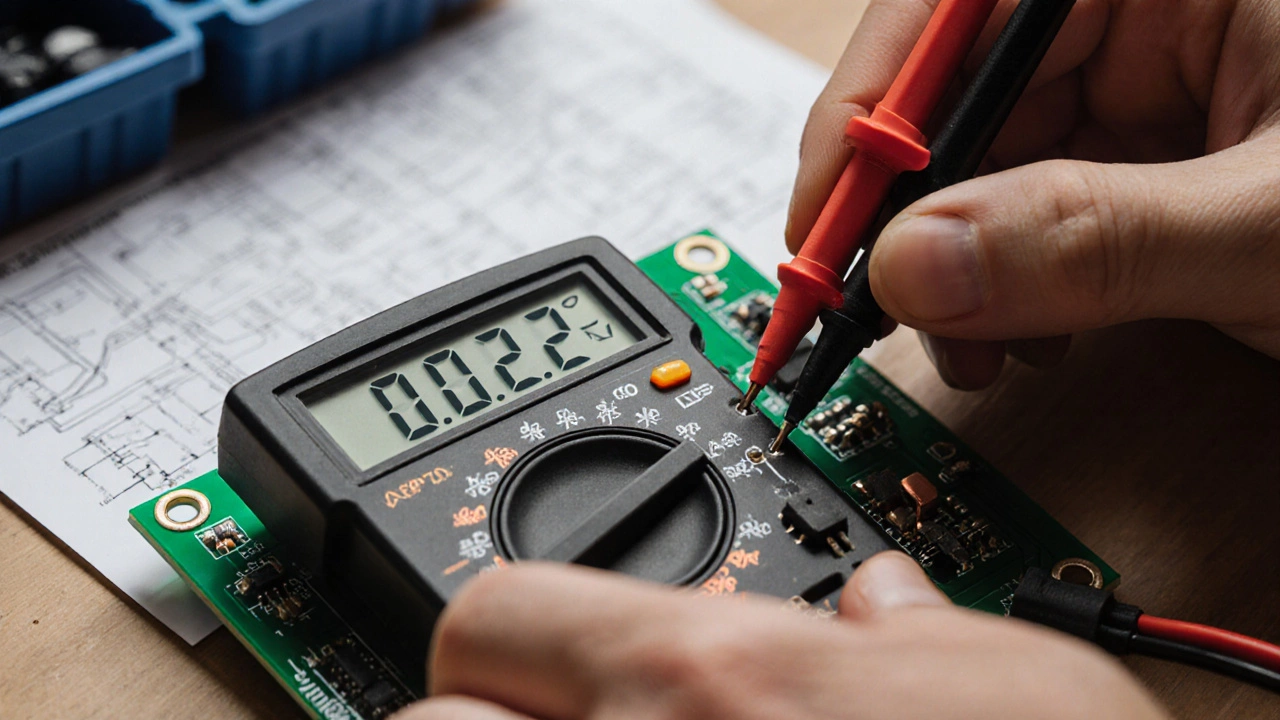
- Test the Board with a Multimeter: Multimeter is your best friend here. Set it to the resistance (Ω) mode and probe the following points:
- Power input terminals - should read close to zero resistance.
- Output pins that feed the Heating Element. If you get infinite resistance, the board isn’t sending a signal.
- Verify the Temperature Sensor: The sensor (often a thermistor) tells the board the oven’s interior heat. Disconnect it and measure resistance at room temperature - it should be around 10kΩ for most models. A wildly different value points to a sensor issue rather than the board.
- Inspect the Wiring Harness: Loose or corroded wires can interrupt signals. Gently wiggle each connector while watching the display. If the oven flickers in response, the harness may be the culprit.
- Replace the Board (if needed): When all tests point to the board, order a replacement that matches the oven’s model number. Install it by reversing the removal steps, ensuring all connectors click firmly.
Document each test result. It helps you or a technician pinpoint the exact failure point later.
How to Replace the Oven Control Board Safely
Even if you’re not a seasoned electrician, swapping the board is doable with a few tools.
- Turn off power at the breaker and unplug the oven.
- Remove the oven’s front or back panel (consult the manual for screw locations).
- Locate the Oven Control Board. It’s usually a flat, rectangular component with several wire connectors.
- Take a photo of the wiring layout. This prevents mis‑wiring later.
- Release any retaining clips and gently pull the board out.
- Insert the new board, re‑attach all connectors, and secure it with the clips.
- Replace the panel, restore power, and run a quick test - set the oven to 350°F and see if it heats within a reasonable time.
If the oven still misbehaves, revisit the earlier diagnostic steps. A new board can’t fix a broken heating element or a shorted thermostat.
Frequently Overlooked Issues that Mimic a Bad Board
Before you spend on a replacement, double‑check these common culprits.
| Symptom | Possible Cause (Other than control board) |
|---|---|
| No heat, lights ok | Burned Heating Element or open circuit |
| Temperature runs low | Faulty Thermostat or temperature sensor |
| Intermittent error codes | Loose Wiring Harness or corroded connectors |
| Display blank | Blown Fuse or power supply issue |
These checks can save you a pricey board if the real problem lies elsewhere.
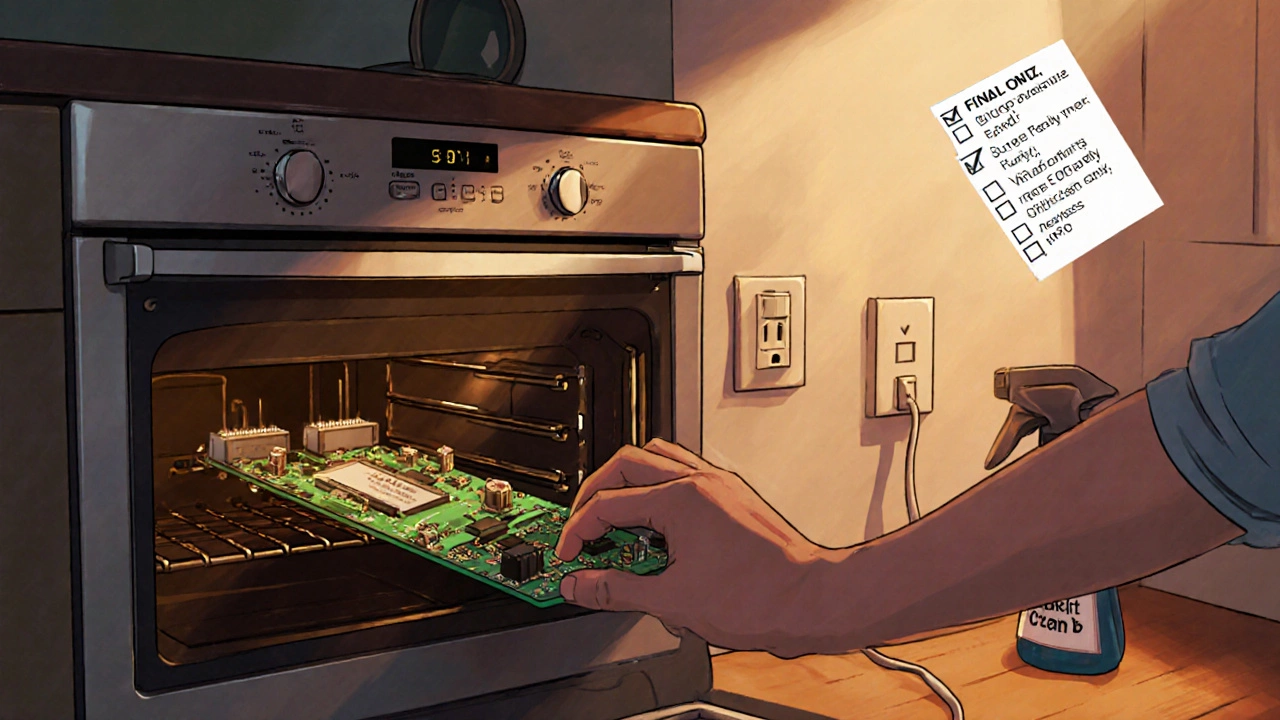
Pro Tips for Longevity
- Keep the oven interior clean. Food splatter can drip onto the board and cause corrosion.
- Never use a harsh chemical spray on the control panel; vapor can seep into the board.
- Install a surge protector on the circuit that feeds the oven. Power spikes are a leading cause of board failure.
- Schedule a yearly visual inspection if your oven sees heavy use (e.g., in a bakery).
Following these habits reduces the odds of a premature board malfunction.
Frequently Asked Questions
How can I tell if the control board is dead or just the power cord?
First, test the outlet with a multimeter or plug another appliance into it. If the outlet works, the power cord is fine and you can move on to inspecting the board.
Do I need to replace the entire board if only one relay is faulty?
Most manufacturers sell the board as a single unit; individual relays aren’t sold separately. Replacing the whole board is usually the most cost‑effective solution.
Can a blown fuse make the oven display show error codes?
Yes. When the fuse trips, the board may receive incomplete power, causing it to send random codes. Check the fuse before assuming the board is bad.
Is it safe to test the board while it’s still plugged in?
Never. Always disconnect power before touching any circuit. Even a powered‑off oven can hold charge in capacitors, so give it a minute after unplugging.
How long does a replacement control board typically last?
With proper voltage and a surge protector, a new board can last 8‑12 years, which is roughly the lifespan of the oven itself.