Finding your freezer unexpectedly shut down can indeed send a chill down your spine. But fear not, because before you panic about spoiled food and costly repairs, there are a few basic steps you can take to troubleshoot the issue. Life throws curveballs, and sometimes machines do too, but they can often be nudged back on track with a little patience and know-how.
Before diving into complex repairs, it's key to rule out some simple possibilities. This involves checking the power connections and ensuring the temperature settings haven't been tampered with. As appliances often need a little tender, love, and care, regular maintenance like cleaning coils can significantly prolong their lifespan and improve efficiency.
- Initial Checks: Power and Settings
- Cleaning and Maintenance Routines
- Inspecting Components and Parts
- When to Call a Professional
- Preventive Measures for Longevity
Initial Checks: Power and Settings
When a freezer suddenly stops working, the most logical place to start is by looking into its power source. Much like a seasoned detective solving a case, approach this first step with calm and scrutiny. Begin by confirming if the appliance is plugged in correctly. Sounds simple, but so often during cleaning or rearranging, cords can become loose unbeknownst to us. Make a trek to where the freezer plugs in, ensure it is sitting firmly in its place. Gently press the plug into the socket. If it feels shaky or too easy to pull free, this could be your culprit.
Once you’ve tackled the plug, it’s time to shift your attention to the circuit breaker or fuse box. Freezers might draw significant power occasionally, which can trip a breaker especially if the electric circuit is overloaded. Find your home’s electric box, and open it with the steady confidence of one who’s done this before. Look for any switches that are out of place and switch them back on. A useful tip here is using a flashlight, if needed, to see clearly in the often poorly lit breaker rooms.
"The first step in fixing any machine is understanding what it is trying to do, and what stops it from doing it." - Cheryl Heller
With the electricity all set and the freezer plugged in, shift your scrutiny to the temperature dial or digital control. You might want to keep some of your favorite treats cold, and perhaps an unintended knock has adjusted the settings. Check if any numbers or settings appear out of the ordinary. Most freezers have a recommended setting in the owner's manual, typically around zero degrees Fahrenheit (-18 degrees Celsius), so it's worthwhile to maintain it at that temperature.
Pay attention to the freezer tips associated with climate. If the ambient temperature changes significantly, it might alter the freezer’s internal efficiency. This is especially true if the unit is stationed in unconditioned spaces, like a garage. Ensure there's a good airflow around the appliance, too. A lack of ventilation can sometimes slow down performance. Move anything that may be barricading the freezer from breathing properly.
| Temperature | Setting |
|---|---|
| Ideal Internal Temp | 0°F (-18°C) |
| Surrounding Temp | 32°F - 110°F (0°C - 43°C) |
Once these steps are carried out methodically, you unleash the magic that runs through the wires and circuits of your home, bringing back the steady hum of a working freezer. By taking the time to embark on these initial checks, you could very well avert the need for more considerable interventions and extend your freezer's life in the process.
Cleaning and Maintenance Routines
For most, a freezer is an indispensable part of kitchen life—quietly working away in the corner but, like any other household hero, it demands some attention every now and then. Regular maintenance is crucial to ensure the freezer functions optimally. One of the simplest ways to maintain it is by cleaning the condenser coils. These coils, usually located at the back or beneath the appliance, can get clogged with dust and debris. When this happens, the coils struggle to disperse heat, forcing the freezer to consume more energy and ultimately struggle with cooling. It is often recommended to clean them at least twice a year, ensuring there’s ample space around the freezer for air to circulate.
To clean the coils, first unplug the freezer—safety first! Then, you can easily tackle the dust using a vacuum cleaner with a brush attachment or a coil cleaning brush. Make gentle strokes to avoid damaging them. Sometimes, inadvertently neglected, cleaning coils could lead to a freezer shutdown. In fact, Energy Star notes that proper maintenance can lessen energy consumption by up to 30%!
"Regular maintenance of your appliances can substantially reduce energy use and ward off costly repairs," says Energy Star's guide on home appliances.Dust doesn’t just accumulate around the coils; the refrigerator’s interior coating can collect grime and potentially lead to odor build-ups, so periodic interior cleaning is also recommended.
Never forget the door seals, as they are vital to maintaining the freezer’s cool environment. Damaged or dirty seals can leak cold air, which puts additional strain on the motor. Over time, this can lead to inefficiency. At least every few months, inspect these seals for any cracks or gaps and wipe them down with a mild detergent solution. Simply close the door on a piece of paper; if it slides out easily, the seal may need cleaning or replacement. Being proactive can save you from dealing with major repairs down the line.
General Tips for Longevity
Now, a few easy fixes: defrost your freezer once a year to prevent ice build-up, especially if you own an older model. Modern freezers often come with auto-defrost, but manually defrosting can aid in preventing the machine from overworking itself. If you hear any strange noises or notice significant temperature fluctuations, do not ignore them. Address such signs promptly to avoid long-term damage. Remember, a well-maintained freezer is not just about efficiency; it is an investment in keeping your food fresher for longer.
Inspecting Components and Parts
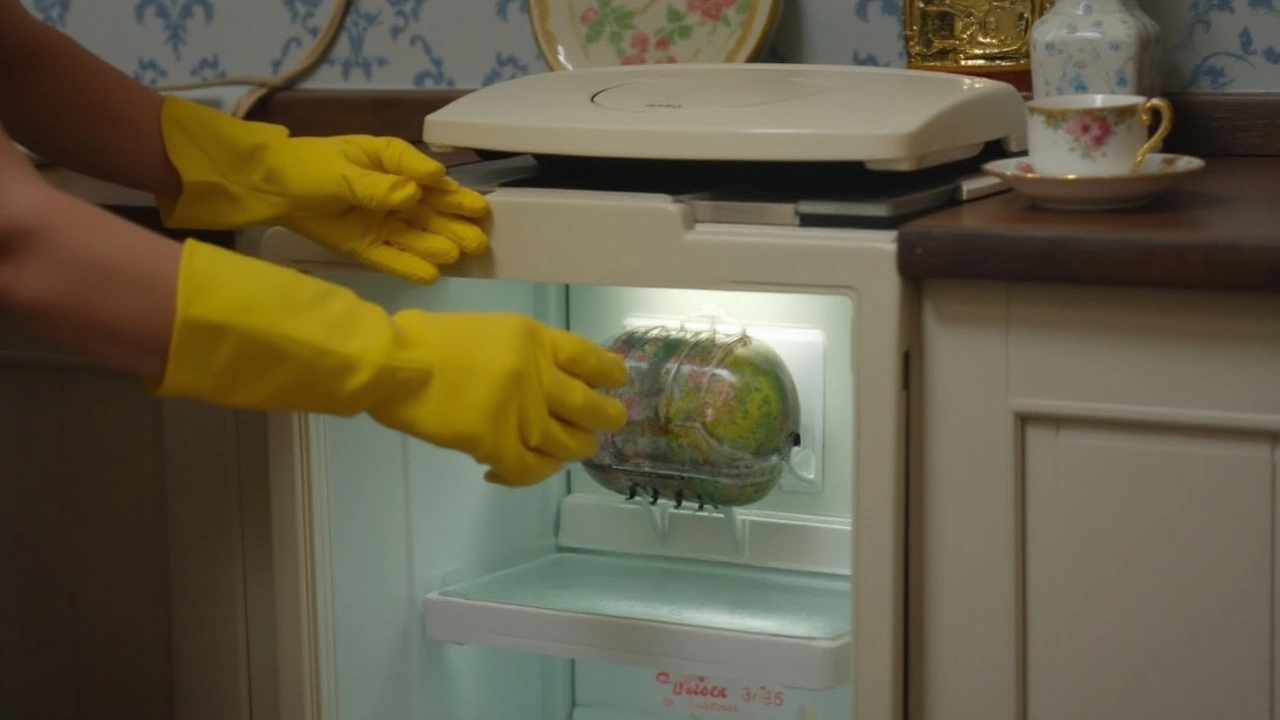
When faced with a freezer repair challenge, one of the most effective approaches is to thoroughly examine the various components and parts. It's a bit like playing detective, tracking down what might be causing the problem. To begin, open the freezer door and listen keenly. Do you hear the whirring sound of a healthy compressor, or is there an ominous silence? The compressor is the heart of any freezer, converting refrigerant gas into liquid to maintain the chilled environment. If it's not running, start by checking the start relay, which can stall the compressor if it's faulty. Amateur sleuths can even perform a simple shake test on the relay; rattling indicates it's time for a replacement.
The evaporator fan inside the freezer is another part requiring your keen attention. This fan, when functioning well, circulates cold air throughout, maintaining an even temperature across all shelves. If you notice frost building up or temperature fluctuations, the fan may be the culprit. Ensure the blades aren’t obstructed, and the motor isn’t burnt out, as these could lead to serious issues. It’s essential to not just look but listen – a sometimes-struggling fan will emit unusual noises, warning signals often ignored until it's too late.
"Regularly ensuring components like fans and coils are free of debris isn't just good practice, it can save you hundreds in professional fees," suggests appliance expert Mark Spencer, who has over twenty years experience in the industry.
While inside, it doesn't hurt to inspect the condenser coils. Typically found at the back or underside of the freezer, these coils dissipate heat off the refrigerant. Dust and grime cling to them over time, forcing the unit to work harder, and increasing energy consumption. Regular cleaning with a vacuum or brush can improve efficiency. Notice any glaring cracks or breaks in the coil? This might cause a refrigerant leak, which could silently escalate into a bigger problem if not addressed promptly.
Another area to explore is the gasket seal around the door. It’s often overlooked but plays a crucial role in conserving energy and maintaining the right internal conditions. A quick test to check its efficacy involves inserting a dollar bill in the door; if it slides out easily when closed, the seal is compromised and needs replacement. And don't forget the defrost timer and thermostat, small yet vital components that manage the freezer cycle and temperature regulation respectively. A defective timer leads to erratic defrosting while a faulty thermostat disrupts the balance of coldness, pushing perishables towards spoilage.
No inspection is complete without checking the internal lighting. Sometimes, what looks like a bigger problem might simply be a burnt-out bulb. Replacement is straightforward, but a non-functioning light can mask other issues that might need addressing. By methodically inspecting each component, not only do you potentially zero in on problems, but you also learn the intricacies of an often-underappreciated household device. And remember, when in doubt, pause and consider professional assistance to prevent any irreparable errors.
When to Call a Professional
Recognizing the moment to call in an expert can be the difference between a simple fix and a costly replacement. If you've already performed initial checks and maintenance tasks, yet the freezer's performance is not up to par, it might be time to reach out. Understanding your limits is crucial because while DIY solutions are tempting, certain repairs require skilled hands and specialized equipment. Faulty thermostats, compressor issues, or refrigerant leaks are not typically something you can handle at home without risking further damage.
Freezers are complex appliances that rely heavily on a delicate balance of components. One typical red flag that indicates professional help is necessary is when your freezer repair efforts have been in vain and the appliance is not cooling as it should. If you hear unusual noises, notice a constant hum, or the motor seems to be working overtime, these can be signs of a compressor malfunction. A broken compressor or a failed motor, which is tasked with maintaining your freezer's temperature, definitely requires an expert's touch.
Common Warning Signs
Apart from the noise, if water or frost builds up and routine maintenance has not solved the issue, it's often best to call a technician. Ice build-up can result from defrost problems while water leakage might indicate a blocked drain line or door seal failure. Refrigerant leaks, signaled by hissing sounds or a chemical odor, should be addressed immediately as they can pose environmental and health risks. Only a certified technician can safely manage refrigerant issues following regulations.
"Attempting to fix a refrigerant leak without training can not only make the problem worse but is also potentially hazardous," notes the Appliance Repair Expert Magazine.
Also, if your freezer is less than five years old and covered by a warranty, attempting your own freezer troubleshooting might void warranty terms. Always double-check your appliance's warranty conditions before undertaking any repairs yourself. Another reason to call a professional is efficiency. While some problems seem minor, they may hint at an underlying issue that could escalate if not properly diagnosed.
When Time is of the Essence
In many households, the freezer is in constant use. Time can be critical when a part fails because you don’t want to risk your food supply. While attempting a fix yourself, valuable time that could be used to preserve your stored goods might slip through your fingers. A professional is often able to both diagnose and fix problems more quickly, minimizing the impact on your routine. Moreover, a technician can offer advice on whether a repair is the most cost-effective solution or if investment in a new unit would be wiser in the long run.
In the realm of appliance maintenance, knowing your boundaries is just as important as recognizing the problem itself. Remember, experts exist for a reason, with the right tools and knowledge to ensure your freezer's longevity and functionality. It’s always a wise move to weigh the benefits of a swift, professional repair against the risks of potentially escalating the problem further with DIY attempts.

Preventive Measures for Longevity
Maintaining the health of your appliances is quite akin to taking care of a beloved pet—constant attention and regular checkups can work wonders. In this ever-evolving world of technology, ensuring your freezer stands the test of time requires some straightforward yet effective preventive measures. A proactive approach not just saves on repair bills but also assures you of fresh, preserved food every time you reach for a midnight snack.
Start with the location of your freezer. Proper placement is crucial. Make sure it’s positioned in a well-ventilated spot at least a few inches away from walls to allow air to circulate freely. This prevents the compressor from overheating. Equally important is keeping it away from direct sunlight or heat sources like ovens, which can force the freezer to work harder, affecting its lifespan over time. If you notice any dust or debris buildup on the coils, vacuum or brush it off gently to maintain maximum efficiency.
Regular cleaning is as vital as the initial setup. Routinely defrost your freezer for those models without a frost-free mechanism. This usually involves removing all the items and unplugging the unit until the ice melts completely. Once done, wipe down the interior with a gentle cleaner. This practice doesn’t just improve cooling efficiency but also helps in preventing unwanted odors from lingering in your food. Speaking of odors, a simple hack to keep your freezer smelling fresh is to place an open box of baking soda inside, absorbing any unpleasant odors over time.
As appliance expert Jane Smith once said, "A little polish goes a long way, not just in keeping things shiny but in extending their life expectancy." This certainly applies to freezers, especially in a household dependent on long-term food storage.
Keeping seals intact is another essential part of maintenance. The door seal, often called the gasket, keeps the cool air locked inside. To test this, try the simple dollar bill test: close the freezer door on a dollar bill and pull it out. If it slides out easily, it might be time to consider replacing the seal. Regularly checking and cleaning the gasket can significantly enhance the seal’s efficiency. To clean, you can use a soft cloth and warm, soapy water to remove any sticky residue or crumbs that may affect the seal's grip.
Freezer tips and appliance maintenance also include keeping the interior organized. Avoid overstuffing your freezer, giving the air adequate space to circulate, ensuring effective cooling throughout the entire appliance. A good habit is to label and date your packages to keep a better track of older items. Using bins or baskets in freezer-friendly material can also help in better organization.
Last but not least, always be on the lookout for strange noises or increased temperature levels, as these can be early indicators of malfunction. Regularly checking and maintaining your freezer could indeed be the keystone to a more cost-effective, efficient, and ultimately more enjoyable kitchen experience.

