Extractor Fan Maintenance Schedule Calculator
Get Your Custom Maintenance Plan
Select your fan type to receive a personalized maintenance schedule with exact timing and critical tasks.
Feeling a stale smell in the kitchen or noticing a drop in airflow? That’s a clear sign your extractor fan needs a good look‑over. Regular service not only restores performance but also prevents costly breakdowns and keeps moisture from damaging cabinets and walls.
What an Extractor Fan Is and Why Service Matters
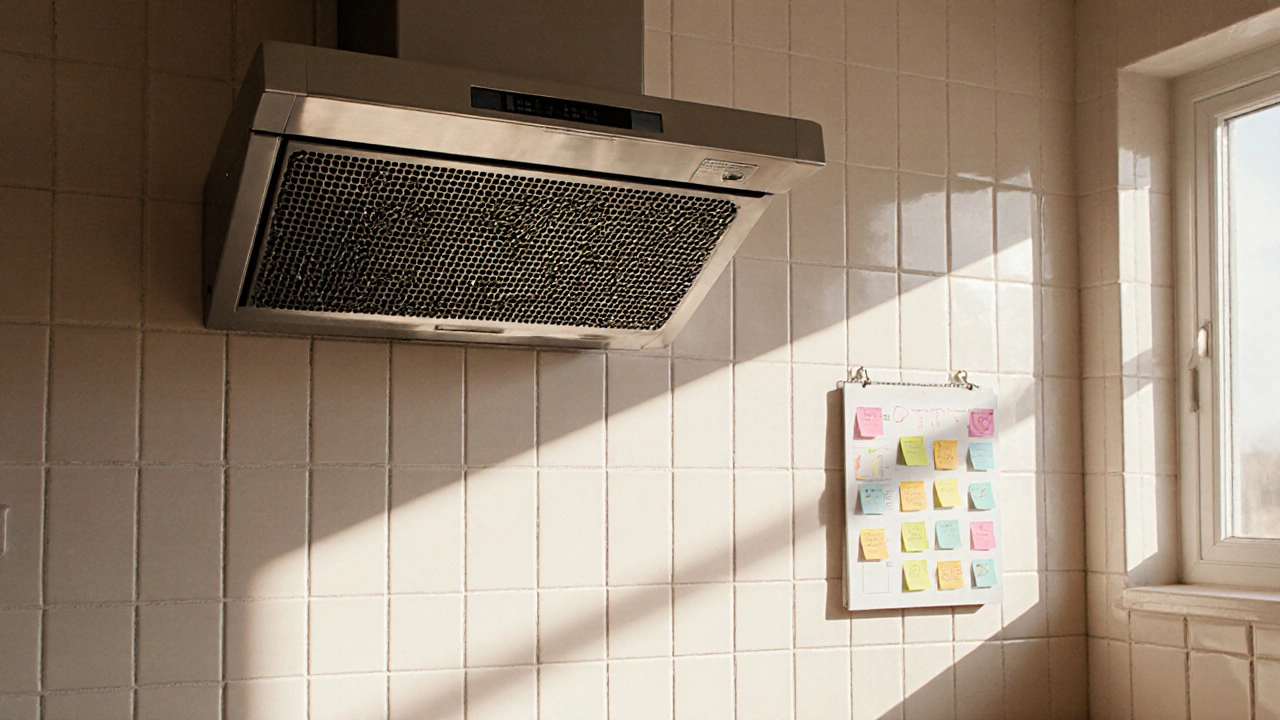
When you hear the whirr of the kitchen fan, you’re hearing a Extractor fan a mechanical device that pulls humid, oily air out of a room and vents it to the outside. Over time, grease, dust, and humidity coat the Motor the electric component that spins the fan blade, the Fan blade the rotating part that moves air through the duct, and any built‑in Carbon filter a filter that traps odors and fine particles. When these parts get clogged, airflow drops, the motor overheats, and you’ll hear odd noises.
Safety First: Tools and Precautions
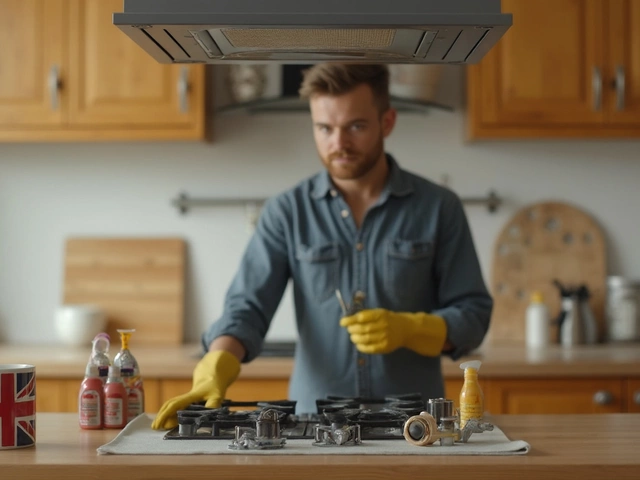
Before you lift a screwdriver, turn off power at the circuit breaker. Even though most fans run on low voltage, a short can still give you a nasty shock. Gather these tools:
- Screwdriver set flat‑head and Phillips for removing the housing
- Vacuum cleaner with a brush attachment for sucking loose debris
- Cleaning brush soft‑bristled to scrub blades without bending them
- Lubricant non‑greasy spray for motor bearings
- Protective gloves and goggles
Make sure the fan’s external grille is cool before you touch it - a hot motor can burn your fingers.
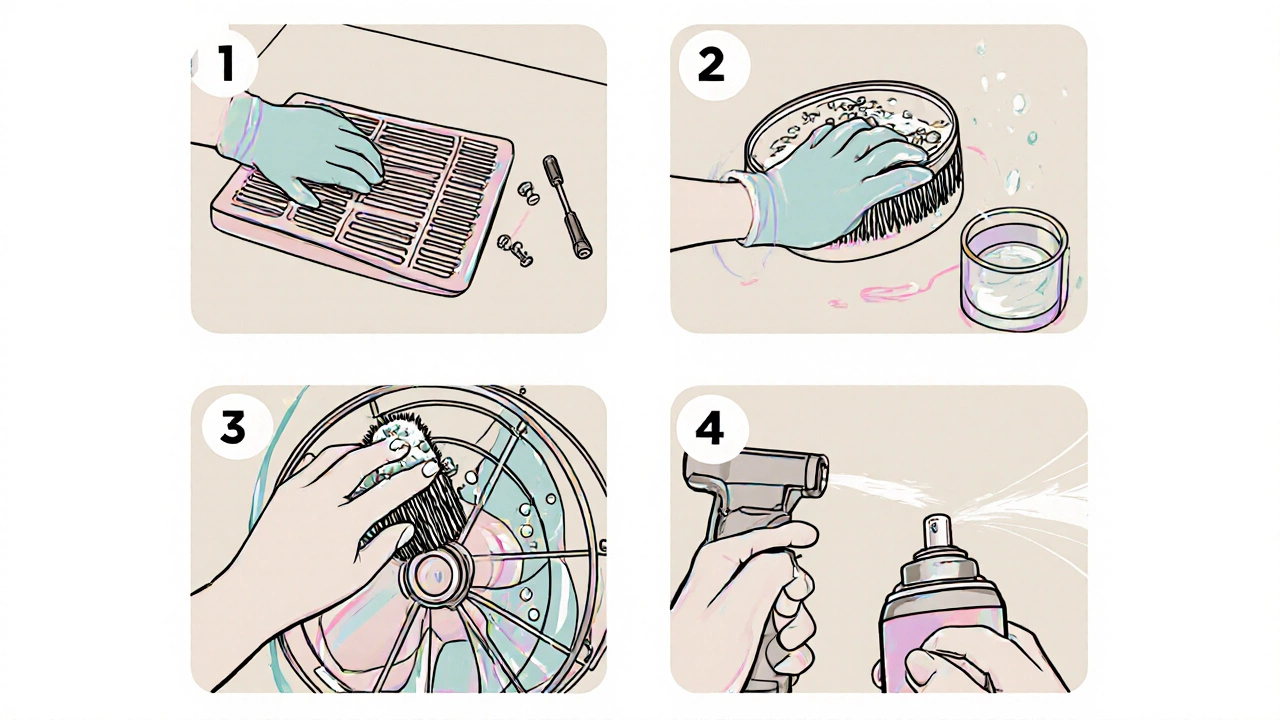
Step‑by‑Step Service Process
- Remove the outer grille. Unscrew the visible screws (usually two or four) and gently pull the grille away. Set screws in a small container so they don’t get lost.
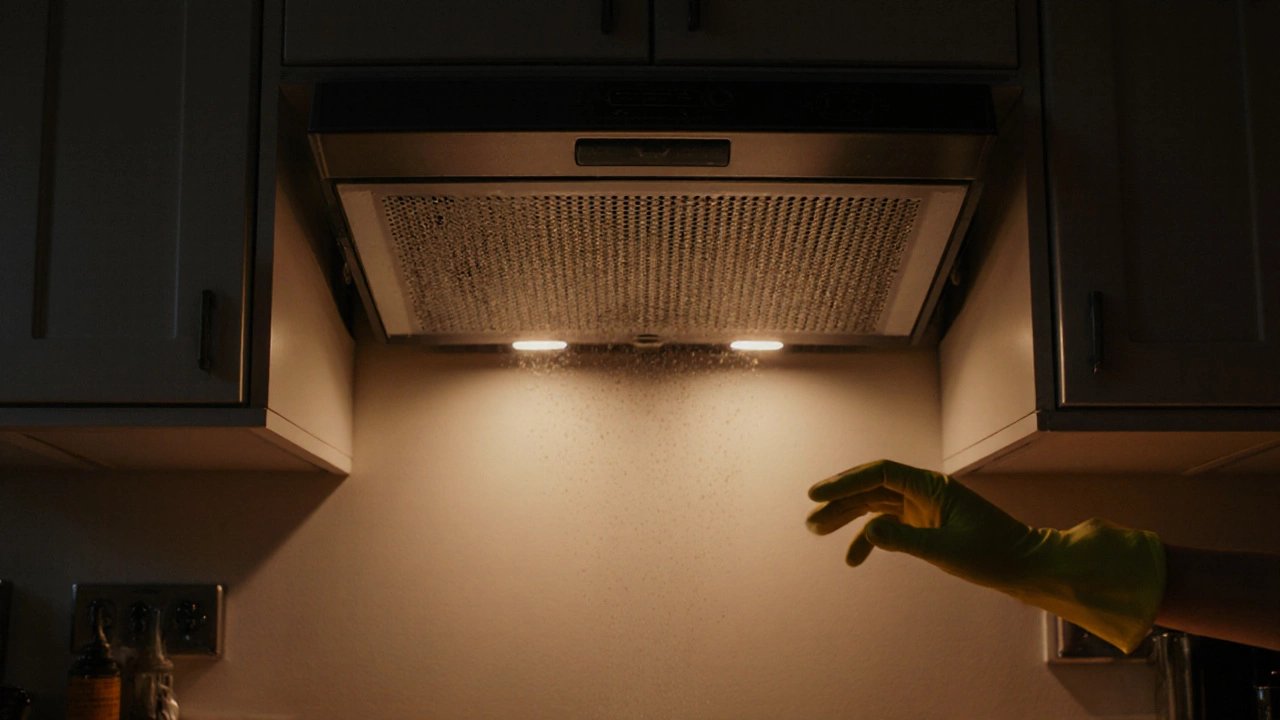
- Inspect and clean the filter. If your model has a removable Carbon filter, pull it out. Tap it lightly to dislodge loose dust, then rinse under warm water if the manufacturer allows. Let it air‑dry for at least 30 minutes.
- Vacuum the motor housing. Use the vacuum’s brush attachment to pull out grease and cobwebs from around the Motor. Be careful not to disturb any wiring.
- Clean the fan blade. Hold the blade gently with a fingertip, then scrub with a soft brush and a mixture of warm water and mild dish soap. Rinse with a damp cloth - avoid soaking the motor.
- Lubricate moving parts. If the fan makes a squeaking noise, apply a few sprays of Lubricant to the motor bearings (refer to the manual for exact locations). Rotate the blade manually to spread the oil evenly.
- Check wiring and the switch. Look at the Switch the on/off control, often located on the fan housing for signs of scorch or loose connections. Tighten any loose terminal screws.
- Re‑assemble and test. Put the grille back, secure the screws, restore power, and turn the fan on. You should notice a steadier sound and stronger suction.
Common Issues and Quick Fixes
Even after a full service, you might encounter specific problems:
- Weak airflow. Verify that the Vent duct the pipe that carries air to the outside isn’t blocked by debris or bird nests. A quick vacuum through the outside vent can clear it.
- Buzzing or humming. This usually points to a loose motor mounting or a failing bearing. Tighten mounting screws and re‑apply lubricant. If noise persists, the motor may need replacement.
- Fan won’t start. Double‑check the circuit breaker and ensure the Switch is functioning. If you have a built‑in timer, reset it. Persistent failure suggests an electrical fault that a professional should inspect.
Maintenance Schedule & Checklist
Keeping a simple calendar can save you a lot of hassle. Here’s a practical timetable:
- Every 3 months: Wipe external grille, vacuum the motor housing, and run the fan for a minute to clear loose dust.
- Every 6 months: Deep clean the fan blade and inspect the motor for grease buildup.
- Annually: Remove and wash the Carbon filter, lubricate bearings, and check the entire Vent duct for blockages.
- Every 2 years: Test the Switch and replace any worn wiring or corroded terminals.
Mark each task on a kitchen maintenance board or set reminders on your phone. A quick 10‑minute service every few months adds up to a longer fan lifespan.
Choosing the Right Service Approach: DIY vs Professional
If you’re comfortable handling basic tools and can follow the steps above, DIY extractor fan service saves money and gives you a sense of accomplishment. However, call an electrician or a licensed ventilation specialist when:
- The fan is hard‑wired into a circuit without a plug.
- You notice burnt smells, sparking, or repeated tripping of the breaker.
- The motor hums loudly despite cleaning and lubrication.
Professional service usually includes motor testing, warranty‑backed parts, and compliance with local electrical codes - especially important in Brisbane where building regulations require proper vent exhaust to avoid moisture buildup.
Comparison of Common Extractor Fan Types
| Fan Type | Typical Placement | Cleaning Interval | Special Maintenance | Best For |
|---|---|---|---|---|
| Ceiling‑mounted | Directly in the ceiling | Every 6 months | Check seal around housing; replace filter if present | Open‑plan kitchens, high ceilings |
| Wall‑mounted | Mounted on a wall under a cabinet | Every 3 months | Clean external grille often; inspect hinges | Small apartments, limited ceiling space |
| Inline (duct‑mounted) | Hidden in the ductwork | Annually | Access panel cleaning; ensure duct isn’t crushed | Renovations, discreet installations |
| Back‑to‑back | Two fans opposite each other in a single housing | Every 6 months | Balance both fans; clean both blades | Large commercial kitchens |
Quick Troubleshooting Cheat Sheet
| Symptom | Possible Cause | Immediate Action |
|---|---|---|
| Fan runs but weak suction | Grease on blades or blocked duct | Clean blades; vacuum duct |
| Intermittent stop | Overheated motor | Turn off, let cool, clean motor, re‑lubricate |
| Buzzing noise | Loose mounting or worn bearing | Tighten screws; apply lubricant |
| No power | Faulty switch or tripped breaker | Reset breaker; test switch with multimeter |
Next Steps After Service
Once you’ve completed the service, run the fan for a few minutes and feel the airflow at the vent opening. If it feels strong and the sound is smooth, you’re good to go. Keep a photo of the cleaned components - it helps track wear over time.
And remember, regular service isn’t just about performance; it reduces fire risk from accumulated grease and protects your home’s structure from moisture damage.
How often should I clean my extractor fan?
For a typical kitchen fan, wipe the outer grille every three months, deep‑clean the blades and motor every six months, and wash any carbon filter once a year.
Can I use any oil to lubricate the motor?
Use a non‑greasy, high‑temperature spray specifically labeled for small electric motors. Household cooking oil will attract dust and cause more problems.
My fan makes a rattling sound after cleaning - what’s wrong?
The blade or housing may be loose. Re‑tighten all screws, check that the blade spins freely, and make sure no debris is caught in the motor housing.
Is it safe to disconnect the fan while the power is on?
Never. Always switch off the circuit breaker or unplug the unit before removing any parts. This prevents electric shock and protects the motor from sudden voltage spikes.
When should I call a professional instead of DIY?
If the fan is hard‑wired, shows signs of burnt wiring, repeatedly trips the breaker, or the motor hums loudly despite cleaning, call a licensed electrician or ventilation specialist.