Replace Heating Element – Simple Steps for Common Appliances
If your oven won’t heat, your dryer is taking forever, or your water heater is blowing cold water, the culprit is often a faulty heating element. Swapping it out yourself can save a lot of money and get the job done fast. Below you’ll find the tools you need, safety checks, and a clear walkthrough for the three most common appliances.
Tools and Safety First
Before you start, gather a basic set: a screwdriver set (flat‑head and Phillips), a multimeter, needle‑nose pliers, and safety gloves. A flashlight helps when you’re working in tight spaces. Turn off power at the breaker or unplug the appliance – never rely on a switch alone. If you’re dealing with a water heater, shut off the gas or electric supply and drain the tank to avoid leaks.
Double‑check the power is really off with a multimeter. A quick buzz means you still have live voltage and you need to stop. Wearing gloves protects your hands from sharp edges and hot metal.
Step‑by‑Step Replacement for Popular Appliances
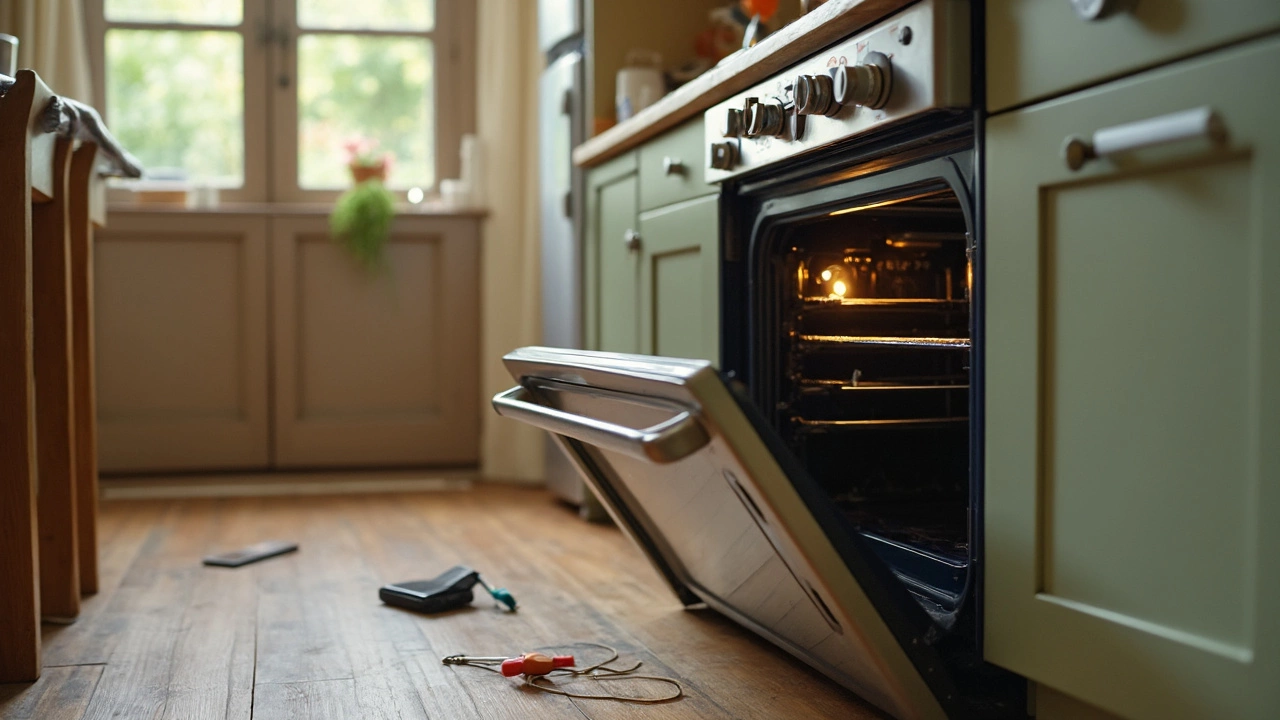
1. Oven or Electric Range
Open the back panel or bottom access panel (most ovens have a small screw cover). Locate the heating element – it’s the long, ribbed coil at the bottom. Disconnect the wiring harness; it usually has a simple clip or screw terminal. Remove the element’s mounting screws, slide it out, and swap in the new part, securing it with the original screws. Re‑attach the wiring, close the panel, and restore power. Test by setting the oven to bake and watch the coil glow.
2. Clothes Dryer
Unplug the dryer and pull it away from the wall. Remove the lint filter and any front panel screws to expose the drum. The heating element sits behind the drum on the back wall. Disconnect the two wires attached to the element’s terminals, then unscrew the element bracket. Pull the old element out, line up the new one, re‑secure the bracket, and reconnect the wires. Replace the front panel, plug the dryer back in, and run a short cycle to confirm heat.
3. Electric Water Heater
Shut off the water supply and let the tank cool. Open the access panel on the top or side of the heater – you’ll see the element wrapped around the tank’s interior. Use a wrench to loosen the element’s mounting nut. Pull the element out, note the wiring connections (usually two colored wires), and attach them to the new element in the same order. Tighten the nut, replace the access panel, turn the water back on, and restore power. A quick hot‑water test will tell you if it’s working.
Across all three appliances, the key is to keep track of how the wires are attached. Take a photo before you disconnect anything – it saves you from guessing later. Once the new element is in place, clean up any stray screws or debris, and double‑check that everything is secured before you power up.
That’s it! Replacing a heating element is a straightforward job you can handle in under an hour with the right tools. If you ever feel unsure, don’t hesitate to call a professional. A properly working element means less energy waste, faster drying or cooking, and hotter showers – all without a big repair bill.
Replacing the Heating Element in Your Oven: What’s the Cost?
Exploring the costs and steps involved in replacing the heating element in an electric oven. Whether your oven is leaving you with undercooked meals, burning food unexpectedly, or simply refusing to heat up, understanding the replacement process and potential expenses is essential. This article provides practical advice, estimates, and money-saving tips for DIY enthusiasts and those considering professional help. It’s everything you need to know to make sure your oven heats up perfectly without breaking the bank.