Water Heater Maintenance Tracker
Maintenance Progress
Track your annual maintenance tasks below.
Flush the Tank
Frequency: Every 6-12 months
Removes sediment buildup that acts as an insulator, causing inefficiency and element burnout.
Check Anode Rod
Frequency: Every 3-5 years
The "sacrificial" rod protects the tank from corrosion. Replace if the core cable is exposed.
Test TPR Valve
Frequency: Annually
Ensures the safety release mechanism works to prevent pressure buildup and potential tank failure.
Insulate Pipes/Tank
Frequency: As needed / One-time upgrade
Reduces standby heat loss by 25-45% and keeps water warm in pipes leading to taps.
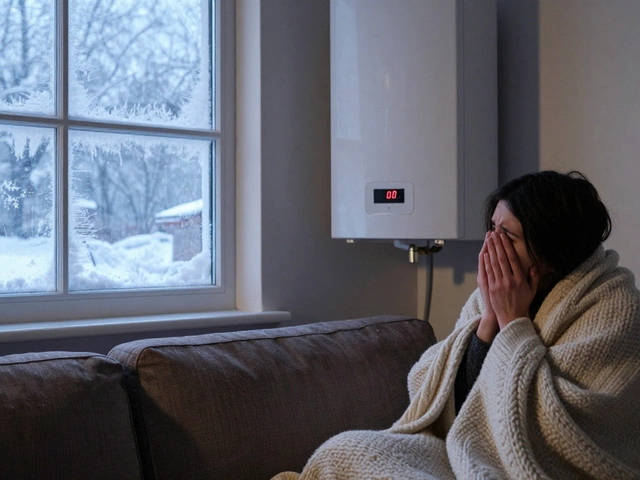
Imagine stepping into a shower expecting warmth, only to be blasted with icy cold water. It’s not just uncomfortable; it ruins your morning routine. Most people assume their water heater is a sealed appliance that works forever without attention until the day it fails completely. The truth is much simpler but often ignored. Like any machine handling heat and water, it needs regular care. In Brisbane, where we deal with hard water and high humidity, neglecting this care leads to faster corrosion and higher bills. You don’t need to be a plumber to handle most of these tasks. A little effort every six months can add years to its life and keep your energy costs down.
I’ve seen too many homeowners wait for a leak before they think about maintenance. By then, the damage is done. Whether you have a traditional storage tank or a modern instant system, the principles of care are similar. Let’s look at what actually needs doing, why it matters, and how you can do it yourself safely. If you’re looking for something entirely different to distract you from household chores, you might browse this directory later, but for now, let’s focus on keeping your home running smoothly.
Why Regular Maintenance Matters More Than You Think
Your water heater is one of the biggest energy consumers in your house. When it’s clogged with sediment or struggling against corrosion, it has to work harder to heat the same amount of water. This inefficiency shows up directly on your electricity or gas bill. But it’s not just about money. A neglected unit is a safety hazard. Pressure builds up inside the tank over time. Without proper release mechanisms working correctly, that pressure can lead to leaks or, in rare cases, catastrophic failure. Regular maintenance isn’t just about convenience; it’s about protecting your home and ensuring you always have hot water when you need it.
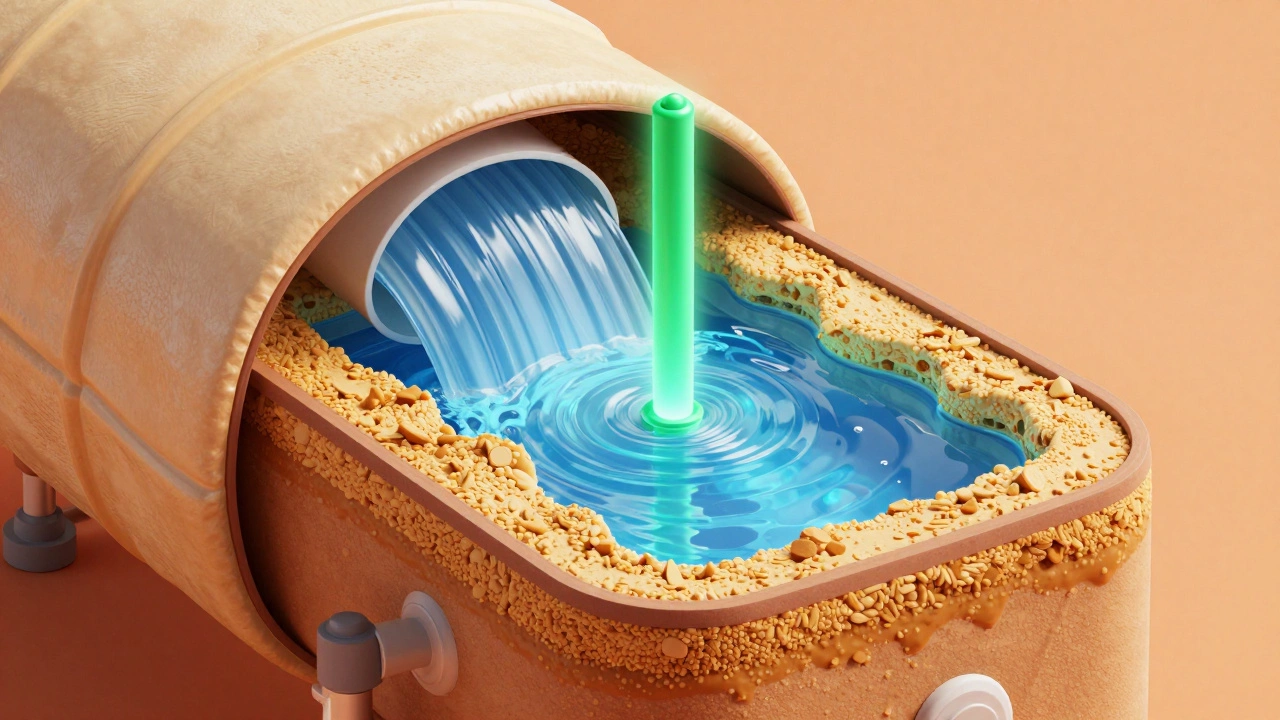
In areas with hard water, like parts of Queensland, mineral buildup happens quickly. Calcium and magnesium deposits stick to the bottom of the tank. Over time, this layer acts as an insulator between the heating element and the water. Your heater thinks the water is still cold because the sensor is covered in scale, so it keeps heating. This wastes energy and eventually burns out the elements. Flushing the tank removes this barrier, restoring efficiency and preventing premature burnout.
Flushing the Tank: Removing Sediment Buildup
The single most important task you can perform is flushing the tank. This applies primarily to storage tank heaters. Instant systems don’t hold water, so they don’t accumulate sediment in the same way, though they still benefit from descaling if you have very hard water. For a standard electric or gas tank, here is how you do it:
- Turn off the power source. For electric units, switch off the circuit breaker. For gas units, turn the dial to 'Pilot' or 'Off'. Never skip this step. Electricity and water are a deadly combination.
- Connect a garden hose. Attach one end to the drain valve at the bottom of the tank and the other end to a floor drain or outside area. Ensure the hose can handle hot water.
- Open a hot water tap. Go to the nearest sink and turn on the hot water. This prevents a vacuum from forming in the pipes, allowing the tank to drain freely.
- Open the drain valve. Slowly open the valve. The water will start flowing out. Initially, it might look clear, but soon you’ll see brown, murky water mixed with sand-like particles. That’s the sediment leaving your tank.
- Rinse until clear. Once the flow slows, briefly turn the cold water inlet back on for a few seconds to stir up remaining debris, then drain again. Repeat until the water runs clear.
This process usually takes less than thirty minutes. Doing it once a year is ideal. If you live in an area with extremely hard water, consider doing it twice a year. The difference in performance is noticeable immediately. Your water heats up faster, and you get more consistent temperatures.
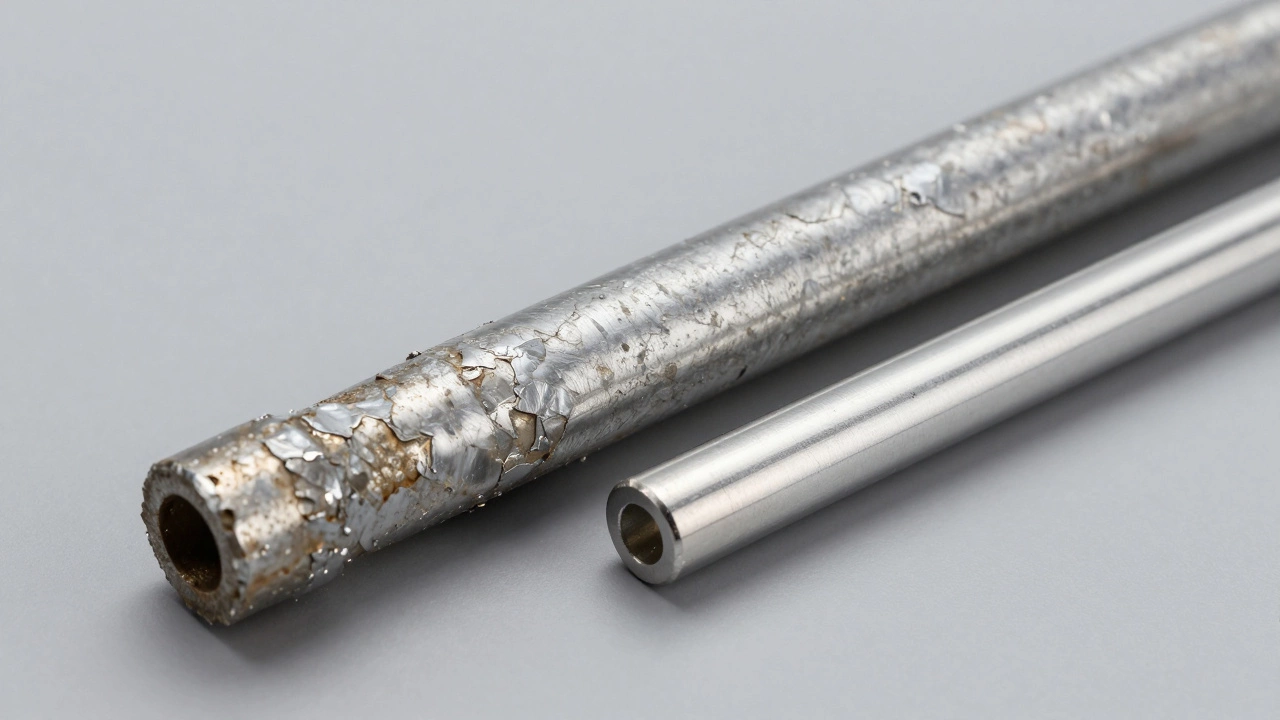
Checking the Anode Rod: The Silent Protector
If flushing is the heart of maintenance, checking the anode rod is the immune system. Inside your tank, there is a metal rod made of magnesium or aluminum. Its job is sacrificial. Water naturally corrodes steel tanks. The anode rod attracts that corrosion instead of the tank walls. It dies so your tank doesn’t have to. Once the rod is fully consumed, the water starts eating away at the tank itself. Leaks follow shortly after.
You should check the anode rod every three to five years. Here is how to inspect it:
- Drain enough water. You need to lower the water level below the access point for the rod, usually near the top of the tank.
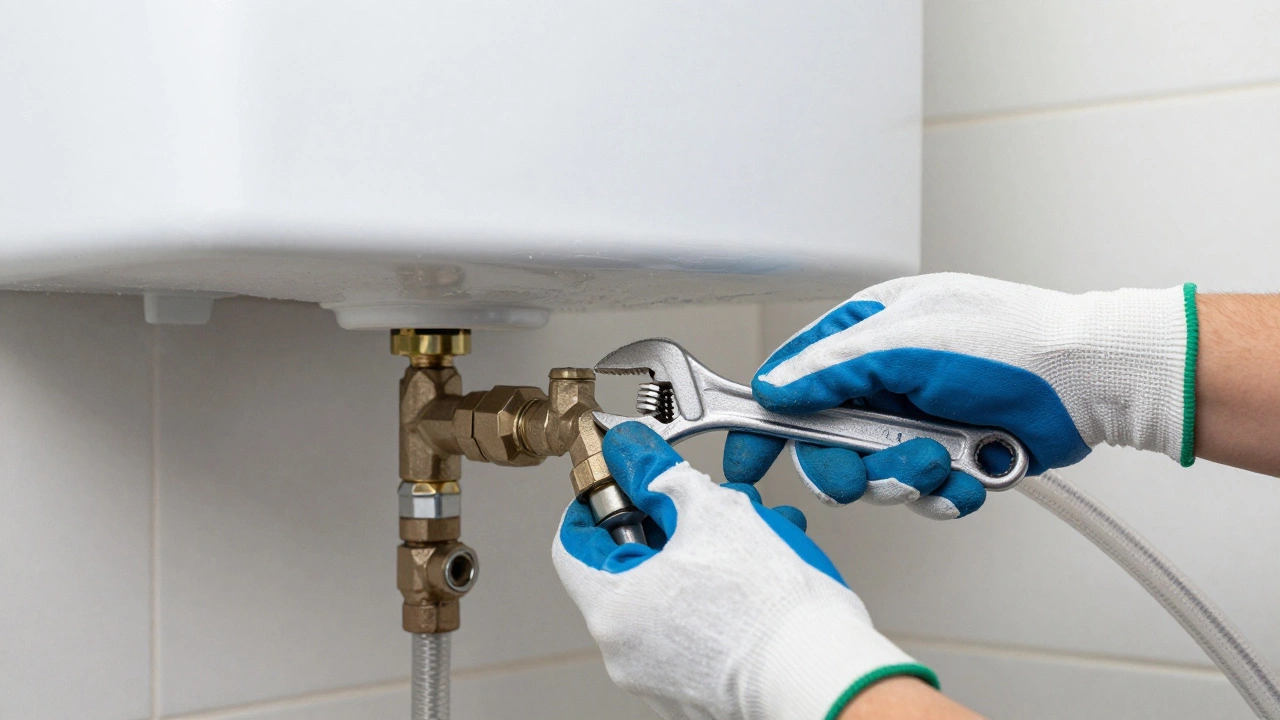
- Remove the cap. Use a wrench to unscrew the nut holding the rod in place. Be prepared for some water spillage.
- Inspect the core. Pull the rod out. Look at the steel cable in the center. If the coating around the cable is thin, flaky, or if the cable itself is exposed, the rod is spent. If it’s still thick and solid, you can put it back.
- Replace if necessary. If it’s worn, buy a new universal anode rod (they fit most standard tanks) and screw it in with new Teflon tape on the threads.
A new anode rod costs relatively little compared to replacing a whole water heater. Extending the life of your unit by even two years pays for the rod many times over.
Testing the Temperature and Pressure Relief Valve
Every water heater has a Temperature and Pressure Relief (TPR) valve. It’s a small lever on the side or top of the tank. This device is a critical safety feature. If the water gets too hot or the pressure gets too high, the valve opens to release steam and water, preventing the tank from exploding. It’s easy to forget it exists until it’s needed, which is exactly when you don’t want to find out it’s stuck shut.
Test the TPR valve annually. Place a bucket under the discharge pipe, which runs down the side of the tank to the floor. Gently lift the lever on the valve. You should hear a hiss and see a burst of hot water shoot out into the bucket. Then, let the lever snap back into place. If no water comes out, or if water continues to drip after you release the lever, the valve is faulty. Replace it immediately. Do not try to clean or repair a TPR valve; they are inexpensive and designed to be replaced, not fixed.
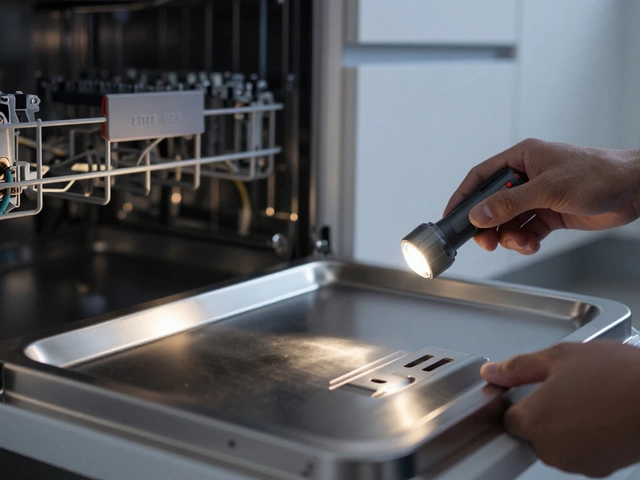
Maintaining Instant (Continuous Flow) Systems
Instant water heaters, also known as continuous flow or tankless units, are becoming popular in Australia due to their space-saving design and energy efficiency. Since they don’t store water, you don’t need to flush a tank. However, they are not maintenance-free. They rely on small internal heat exchangers and sensors that can get blocked by limescale.
For instant systems, the main task is descaling. If you have hard water, minerals build up inside the narrow pipes of the heat exchanger. This reduces flow rate and heating efficiency. Manufacturers usually recommend a professional chemical flush every one to two years. Some models allow you to bypass the unit and run a vinegar or specialized descaling solution through it yourself, following the manual’s instructions carefully. Ignoring this will cause the unit to error out or fail to reach the desired temperature.
Insulating Pipes and the Tank
Heat loss is another enemy of efficiency. If your water heater is in an unheated garage or outdoor shed, the tank loses heat to the surrounding air. Wrapping the tank in an insulation blanket can reduce standby heat losses by 25-45%. This means your heater cycles on less often to maintain temperature. Just make sure the blanket is rated for water heaters and doesn’t cover the thermostat or control panel.
Also, insulate the first few feet of hot water pipes leaving the tank. Hot water sits in those pipes cooling down before it reaches your tap. Insulation keeps that water warm, so you don’t have to run the tap waiting for heat to arrive. This saves both water and energy. It’s a cheap upgrade with immediate benefits.
When to Call a Professional
While most maintenance tasks are DIY-friendly, there are signs that indicate deeper problems requiring a licensed plumber. If you notice rust-colored water coming from your taps, it could mean the tank lining is failing internally. Strange noises, like popping or rumbling, suggest heavy sediment buildup that you couldn’t flush out, or potentially failing heating elements. If the pilot light on a gas unit won’t stay lit, or if you smell gas, turn off the supply and call a professional immediately. Safety first. Don’t guess with gas appliances.
How often should I flush my water heater?
You should flush your water heater at least once a year. If you live in an area with hard water, flushing it twice a year is recommended to prevent excessive sediment buildup that reduces efficiency and damages the tank.
Can I replace the anode rod myself?
Yes, replacing the anode rod is a straightforward DIY task. You just need to drain the tank partially, unscrew the old rod, and screw in a new universal anode rod with fresh Teflon tape. It’s a great way to extend the life of your heater.
What does a popping sound from the water heater mean?
Popping or rumbling noises usually indicate sediment buildup at the bottom of the tank. As water gets trapped under the sediment layer, it boils and creates steam bubbles that pop when they escape. Flushing the tank often resolves this issue.
Do instant water heaters need maintenance?
Yes, instant water heaters need descaling every 1-2 years, especially in hard water areas. While they don’t have tanks to flush, mineral buildup in the heat exchanger can reduce efficiency and cause errors.
How long does a water heater last?
With regular maintenance, a traditional storage tank water heater typically lasts 8-12 years. Instant systems can last 15-20 years. Neglecting maintenance like flushing and anode rod checks can significantly shorten these lifespans.