⚙ Electric Hob Repair vs. Replace Calculator
Recommendation
That annoying "click" or the spot that refuses to heat up? It’s a classic sign of a failed heating element is the coiled wire component inside an electric hob that converts electrical energy into heat for cooking. Many homeowners assume they need to buy a whole new $800 appliance. But here is the truth: in most cases, you can swap out just the broken part. The cost difference is massive-usually between $30 and $150 for the part versus hundreds for a new unit. However, whether it’s actually safe and feasible for you to do it yourself depends heavily on your specific model type.
This guide breaks down exactly how to determine if your hob is repairable, what tools you need, and the step-by-step process for swapping the element without frying your kitchen wiring. We’ll also cover the scenarios where calling a pro is the smarter move, so you don’t end up with a half-repaired hazard.
Key Takeaways
- Repairability varies by type: Cast iron hobs are the easiest to fix; ceramic (glass) hobs are often not worth repairing due to high labor costs.
- Cost comparison: Replacing an element typically costs $40-$150 in parts. A new hob starts at $400+. If your hob is under 7 years old, repair is usually economical.
- Safety first: Always disconnect power at the circuit breaker before touching any internal components. Electric shocks are the primary risk.
- Tools required: You generally only need a screwdriver set (Phillips and flathead), pliers, and possibly a multimeter for testing.
- When to call a pro: If the glass is cracked, the control board is faulty, or the element is welded/rusted in place, professional intervention saves time and money.
Identifying Your Hob Type: The First Step
Before you grab your screwdriver, look at your cooktop. The method for replacing an element changes completely based on the material. There are three main types of electric hobs found in Australian homes:
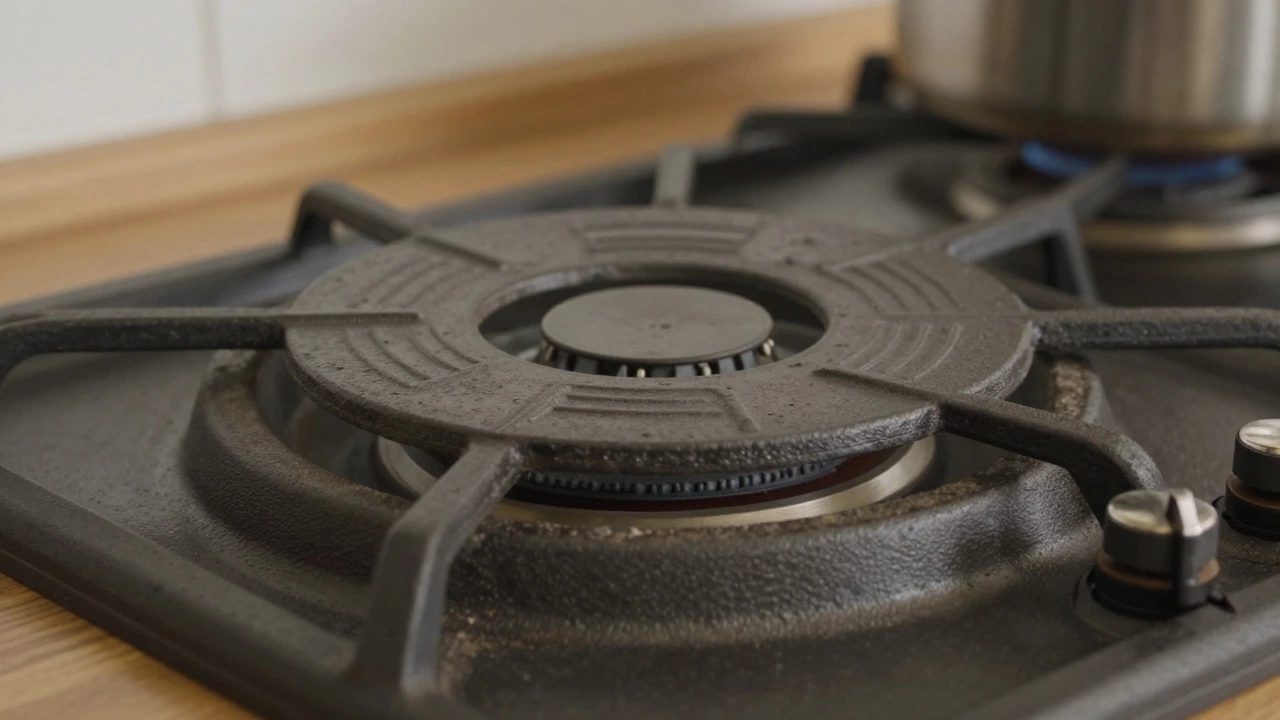
- Cast Iron (Solid Plate): These have raised metal discs. They are heavy, durable, and designed for easy part replacement. This is the best candidate for DIY repair.
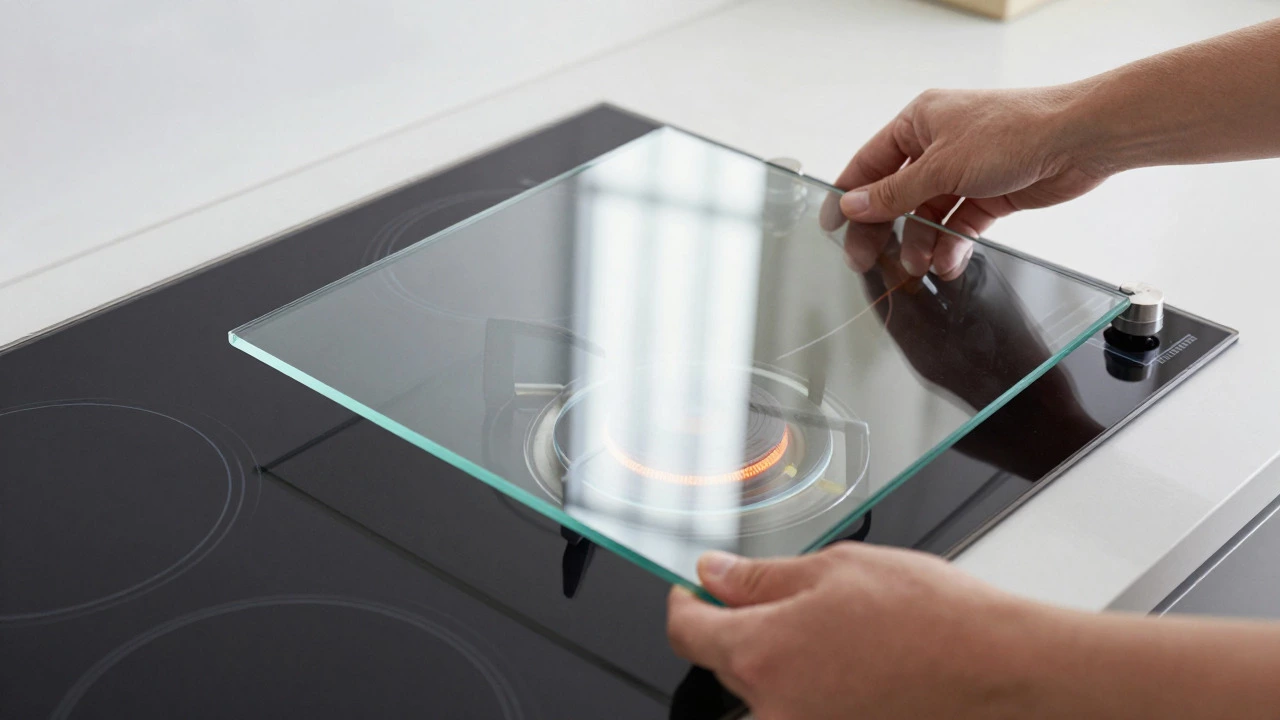
- Ceramic/Glass (Radiant): These are flat, smooth surfaces. The elements are hidden underneath the glass. Accessing them requires removing the entire glass panel, which is fragile and expensive to replace if damaged during the process.
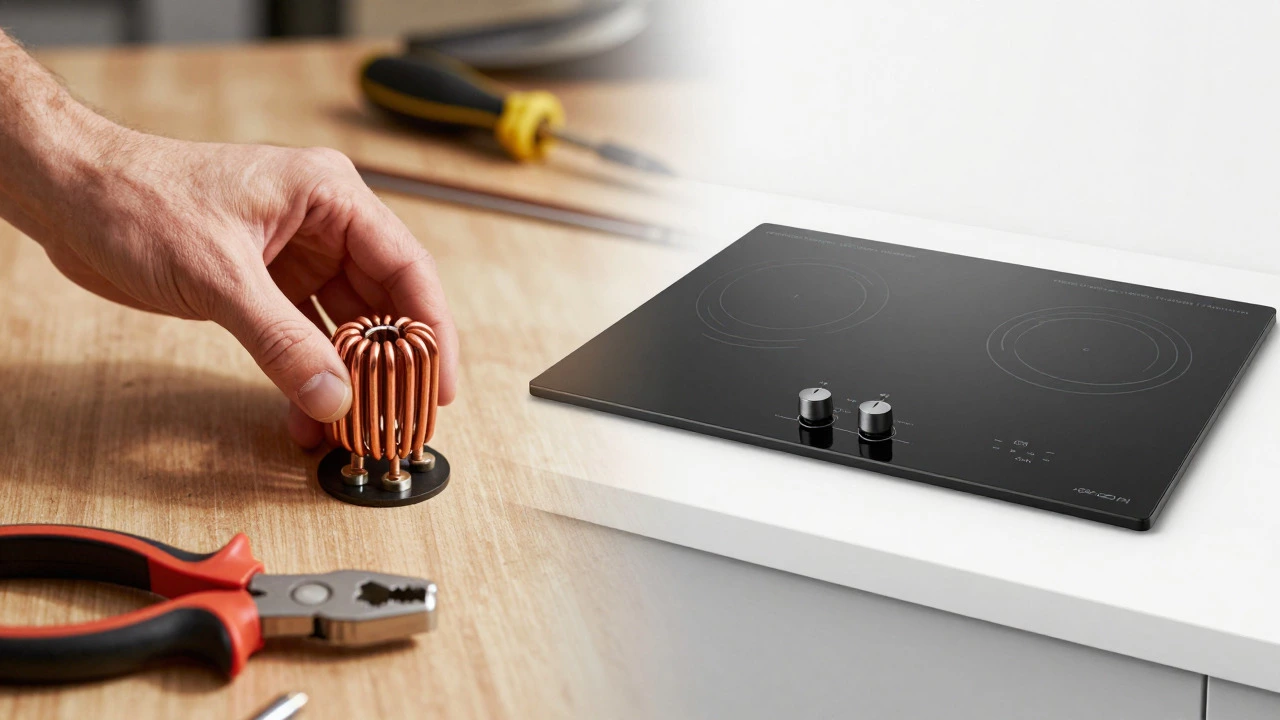
- Induction: Technically electric, but these use magnetic fields rather than heating elements. If your induction hob isn’t working, there is no "element" to replace. The issue is likely the coil or the electronics, which is rarely DIY-friendly.
If you have a cast iron hob, congratulations-you’re in luck. The elements sit on top of the base plate and are held by simple screws or clips. For ceramic hobs, the element is sandwiched between the glass and the base, making access significantly more complex.
Do You Actually Need a New Element?
Don’t jump straight to buying parts. Sometimes, the element is fine, but something else is wrong. Here’s how to troubleshoot before spending money:
- Check the Control Knob/Switch: Turn the knob to the highest setting. Do you hear a faint hum or click? If yes, the switch might be stuck. Cleaning the contacts with contact cleaner can sometimes fix this.
- Test with a Multimeter: If you have one, unplug the hob and test the resistance across the element terminals. An open circuit (infinite resistance) means the element is broken. If it reads zero or very low resistance, it might be shorted out.
- Inspect for Physical Damage: On cast iron hobs, look for burnt spots or melted plastic near the connections. This indicates a loose connection that overheated, potentially damaging both the element and the wiring.
If the element tests as dead, it’s time to order a replacement. Make sure you note the exact part number from your manual or the label on the back of the hob. Using the wrong size or wattage can cause uneven heating or trip your breakers.
Step-by-Step: Replacing a Cast Iron Hob Element
This process applies to standard drop-in or freestanding cast iron hobs. The steps are straightforward, but precision matters.
- Disconnect Power: Go to your home’s circuit breaker panel and turn off the breaker dedicated to the kitchen/hob. Use a voltage tester to confirm no power is reaching the unit. Safety is non-negotiable here.
- Remove the Burner Assembly: Lift the burner ring and the center cap. Underneath, you will see the heating element attached to the base plate. Note how the wires connect-take a photo with your phone for reference.
- Disconnect the Wires: Loosen the terminal screws holding the wires to the element. Carefully pull the wires free. If the terminals are corroded, clean them with a bit of sandpaper or wire brush.
- Unbolt the Element: Remove the two or three screws holding the element to the base. Lift the old element out. Check the mounting holes for rust or debris.
- Install the New Element: Place the new element into position. Align the mounting holes and secure it with the screws. Don’t overtighten; just snug it down.
- Reconnect the Wires: Attach the wires to the new terminals. Tighten the screws firmly. A loose connection here is the #1 cause of future failures.
- Reassemble and Test: Put the burner ring and cap back on. Restore power at the breaker. Turn the knob to medium-low and wait 5 minutes. If it heats up evenly, you’ve done it right.
The whole process takes about 20-30 minutes for a first-timer. The hardest part is usually finding the correct replacement part, not the installation itself.
Challenges with Ceramic (Glass) Hobs
Replacing an element on a ceramic hob is a different beast. Because the glass panel is sealed, you have to remove it entirely to access the elements below. Here’s why many people hesitate:
- Fragility Risk: Glass panels crack easily if not handled correctly. A cracked glass panel costs more to replace than the element itself.
- Specialized Tools: You may need specific prying tools to lift the glass without scratching it.
- Sealant Issues: The glass is often glued or sealed with high-temp silicone. Removing it cleanly is tricky. Leftover sealant can affect the fit of the new glass.
If you decide to attempt a ceramic hob repair, budget extra time. You’ll need to remove the entire front trim, unscrew the side brackets, and carefully lift the glass panel. Once exposed, the elements are usually held by clips or screws similar to cast iron models. However, if the glass is even slightly chipped, consider replacing the whole unit instead. Driving to a repair shop with a cracked glass hob is risky, and shipping a broken panel is often not worth the hassle.
Comparison: DIY vs. Professional Repair
Should you fix it yourself or call a technician? Here’s a breakdown to help you decide.
| Factor | DIY Repair | Professional Service |
|---|---|---|
| Cost | $40-$150 (parts only) | $150-$350 (parts + labor) |
| Time Required | 30 mins - 2 hours | 1-2 hour appointment slot |
| Risk Level | Moderate (shock, glass breakage) | Low (insured technicians) |
| Warranty | None (unless part has warranty) | Typically 6-12 months on labor/parts |
| Best For | Cast iron hobs, confident DIYers | Ceramic hobs, complex faults, older units |
Generally, if your hob is less than 7 years old and has a cast iron surface, DIY is a solid choice. If it’s a premium ceramic model or the fault is unclear, paying a professional is often safer and faster in the long run.
Common Pitfalls to Avoid
Even experienced DIYers make mistakes when working with electric hobs. Watch out for these common errors:
- Forgetting to Disconnect Power: Always verify with a multimeter. Residual charge can be dangerous.
- Using the Wrong Element Wattage: Swapping a 2500W element for a 1500W one will change cooking performance and may stress the control board. Match the original specs exactly.
- Tightening Terminals Too Much: Over-tightening can strip the screws or crack the ceramic insulator on the element. Snug is enough.
- Ignoring Loose Wiring: If the old element was loose, check the internal wiring harness for frayed insulation. Fix this before installing the new part.
- Skipping the Test Run: After reassembly, run the hob for 10 minutes on low heat while monitoring for unusual smells or sparks. This catches minor issues before they become fires.
When Is Replacement Better Than Repair?
There comes a point where fixing the hob isn’t worth it. Consider replacing the entire unit if:
- The Hob is Over 10 Years Old: Other components like the control board or switches are likely nearing end-of-life. You might face another failure within a year.
- The Glass is Cracked: As mentioned, glass replacement is costly. A new entry-level ceramic hob might cost less than the glass plus labor.
- Multiple Elements Failed: If two or more elements died at once, it suggests a systemic issue like a failing control board or poor ventilation causing overheating. Repairing multiple parts can exceed the price of a new hob.
- Outdated Technology: If you’re using a basic cast iron hob, upgrading to a modern ceramic or induction model offers better energy efficiency and easier cleaning. Energy savings over 5-7 years can offset the upgrade cost.
Think of it like car maintenance. If you’re pouring money into a 15-year-old vehicle with constant breakdowns, selling it and buying a newer, reliable model makes more sense. The same logic applies to major kitchen appliances.
Frequently Asked Questions
How much does it cost to replace an electric hob element?
Parts alone typically range from $30 to $150 depending on the brand and wattage. If you hire a professional, add $100 to $200 for labor. Total DIY cost is usually under $150, while professional service ranges from $150 to $350.
Is it safe to replace a hob element myself?
Yes, provided you disconnect power at the circuit breaker and use basic tools. The main risks are electric shock and breaking the glass panel on ceramic hobs. Cast iron hobs are very safe for DIY repair if you follow safety protocols.
What tools do I need to replace a heating element?
You will need a Phillips head screwdriver, a flathead screwdriver, needle-nose pliers, and optionally a multimeter for testing. For ceramic hobs, you might also need plastic pry tools to avoid scratching the glass.
Why did my electric hob element burn out?
Elements fail due to age, thermal cycling (heating and cooling repeatedly), loose connections causing arcing, or manufacturing defects. Poor ventilation under the hob can also accelerate wear by trapping heat.
Can I use a universal element for my hob?
Sometimes, but it’s risky. Universal elements must match the exact diameter, wattage, and connector type. Mismatched wattages can damage the control board. Always try to find the OEM (Original Equipment Manufacturer) part number first.