Dryers, those trusty companions of the laundry room, can sometimes falter at the worst times. A pile of wet clothes waiting for a solution is never a welcome sight. Before you panic or consider calling an expensive repair service, it might surprise you to learn that many dryer issues can be resolved with a bit of DIY effort.
In this guide, we'll delve into some of the common problems dryers face and explore ways you can troubleshoot and potentially fix these issues yourself. Whether it's a simple matter of cleaning out the lint trap, replacing worn belts, or addressing strange noises, empowering yourself with knowledge could not only solve the problem but also extend the life of your appliance. Let's embark on a journey to transform you from a frustrated owner to an empowered fixer.
- Common Issues and Diagnostics
- Simple Repairs You Can Do
- Tools and Safety Precautions
- When to Call a Professional
Common Issues and Diagnostics
When your dryer starts acting up, it’s often due to some of the usual suspects. Recognizing the signs early can save you a trip to the laundromat. The most frequent issue is a dryer that isn’t heating. This is typically caused by a blown thermal fuse, which can happen due to overheating from blocked vents or faulty components. To diagnose, start by ensuring that air can flow freely through the vents. Blockages not only impact functionality but pose a fire hazard. Multimeters can be your best friend here, helping to test fuses, thermostats, and heating elements for continuity.
Another common nuisance is a dryer that won’t start or stops mid-cycle. This is often an electrical issue, so the first step is to check if the appliance is properly plugged in and that the circuit hasn’t tripped. A malfunctioning door switch or a broken start switch can also be culprits. These can usually be tested with a multimeter to ensure they’re operating perfectly. Sometimes, the solution is as simple as resetting the electronics by unplugging the unit, waiting for a minute, and plugging it back in.
Noises such as squeaks, thumps, or continuous hums can also signal something is amiss. Such sounds are often related to worn-out drum rollers, belts, or bearings. With wear and tear, these parts can create racket or cause the drum to rotate with difficulty. Inspecting these components requires a more hands-on approach. You can usually identify these issues visually or by feeling for looseness or signs of damage, and replacements generally don't require advanced expertise.
Other Common Concerns
Another issue to keep an eye on is the dryer taking too long to dry clothes, which is often associated with blocked lint filters or vents. Regular cleaning here can not only improve drying efficiency but extend the appliance's life. Separating this task from regular loads can prevent extended dry times. On occasions, moisture sensors within the drum can fail or get coated with residue, falsely signaling the cycle to end early. A bit of gentle cleaning with sanding paper often revives these sensors to full function.
According to the U.S. Fire Administration, failure to clean was the leading factor contributing to clothes dryer fires in residential buildings, involved in 27% of incidents. Keeping vents and ducts clean is critical not just for longevity but for safety.
Lastly, don't overlook the control panel. Modern dryers come with digital displays that can sometimes flash error codes, indicating specific problems. Referencing the manual can give clues on interpreting these codes, guiding you toward the problem area and potential fixes. If all else fails, and the problem persists, it might be better to seek the input of a professional. These common issues, once identified and understood, reveal that often the tumble dryer doesn’t need replacing, just a bit of attention and some minor repairs.

Simple Repairs You Can Do
Embarking on the path of DIY dryer repair can be a rewarding journey, more accessible than you might initially think. Naturally, not every issue is ripe for a do-it-yourself solution, but taking on manageable fixes can be both empowering and economical. One of the places to start is with the most apparent, yet sometimes neglected, components of the dryer — the lint trap and exhaust vent. Over time, these can become clogged, impacting the dryer's performance and even presenting a fire hazard. Gently removing the lint trap and giving it a thorough clean can often resolve simple overheating issues and improve efficiency. Remember, it’s not just the trap that needs attention; the exhaust vent should be thoroughly cleaned every few months. A study by the U.S. Fire Administration highlighted that more than 2,900 home clothes dryer fires are reported annually, primarily caused by failure to keep the dryer clean.
Another approachable aspect involves checking and replacing the drum belt. If you hear the motor running but the drum isn't spinning, it could mean the belt is slipping or broken. Here’s a simple way to check: unplug your dryer and remove the back panel. With the back open, you can easily assess the belt's condition and replace it if needed. A typical belt replacement usually requires basic tools like a screwdriver and a wrench. Make sure to purchase a dryer belt that’s compatible with your model. According to a survey of appliance repair technicians, a damaged belt is one of the top three issues that can occur, yet easily fixed with minimal effort.
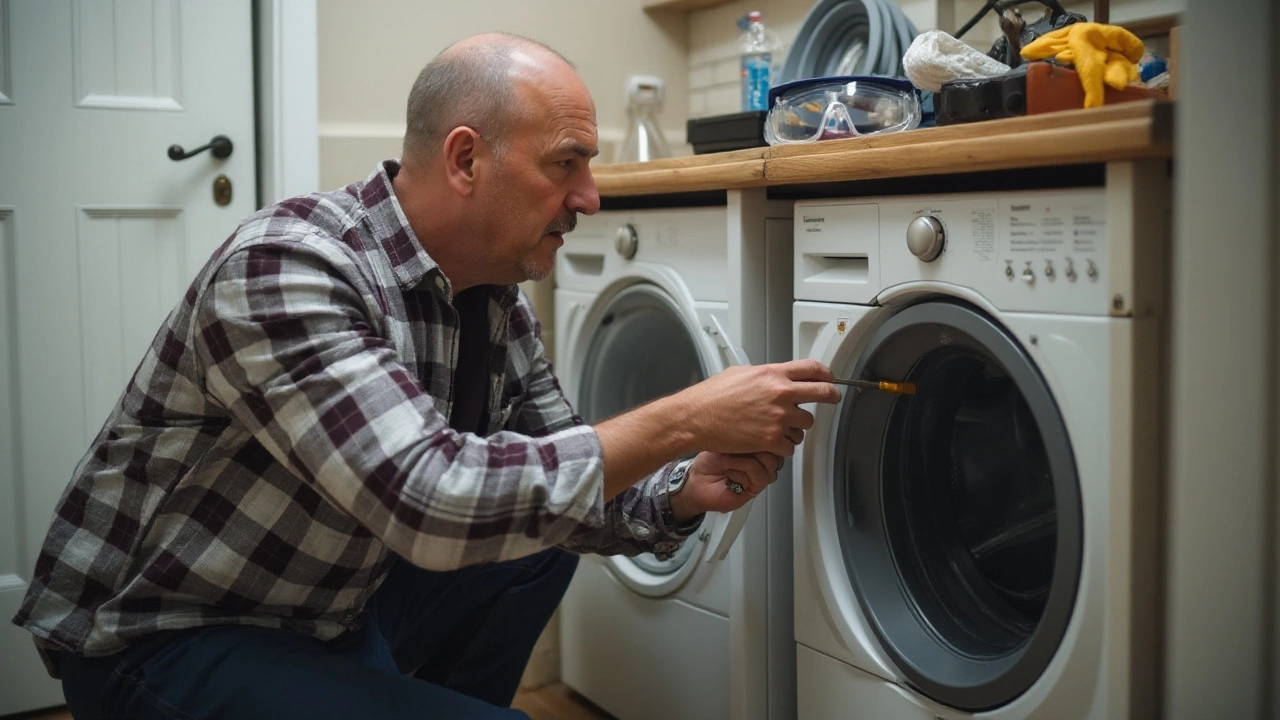
Addressing unexpected noises from your dryer can also fall under the category of fixes you can handle on your own. While a dryer will naturally produce some sound, if it starts to squeak or grind, it might be time to look at the drum rollers or glides. Unplug the dryer and detach the top and front panels to access the drum. Identifying worn-out rollers is generally straightforward — look for visible wear or damage. If so, they may need replacement, and swapping these out is a task within the capability of most home DIYers.
"A dryer’s functionality can often be restored with easy, routine checks and replacements, saving homeowners a potential call to the professionals," notes appliance expert John Doe from Fix It Right Tech.
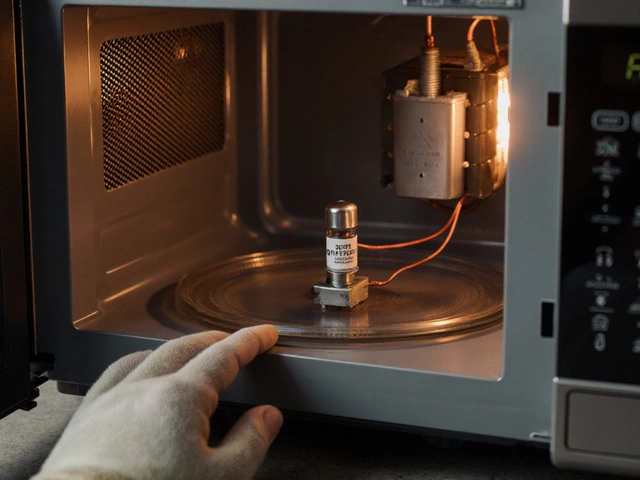
Sometimes the issue might lie in the dryer’s thermal fuse or thermostat. If your dryer is getting no heat, a blown thermal fuse may be the culprit. This safety device prevents overheating and can fail if it detects high temperatures. To replace one, locate the fuse with the help of your owner's manual, usually found within the housing after you’ve disconnected the power and removed the back panel. A multimeter can confirm whether the fuse is blown; simply place its probes on the fuse terminals to test for continuity. Replacing a defective thermal fuse is a straightforward process but remember that this usually indicates a venting issue, so do check for clogs as well.
Simple issues like these don't necessarily require you to be an expert; it's more about having the willingness to get familiar with your appliance. Balancing safety with practicality, you can extend the life of your dryer while keeping bills low. With a bit of confidence and curiosity, simple repairs can not only fix the immediate problem but also elevate your understanding of necessary routine maintenance, ensuring smoother operation long-term. This saves you money and gives you that satisfaction only a finished DIY project can bring.

Tools and Safety Precautions
Diving into the world of DIY dryer repair requires some fundamental tools and a strong focus on safety. Let's begin with equipping ourselves properly. A basic toolkit including a screwdriver set, pliers, a multimeter, and a flashlight can be incredibly handy. These are not just tools for repairs; they are lifelines in the realm of home appliance fixes. A household standard, the multimeter, helps you check electrical circuits, an essential step in diagnosing issues such as non-heating or failure to start.
When tackling any appliance repair, safety should be your foremost concern. Dryers operate on higher voltage than most appliances, making it imperative to unplug the machine before beginning any repairs. Ensure the area around the dryer is clear of debris and water, mitigating risks of static electricity or slips. Wearing safety goggles and gloves adds an extra layer of protection against any unforeseen incidents, like broken glass or old metal parts snapping unexpectedly. Did you know? According to the U.S. Fire Administration, approximately 2,900 dryer fires are reported annually, predominantly due to the neglect of basic maintenance and safety protocols.
Understanding and respecting your dryer’s structure plays a pivotal role while performing repairs. The interior can feature sharp edges, so a pair of cut-resistant gloves can be useful. Label wires and components as you dismantle, keeping track ensures an easy reinstallation. Besides, having an organized work area avoids confusion and clutter. One expert in appliance safety, as quoted from the Safety Standards Institute, said,
"Adhering strictly to operating instructions and maintenance guidelines is critical to prevent accidents and equipment damage."
After you set up your repair station, run through a mental checklist: Is the power off? Tools ready? Safety gear on? This methodical approach can prevent accidents and instill confidence as you embark on dryer repair. If the task at hand seems overwhelming at any point, it is perfectly okay to pause and reassess the situation. Calling in professional help might be the wisest decision, especially when dealing with complicated electrical issues or parts replacements that are beyond a simple fix.

When to Call a Professional
Even the most dedicated DIY enthusiast must accept that some issues are best left to the professionals, especially when it comes to dryer repair. While fixing simple snags like cleaning the lint or inspecting belts may be within reach, there are certain situations where the complexities demand expert attention. One key instance is when you’re dealing with electrical components. A dryer is a high-voltage appliance, and tinkering with internal wiring without proper expertise can lead to severe hazards, not just to your appliance but to your safety as well. Malfunctions involving the control board or significant elements like the heating element itself often require sophisticated diagnostic tools and skills that most homeowners do not possess.
Another scenario demanding professional help revolves around gas dryers. These dryers, while efficient, can pose serious risks if not handled correctly. Any smell of gas or issues related to the gas line must be promptly addressed by a certified technician. Mishaps can lead to gas leaks or fires, creating catastrophic consequences. Moreover, if you notice persistent issues like strange noises, tumbling difficulties, or errors that persist despite superficial fixes, it's time to call a professional to avoid further damage. An expert will have an enhanced understanding of the tumble dryer's intricate mechanisms, ensuring that your appliance is accurately restored.
Professionals also offer the advantage of conducting in-depth diagnostics. They use specialized equipment that can precisely identify the issue, which is particularly useful if your dryer is experiencing intermittent failures. For instance, repeated overheating may not just stem from a clogged vent. Instead, the root cause might be a failing thermostat or a faulty thermal fuse, components that require an expert eye to diagnose and replace. As Brian Mayfield from the Trusted Appliance Institute states,
"When appliance owners attempt to fix problems beyond their expertise, they often worsen the situation, turning minor issues into large-scale problems."
It's reassuring to know that professional technicians are adept at assessing whether a repair is even viable cost-wise. There are instances, particularly with older models, where the cost of professional repairs may outweigh the investment in a new, more efficient appliance. An honest and skilled technician can perform this assessment, offering you the best financial advice concerning your appliance maintenance. Additionally, taking this professional route often extends certain warranties, providing a safety net that DIY repairs unfortunately do not offer.
In weighing the options between DIY and professional intervention, it's crucial to consider not just immediate costs but long-term implications as well. A faulty repair could lead to further complications or void warranties, which can multiply expenses significantly. Statistical data reveals that nearly 45% of DIY repairs in household appliances lead to recurring issues within a year, prompting the same or increased repair costs. Thus, knowing when to step back and have a specialist tackle the more challenging aspects of dryer repair can ultimately be more cost-efficient and safer.
| DIY Success Rate | Professional Success Rate |
|---|---|
| 55% | 90% |


