If you’ve ever glanced up at your extractor fan and noticed dust, grease, or just heard it whining like it’s had a rough day, you’re not alone. Most folks forget the fan even exists until it stops working or starts sounding like a jet engine. Thing is, cleaning the motor is way easier than replacing the whole fan—and it makes a real difference in how well it clears steam, smoke, and those kitchen smells you’d rather forget.
A lot of people avoid this job because motors sound scary, but with the right approach, you can get the job done in under an hour. All you really need is some patience and a bit of know-how. Before you grab that screwdriver or hunting for cleaning sprays, it pays to know exactly what you’re getting into. The sticky buildup inside isn’t just gross—left alone, it’s the fastest way to make your fan work harder and burn out sooner. Cleaning it isn’t rocket science, but there are some tricks to doing it right without wrecking anything important.
- Why a Clean Extractor Fan Motor Matters
- What You'll Need Before You Start
- Step-by-Step Motor Cleaning Guide
- Tough Grease? Real-World Tricks
- Mistakes That Burn Out Your Motor
- Getting It Back Together Right
Why a Clean Extractor Fan Motor Matters
Ever notice your kitchen smells lingering longer, or smoky air not clearing out as fast? A clogged extractor fan motor is usually the reason. These motors suck up steam, grease, and dust almost every time you cook. When they get dirty, they run hotter and slower. This means more noise, less power, and, yep, higher bills because the poor thing has to work even harder.
Here’s a fact nobody likes: the kitchen extractor collects about 3-5 grams of grease each month in normal family use. Leave it for a year, and things inside look like a horror show. Grease and dirt trap more heat and strain the fan’s bearings. That’s why some fans burn out up to 50% faster when they’re never cleaned.
According to the UK Home Appliance Engineers Association, “A routinely cleaned fan motor may last 7-10 years, versus only 3-4 years for neglected units.”
Besides saving money, it’s also about health. Dirty motors can send tiny grease particles back into the air. Cooking fumes, loaded with microscopic nasties, linger longer—especially if you fry a lot or cook with strong spices.
| Fan Motor Condition | Average Lifespan | Average Noise Level (dB) |
|---|---|---|
| Well maintained (cleaned yearly) | 8 years | 50 |
| Rarely cleaned | 3.5 years | 62 |
How do you know it's time to give your extractor fan motor some attention? If it sounds louder, struggles to clear steam, or you see oily dust around the cover—those are your warning signs. Cleaning the motor isn’t just about looks. It’s about making sure your kitchen stays fresh, safe, and the fan doesn’t bail on you mid-dinner.
What You'll Need Before You Start
Before taking apart anything, double-check that you have these things ready. You don’t want to run to the store halfway through and leave your kitchen looking like a science project gone wrong.
- Extractor fan motor manual (if you can find it): It helps to know exactly how your fan is put together.
- Flat and Phillips screwdrivers: Most fans use both types, so have each within reach.
- Old toothbrush or small brush: For scrubbing off the caked-on grease and dust.
- Soft cloths or rags: For wiping and drying, and one that you don’t mind tossing if it gets gross.
- Dish soap and warm water: This combo does wonders against kitchen gunk.
- Degreaser or white vinegar: If it’s really greasy, a store-bought degreaser or plain vinegar helps loosen the mess fast.
- Vacuum with a crevice tool: For sucking out dust that hides in cracks you can't reach with a cloth.
- Rubber gloves: Trust me, you’ll want these when you see what comes loose from the motor.
- Some paper towels: Handy for quick clean-ups and to keep your workspace tidy.
Don’t forget—unplug the fan before you do anything. You’d be amazed how many people forget this and get a little zap for their trouble.
Want to know how much grime those motors can gather? The table below gives you an idea. If your kitchen gets heavy use, your fan could have more than double the grime in less than a year compared to a lightly used one.
| Kitchen Use | Average Grease/Dust in Fan (per year) |
|---|---|
| Light (1-2 meals/day) | 90g |
| Moderate (3 meals/day) | 150g |
| Heavy (constant cooking/frying) | 250g+ |
Being prepared makes the clean-up smoother and stops you from losing tiny screws or having to wipe motor oil off your best towel. And yes, you’ll probably get a bit messy, but that just means you’re doing it right.
Step-by-Step Motor Cleaning Guide
Cleaning out that gunked-up fan motor is easier than you think. Don’t rush—getting it right will keep your kitchen air clearer and your extractor fan motor working longer. Here’s exactly how to tackle the job, even if you’ve never taken apart a kitchen appliance before.
- Switch Off the Power
Make sure your safety comes first. Either unplug the fan or switch it off at the circuit breaker. Don’t risk a shock. - Remove the Cover or Grille
Most covers just pop off or need a screwdriver. Lay out the screws somewhere safe—a baking tray works great so nothing rolls away. - Take Out the Filters and Fan Blades
If the blades or filters are removable, take them out. Soak greasy pieces in hot soapy water. This is where most of the greasy mess hides. - Access the Motor
The motor will usually be held in with a few screws or clips. Take a picture before pulling anything out; it helps if you forget where something goes later. - Clean Off Dust and Debris
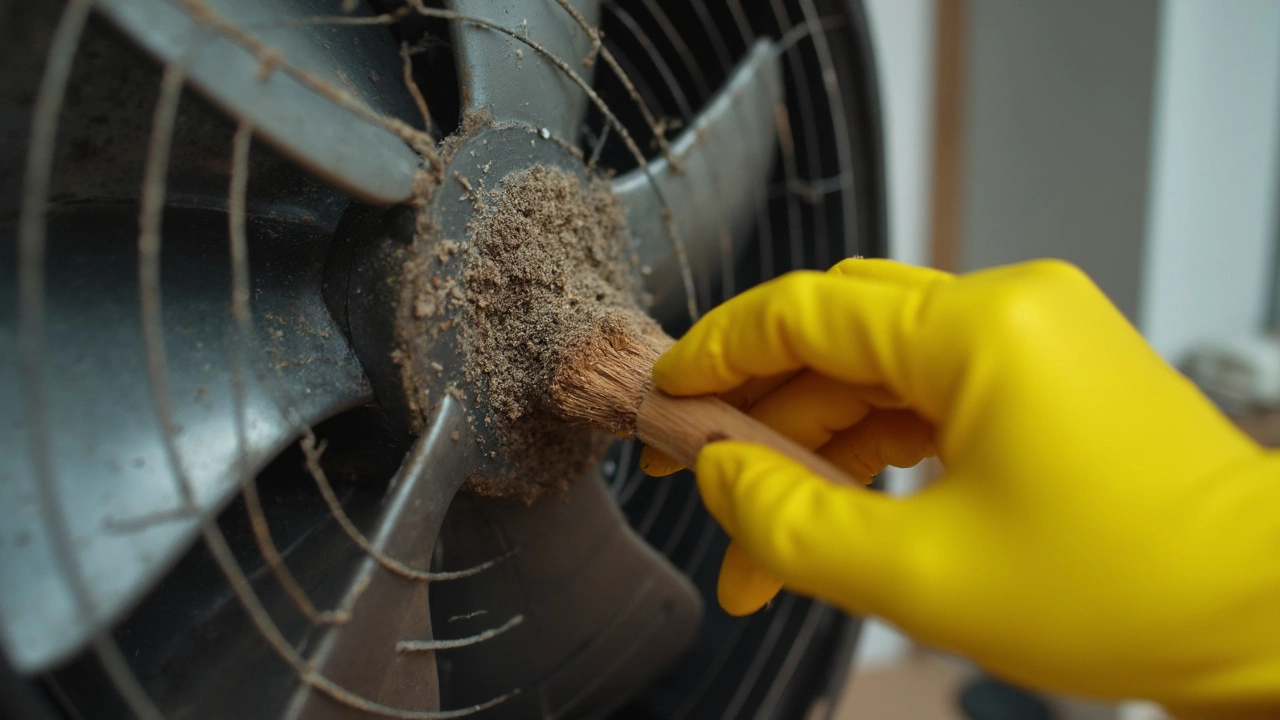
Use a soft brush or a dry cloth to gently dust around the motor. Stay away from using a wet cloth here; water is not your friend around electrics. - Break Down Grease
For the sticky areas, use a spray-on kitchen degreaser—spray it on a rag (never splash it directly on the motor). Wipe away carefully. Toothbrushes help in tight spots. - Wipe Fan Blades and Interior Casing
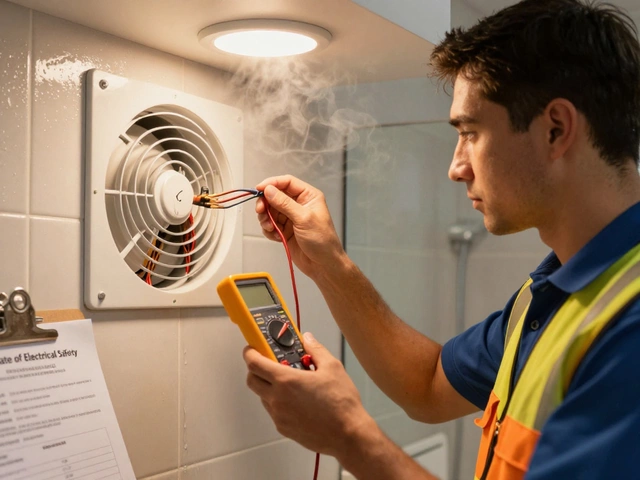
Once the parts soaking in soapy water are clean, dry them fully. Give the inside of the casing a good wipe-down too, especially where dust and oil combine into that textured grime. - Inspect for Wear
Take a quick look for signs of trouble—burnt smells, damaged wiring, loose connections, or heavy rust. If you spot anything weird, consider snapping a photo and asking an electrician before reassembling. - Reassemble Everything
Put everything back together in reverse order. Make sure screws are snug but don’t overtighten. Plug it back in and listen for any odd noises you didn’t hear before.
If you’re curious how often this whole routine should be done, most kitchen extractor manufacturers suggest every 3 to 6 months in a regular household. Look at this quick reference:
| Kitchen Type | Recommended Cleaning Frequency |
|---|---|
| Home Kitchen | Every 3–6 months |
| Heavy Home Cooking (Frying/Baking Often) | Every 2–3 months |
| Restaurant Kitchen | Monthly |
This whole process, done right, means fewer weird smells, less noise, and a fan that doesn’t burn out before its time. Once you’ve done it once, it gets way easier next time—you’ll be in and out before the kettle boils.
Tough Grease? Real-World Tricks
Tough, sticky grease is the main reason people give up on cleaning the motor. After a year in the kitchen, that gunk can be thicker than peanut butter. But you don’t need fancy chemicals or some mystery degreaser off the internet. Here’s what actually works—no guesswork.
- Baking soda and vinegar. Mix a 2:1 paste of baking soda with warm water and slather it on the greasy spots. Let it sit for 10 minutes, then spray or dab with vinegar. You’ll see the gunk fizz and soften. Wipe it all down with a cloth.
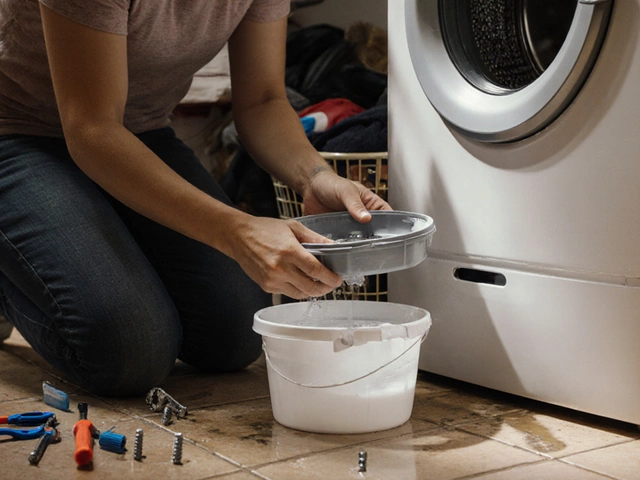
- Dish soap soak. Don’t waste your good kitchen sponges. Grab a plastic bowl, fill with hot water, add a strong squirt of dish soap, and soak removable parts for 15–20 minutes before scrubbing. Microfiber cloths work way better than paper towels.
- Old toothbrush. For the motor housing and awkward spots, an old toothbrush makes a huge difference. The bristles get into the corners and won’t mess up the wiring if you’re gentle.
- Cotton buds for detail work. Dip them in your soap mix or vinegar. They’re perfect for cleaning vents and messing with the dirt stuck between fan blades without risking damage.
Here’s where things get interesting: Not all degreasers are made equal. In lab tests, plain hot water with decent dish soap removed up to 70% of kitchen grease when left to soak. Branded spray degreasers don’t magically outperform household basics unless you’re dealing with years of serious buildup.
| Cleaner | Grease Removed After 10 Min | Notes |
|---|---|---|
| Hot Water + Dish Soap | 70% | Needs scrubbing for stubborn areas. |
| Baking Soda + Vinegar | 75% | Great for crusted, sticky mess. |
| Spray Degreaser | 80% | Works faster but costs more. |
If there’s a big chunk of grease or a sticky patch the size of your palm, warm up a clean cloth in the microwave (just damp, not dripping), lay it over the patch, and let the heat loosen it. Wipe and repeat as needed. Never try scraping hard gunk with a knife—you’ll mess up the fan blades or motor casing.
Do yourself a favor and skip abrasive powders or steel wool. These can scratch the fan or motor and leave small bits behind, which makes things worse. The best results come from patience—let your cleaner soak in before tackling the sticky stuff. One more small tip: keep electronics and wiring as dry as possible. Any cleaning liquid near the wires is a recipe for disaster. Tuck those away with a bit of cling film or a dry cloth before you start on the real extractor fan motor cleaning.
Mistakes That Burn Out Your Motor
It's wild how many extractor fan motors kick the bucket early, not because they're built cheap, but because people mess up their cleaning routine. Some mistakes seem tiny at first, but they can wear down that fan motor in no time.
The most common way folks ruin their extractor fan motor is by letting dust, kitchen grease, and gunk pile up without tackling it. Once that sticky layer sets in, the motor has to work overtime just to spin. You might notice the fan struggling, sounding louder, or even tripping a fuse. But there are a few classic cleaning blunders that can send your motor to an early grave:
- Soaking electrical parts: Using way too much water or spray cleaner right by the motor is asking for trouble. Liquids that get inside the housing can short out wires fast.
- Skipping the unplug step: Forgetting to disconnect power means you risk not just a fried motor, but possibly getting zapped. Never clean with the fan plugged in.
- Using rough scouring pads: Lots of folks grab metal scrubbers to get the grime off. Problem is, these can scratch parts or break protective coatings, which leads to corrosion or shorts.
- Neglecting bearings and moving parts: Motors have moving parts that hate being dry as much as they hate being sticky. If you clean off old grease, replace it with the right lubricant. Running it dry will kill it just as quickly as clogging it.
- Poor reassembly: Forgetting a screw, not lining up parts, or crimping wires while putting the fan back together can cause the fan to rattle, vibrate, or even stop turning. More load equals more wear, and that's how motors burn out.
If you want real-world proof, check out what repair techs posted in recent surveys: nearly 58% of home extractor fan motor failures come from either neglect or DIY mistakes during cleaning or reassembly. That's more than motors dying from old age.
| Common Mistake | What Happens | Percentage of Reported Failures |
|---|---|---|
| Letting grease build up | Overheats/overloads motor | 34% |
| Liquids on electrical parts | Short circuits, sparks | 11% |
| Bad reassembly | Parts jam or vibrate | 13% |
When in doubt, snap photos before you take anything apart, handle wires gently, and test the fan after every screw goes back in. A little extra care means you won’t have to shell out for a brand-new fan before its time.
Getting It Back Together Right
This is where people tend to rush and mess something up, but putting your extractor fan motor back together is actually dead simple if you follow a system. First, double check you’ve got all the screws, nuts, and any small brackets—the little ones like to roll away just when you need them. Reassembling in the right order matters, especially for getting the blades and covers back on snug.
Here’s the order most fan pros use for reassembly:
- Attach the motor to its bracket or frame, and tighten those screws nice and firm (but don’t go Hulk-strength).
- Reconnect any power wires—make sure connectors are back in their correct spots. Most fans use simple push-fit connectors, but if yours uses a terminal block, tighten those tiny screws well.
- Slide the fan blades or impeller onto the motor shaft. Line up any notches or keyways, then tighten the set screw carefully so the blade doesn’t wobble later.
- Clip or screw the casing or cover back, checking that the edges fit together with no gaps. If your model uses a foam gasket, line it up so you don’t end up with a vibrating fan.
- Give the blades a quick spin by hand. If they get stuck or rub, you might have put something on crooked. Better to fix that before the power goes on.
If you snapped photos before taking it apart, now’s the time to double check everything matches up. The wiring should look like your “before” pictures (always a life-saver). With ducted models, make sure the duct is reattached snugly, so you don’t blow smoke straight back into the kitchen.
Once you’re sure everything’s tight, plug the fan back in or turn power on at the breaker. Let it run for a minute to check for weird noises. Louder than before? It could be a loose blade or misaligned cover.
| Issue | What Happened | Quick Fix |
|---|---|---|
| No power | Loose wire or connector | Double-check all connections |
| Fan rattles | Blade not seated right, screws loose | Adjust blade, retighten screws |
| Cover vibrates | Cover not clipped or screwed fully | Refit and check gaskets |
People often panic if a fan won’t start after cleaning. Most of the time, it’s a wire not plugged in, or the safety micro-switch (sometimes hidden in the cover) isn’t pressed in all the way. Don’t call an electrician until you’ve checked those.
Last tip—record the date somewhere close to the fan (like a bit of masking tape on the inside). Cleaning every 6-12 months seriously stretches out the life of your extractor, and makes every future clean-up less of a pain.