Refrigerator Troubleshooting Diagnostic Tool
Diagnostic Steps
Click through each step to diagnose your refrigerator issue.
Is the refrigerator receiving power?
Check if the unit is plugged in securely and if the circuit breaker is on.
Do interior lights turn on and are settings correct?
Open the door and check if the light illuminates. Verify temperature settings.
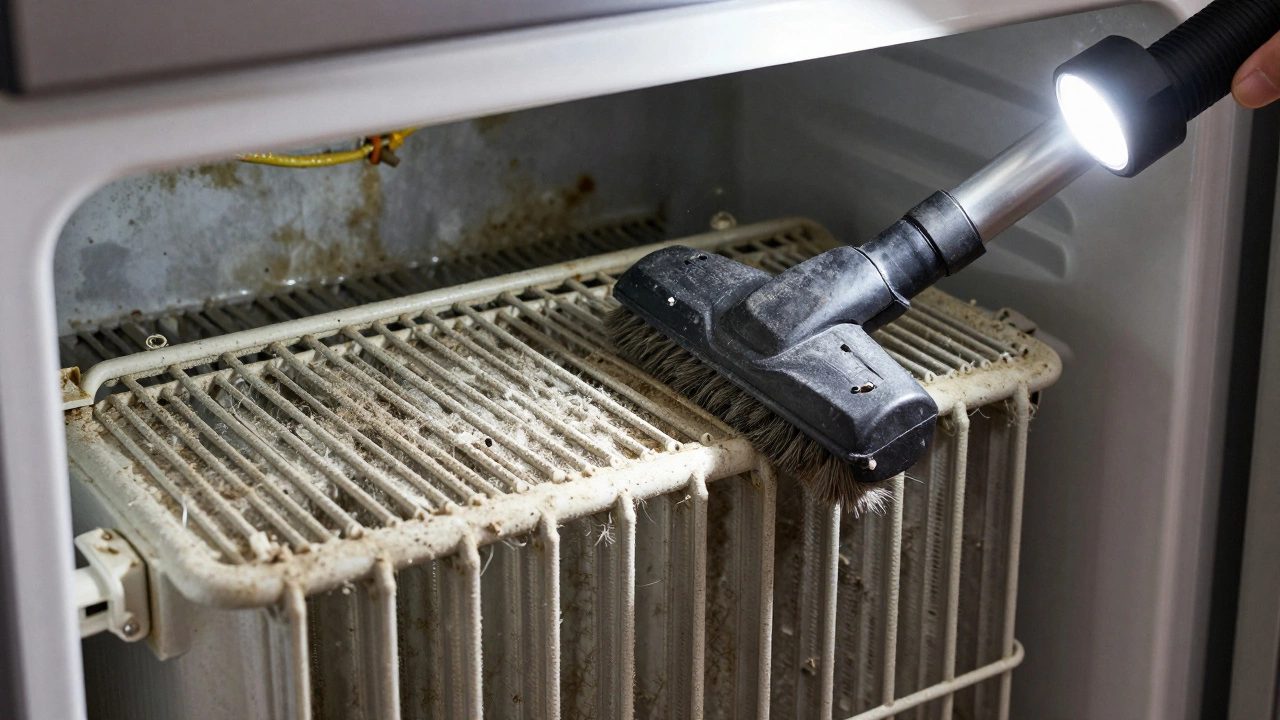
Are air vents clear and condenser coils clean?
Check for blocked internal vents and inspect condenser coils for dust buildup.
Are door seals intact and tight?
Perform the dollar bill test to check seal integrity.
Can you hear the compressor and fans running?
Listen for the low hum of the compressor and fan sounds.
Diagnostic Progress
Quick Status:
Your kitchen falls silent. The gentle hum that usually blends into the background noise of your home is gone. You open the door, expecting cold air to hit your face, but instead, you’re greeted by warmth. Panic sets in immediately. Is your milk spoiled? Will the meat thaw before you can do anything about it? Before you call a technician or start digging for tools, take a deep breath. Most refrigerator failures aren’t catastrophic mechanical breakdowns; they are simple oversights.
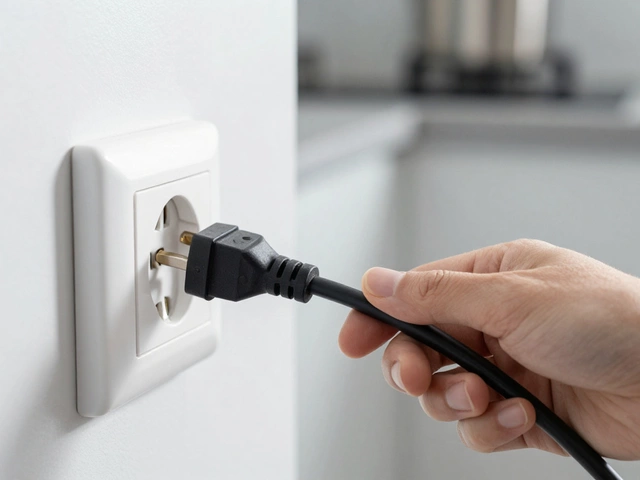
The very first thing to check when a refrigerator a household appliance used for preserving food by keeping it at low temperatures stops working is whether it is actually receiving power. It sounds obvious, but it is the most common reason for sudden silence. A tripped circuit breaker, a loose plug behind the heavy unit, or a faulty outlet can mimic a complete compressor failure. If you skip this step, you might spend hours diagnosing complex electrical faults that don’t exist.
The Power Supply: The Foundation of Operation
Electricity is the lifeblood of your appliance. Without it, the compressor the motor that circulates refrigerant through the system cannot run, and the fans cannot spin. Start with the basics. Look at the back of your fridge. Is the power cord firmly inserted into the wall socket? Sometimes, moving furniture or cleaning behind the unit can knock the plug partially out. Give it a firm push to ensure it’s seated correctly.
If the plug is secure, check your home’s electrical panel. Locate the circuit breaker labeled "Kitchen" or "Appliances." If the switch is in the middle position or flipped to "Off," reset it by flipping it fully off and then back on. In older homes with fuse boxes, look for a blown fuse. Additionally, test the outlet itself. Plug a lamp or a phone charger into that specific socket. If the device doesn’t work, the issue is with your home wiring, not the fridge. This simple test saves you from unnecessary service calls.
Interior Lights and Temperature Settings
Once you’ve confirmed power is reaching the unit, open the door. Does the interior light turn on? This is a crucial diagnostic clue. If the light illuminates, the control board is receiving electricity, which means the problem is likely within the cooling mechanism rather than the main power supply. If the light does not turn on, you may have a failed door switch or a more significant electrical issue inside the cabinet.
Next, examine the temperature controls. Have you accidentally bumped the dial? Many digital fridges have a "Vacation Mode" or "Energy Saver" setting that turns off the cooling function to save power while leaving the lights on. Check the display panel. If the temperature reads significantly higher than your set point (usually between 35°F and 38°F for the fridge compartment), the thermostat might be malfunctioning, or the sensors are blocked by ice or debris. Resetting the temperature to its coldest setting and waiting an hour can sometimes kickstart a sluggish system.
Airflow and Condenser Coils
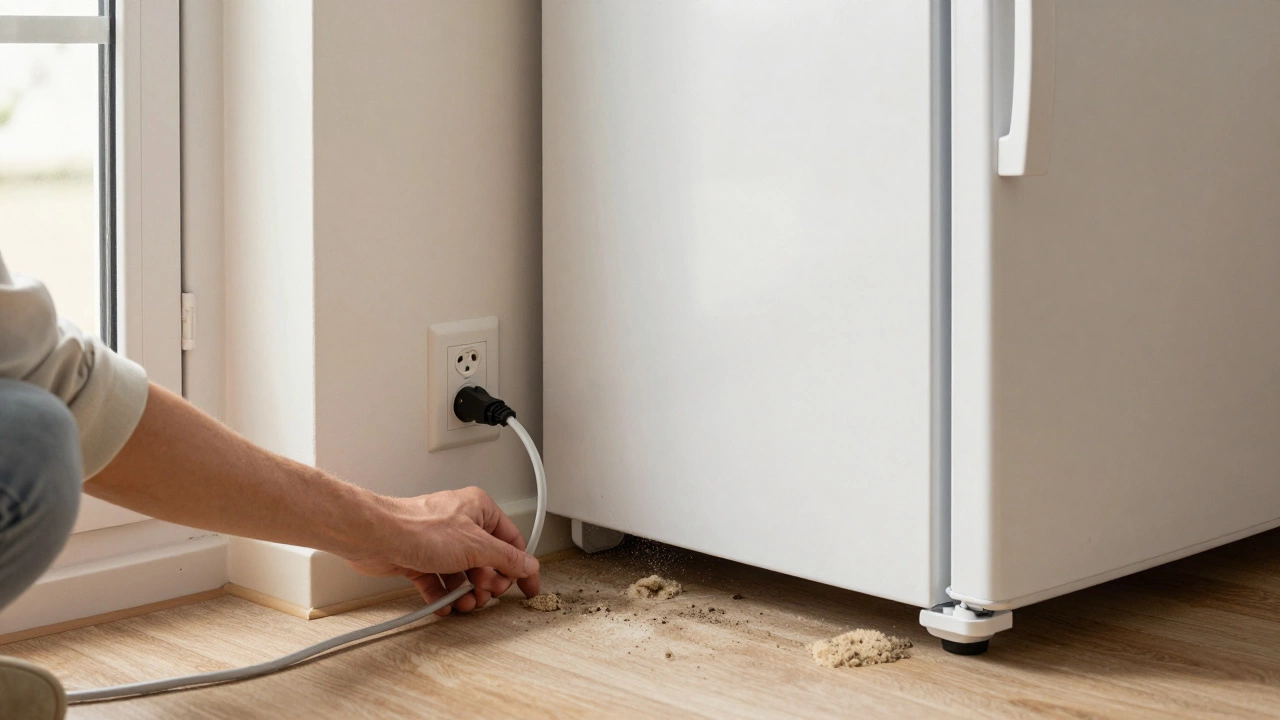
If power and settings are correct, look at airflow. A refrigerator works by removing heat from inside the box and expelling it outside. If the air cannot move, the fridge overheats and shuts down to protect the compressor. Check the vents inside the fridge. Are they blocked by food packages? Overstuffing the shelves prevents cold air from circulating evenly. Rearrange items to leave space around the air vents.
Now, look at the condenser coils. These are located either on the back of the fridge or behind a grille at the bottom front. Over time, these coils collect dust, pet hair, and grime. This insulation layer traps heat, forcing the compressor to work harder and longer. Eventually, it overheats and trips the overload protector. Unplug the fridge, pull it away from the wall, and inspect the coils. If they look fuzzy or dirty, clean them with a coil brush or a vacuum attachment. Clean coils can improve efficiency by up to 10% and prevent premature shutdowns.
| Symptom | Likely Cause | Action Required |
|---|---|---|
| Fridge warm, freezer cold | Blocked internal vents | Rearrange food items |
| Compressor runs constantly | Dirty condenser coils | Vacuum coils thoroughly |
| Ice buildup on evaporator | Poor door seal | Check and replace gaskets |

Door Seals and Gaskets
A compromised door seal allows warm, moist air to enter the fridge. This moisture freezes on the evaporator coils coils inside the freezer that absorb heat from the air, creating a thick layer of ice. This ice acts as an insulator, preventing the coils from absorbing heat effectively. The fridge struggles to cool, and eventually, the compressor gives up.
Perform the dollar bill test. Close the fridge door on a dollar bill so that half of it sticks out. Try to pull the bill out. If it slides out easily without resistance, your seal is weak. Inspect the rubber gasket for cracks, tears, or dirt. Clean the seal with warm soapy water. If the damage is severe, you’ll need to replace the gasket. This is a relatively inexpensive part that can restore proper cooling performance.
Listen for the Compressor and Fans
Stand close to the back of the refrigerator. Do you hear any sound? A healthy fridge makes a low hum. If it’s completely silent after confirming power, the start relay a small component that helps the compressor motor start might be broken. The start relay is a small plastic box attached to the side of the compressor. It sends the initial jolt of electricity needed to get the motor spinning. If it fails, the compressor won’t start, even though the lights are on.
You can often test the start relay by shaking it. If you hear rattling inside, it’s broken. Replacing it costs less than $20 and is a straightforward DIY fix. If the relay is fine, listen for the evaporator fan inside the freezer. If you hear a clicking sound but no humming, the compressor itself might be seized. This is a more serious issue that usually requires professional attention or replacement of the entire unit.
When to Call a Professional
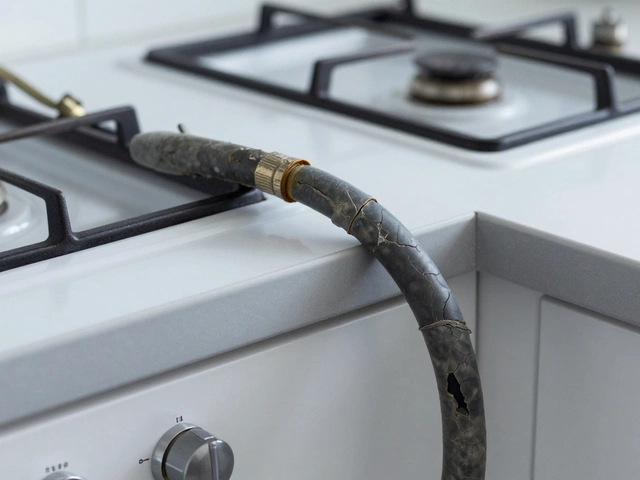
Some problems go beyond basic troubleshooting. If you smell burning plastic, see sparks, or notice refrigerant leaks (oil spots near the compressor), unplug the fridge immediately and call a technician. Handling refrigerants requires certification due to environmental regulations. Similarly, if the control board displays error codes, consult your manual. Modern smart fridges use electronic control boards that manage temperature, defrost cycles, and ice makers. A failed board can cause erratic behavior that is difficult to diagnose without specialized tools.
Consider the age of your appliance. If your fridge is over 10 years old and has a major component failure like a bad compressor, it might be more cost-effective to replace it than to repair it. Newer models are significantly more energy-efficient, saving you money on electricity bills over time.
Maintaining Your Fridge for Longevity
Prevention is easier than cure. Keep your condenser coils clean every six months. Ensure the room temperature around the fridge isn’t too hot; avoid placing it next to ovens or in direct sunlight. Don’t put hot food directly into the fridge; let it cool to room temperature first. This reduces the load on the compressor. Regular maintenance can extend the life of your refrigerator by several years, keeping your food fresh and your bills low.
What should I do if my fridge is making a loud buzzing noise?
A loud buzzing noise often indicates a failing compressor or a loose fan blade. First, check if any items inside are vibrating against the walls. If the noise persists, it could be the start relay struggling to engage the compressor. Turn off the fridge and contact a repair technician to inspect the compressor and fans.
Why is my freezer working but the fridge section is warm?
This is usually caused by a blocked air vent or a faulty damper control. Cold air from the freezer needs to flow into the fridge compartment. Check if food packages are blocking the vents inside the fridge. If the vents are clear, the damper motor that regulates airflow might be broken and needs replacement.
How often should I clean the condenser coils?
You should clean the condenser coils at least twice a year. If you have pets or live in a dusty area, consider cleaning them every three to four months. Dirty coils force the compressor to work harder, increasing energy consumption and wear on the appliance.
Is it safe to eat food if the power went out for two hours?
Yes, generally speaking. A closed refrigerator will keep food cold for about four hours. As long as the internal temperature stayed below 40°F, the food is safe to consume. Use a thermometer to check if you are unsure. Discard perishable items like meat, dairy, and leftovers if they have been above 40°F for more than two hours.
Can I fix a broken start relay myself?
Yes, replacing a start relay is one of the easiest refrigerator repairs. It typically involves unplugging the fridge, accessing the compressor at the back, removing the old relay, and plugging in the new one. No special tools are usually required, and parts are widely available online or at appliance stores.