Electric Hob Troubleshooter & Repair Estimator
Recommended Action Plan:
Estimated Cost Comparison (AUD)
Recommendation:
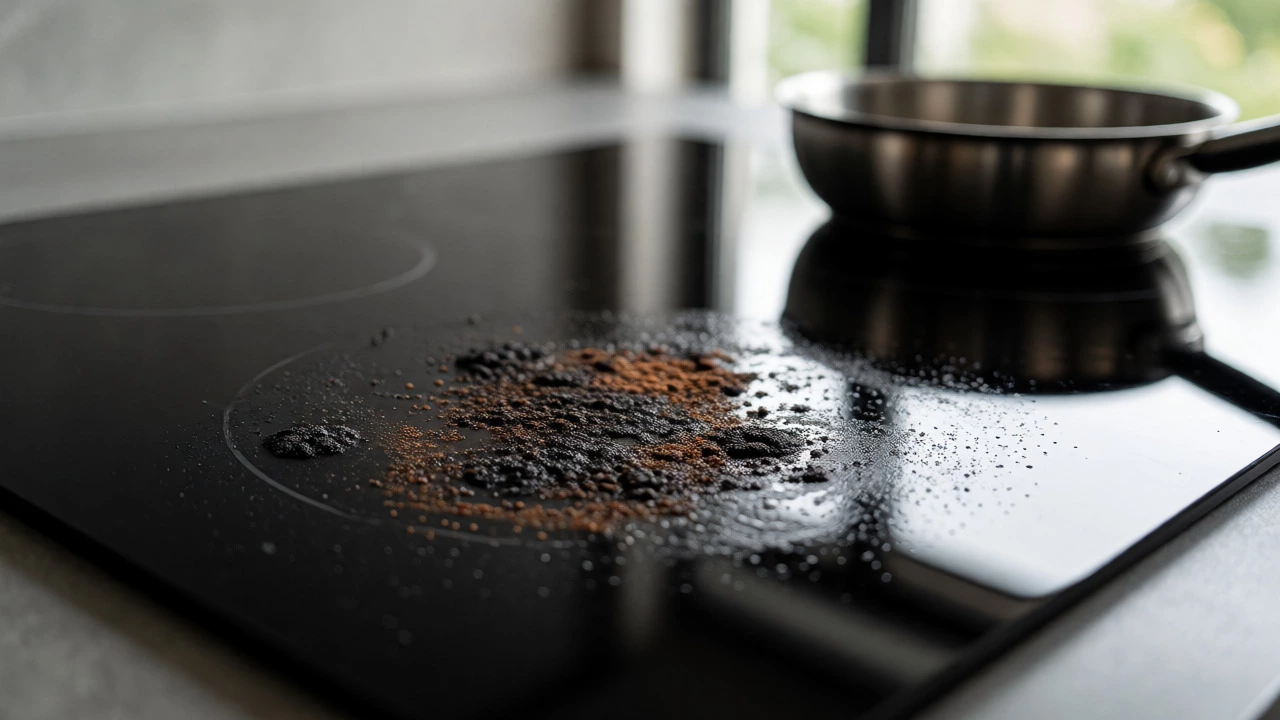
You’re cooking dinner, the pan sizzles, and suddenly you notice it: a blackened, crusty patch on your electric hob that looks like it survived a volcanic eruption. It’s not just ugly; it can actually mess with how evenly your food cooks and even pose a safety risk if left unchecked. The good news? Most "burnt" hobs aren’t dead-they’re just dirty or have minor surface issues that don’t require a full replacement.
Before you call in a technician or buy a new unit, let’s figure out what kind of damage you’re dealing with. Is it burnt-on food residue? A cracked glass surface? Or is an internal element failing? This guide walks you through diagnosing the problem and fixing it yourself, saving you time and money.
Identify the Type of Damage
Not all "burnt" looks are created equal. Your approach depends entirely on whether you have a ceramic/glass hob, an induction hob, or a traditional solid plate/cast iron hob. Each material reacts differently to heat and spills.
- Ceramic/Glass Hobs: These are smooth, flat surfaces made from tempered glass-ceramic. They are prone to scratches and cracks if heavy pots are dragged across them. "Burnt" here usually means carbonized food stuck to the surface.
- Induction Hobs: Technically, the glass doesn't get hot from the burner itself but from the pot. However, spilled oil or sugar can still bake onto the surface, creating stubborn black marks. Induction zones themselves don't burn out easily unless there's an electronic fault.
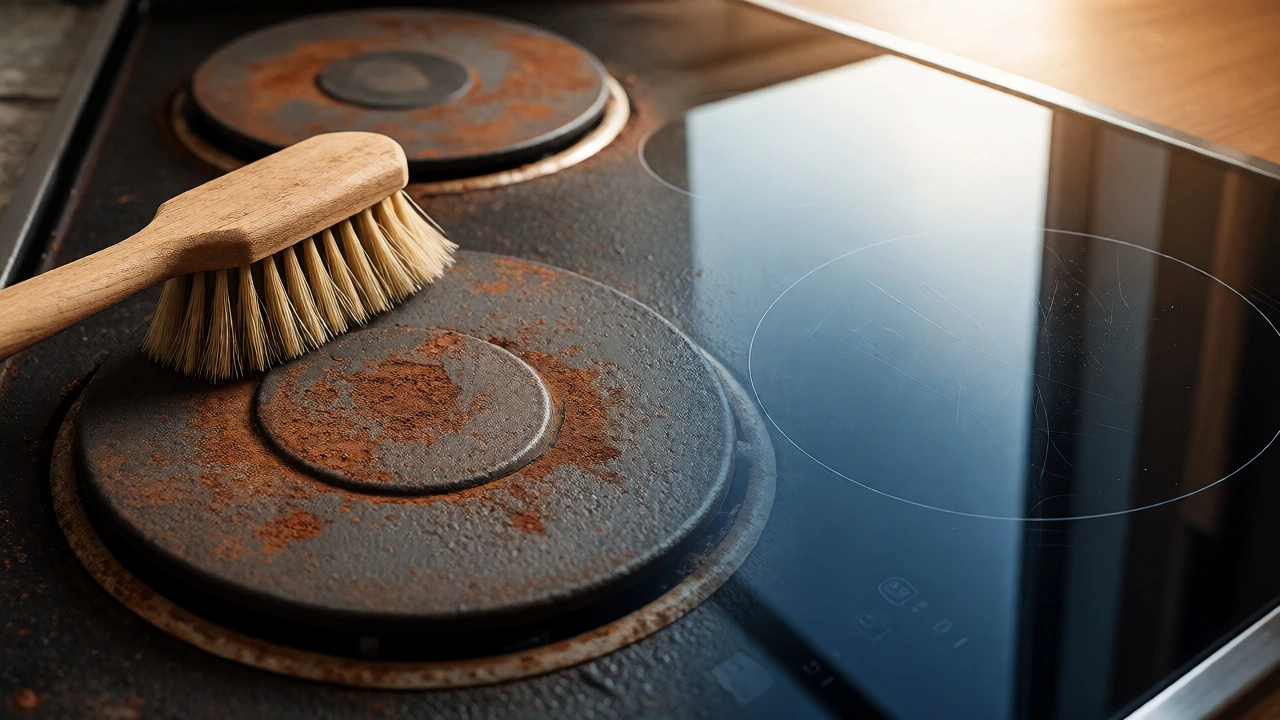
- Solid Plate/Cast Iron Hobs: These have raised metal elements. If they look burnt, it’s often oxidation or severe carbon buildup on the metal plates. In rare cases, the element itself may be damaged.
If the surface is physically cracked or shattered, stop reading and call a pro. Glass-ceramic repairs are tricky and often cost more than replacement. But if it’s just discoloration or sticky residue, keep going.
The Golden Rule: Cool Down Before Cleaning
This sounds obvious, but I’ve seen too many people try to scrub a hot hob with a damp cloth, causing thermal shock that cracks the glass. Always ensure the hob is completely cold to the touch. For ceramic and induction models, wait at least 30-60 minutes after turning off the power. Even if the display says "off," residual heat lingers.
| Hob Type | Recommended Tool | Cleaning Agent | Avoid |
|---|---|---|---|
| Ceramic/Glass | Razor blade scraper (held at 30° angle) | Dedicated ceramic cleaner or baking soda paste | Abrasive sponges, steel wool |
| Induction | Microfiber cloth + soft sponge | Mild dish soap or specialized induction cleaner | Harsh chemicals, scouring pads |
| Solid Plate | Stiff nylon brush | Baking soda paste or oven cleaner (non-caustic) | Water getting into electrical connections |
Fixing Stubborn Burnt-On Residue (Ceramic & Induction)
Most "burnt" issues on modern hobs are just sugar or starch that has caramelized and hardened. Here’s the step-by-step method that works for 90% of cases:
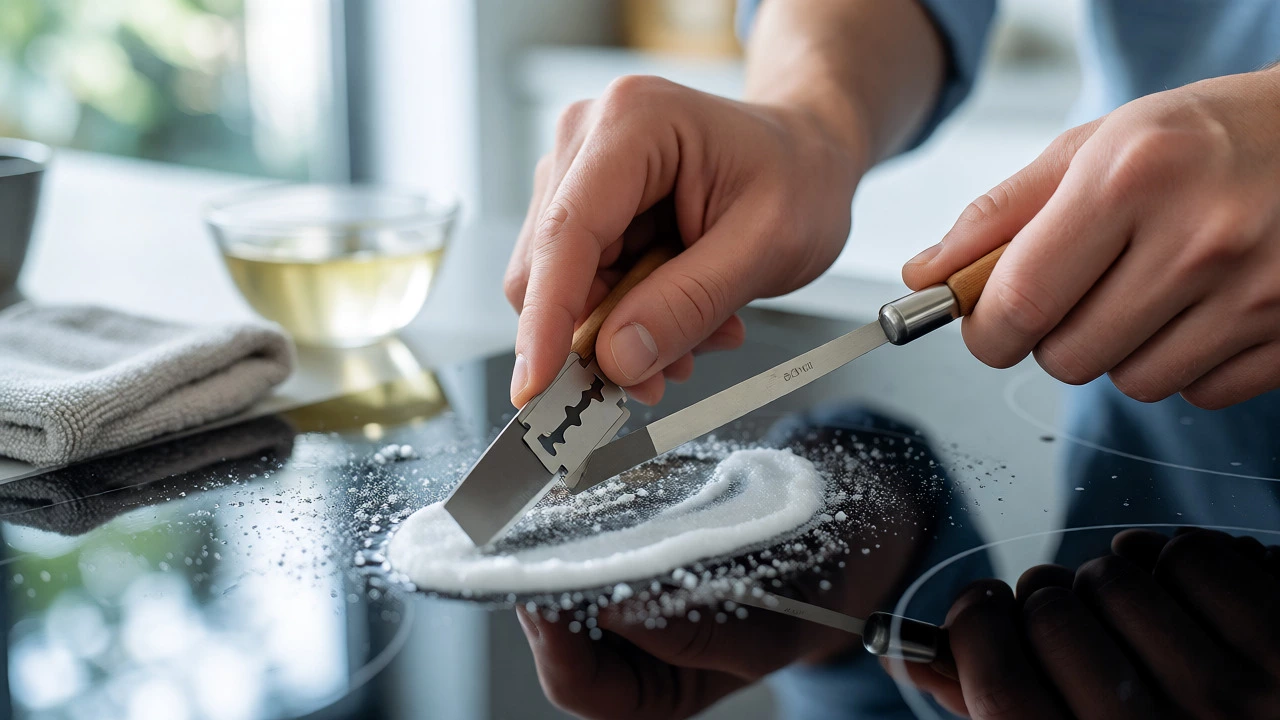
- Apply a cleaning paste: Mix three parts baking soda (sodium bicarbonate) with one part water to form a thick paste. Spread it generously over the burnt area. Alternatively, use a dedicated ceramic hob cleaner cream.
- Let it sit: Leave the paste on for 15-20 minutes. This breaks down the carbon bonds without scratching the glass.
- Scrape gently: Take a single-edge razor blade or a specialized hob scraper. Hold it at a low angle (about 30 degrees) to the surface. Gently push the blade forward to lift the softened debris. Do not press hard; let the tool do the work.
- Wipe clean: Use a damp microfiber cloth to wipe away the residue. Repeat if necessary.
- Polish: Dry the surface with a clean cloth and apply a tiny amount of ceramic polish to restore shine and protect against future sticking.
Pro tip: If the stain persists, try applying a small amount of white vinegar to the baking soda residue before scraping. The fizzing action helps loosen deep-set grime.
Dealing with Oxidation on Solid Plates
If you have older cast-iron or solid plate hobs, they might look rusty or discolored. This isn’t necessarily "burnt" in the sense of damage; it’s often oxidation. While some rust is normal, heavy buildup can insulate the plate, making it heat up slower and unevenly.
To fix this:
- Unplug the hob or switch off the circuit breaker.
- Remove the solid plates if they are detachable (check your manual).
- Soak them in hot soapy water with a cup of white vinegar for an hour.
- Scrub with a stiff nylon brush. Avoid wire brushes as they can scratch protective coatings.
- Dry thoroughly before reinstalling. Moisture left on the contact points can cause electrical arcing.
If the plates are warped or severely pitted, replacement plates are usually available from the manufacturer or spare parts suppliers. They’re far cheaper than a new hob.
When It’s Not Just Dirt: Electrical Faults
Sometimes, a "burnt" smell or visual scorching near the edges indicates an electrical issue rather than surface dirt. Check these signs:
- Uneven heating: One zone takes forever to boil water while others work fine. This could mean a failing heating element.
- Sparkling or crackling sounds: When turned on, if you hear popping noises, moisture or debris might be bridging the electrical contacts.
- Discoloration around terminals: Look under the hob (if accessible) for brown or black marks on the wiring connectors. This suggests loose connections overheating.
For electrical faults, always cut power at the mains. Never attempt to replace a heating element unless you are confident working with live appliances. In Australia, AS/NZS 3000 standards require specific safety checks for fixed appliances. If you’re unsure, it’s safer to hire a licensed electrician or appliance technician.
Preventing Future Burn Marks
Once you’ve restored your hob, keeping it clean is easier than rescuing it. Prevention beats cure every time.
- Use flat-bottomed pans: Warped bases trap air and cause uneven heating, leading to hotspots where food burns faster.
- Lift, don’t drag: Dragging pots across ceramic glass causes micro-scratches. These scratches become traps for grease and make future cleaning harder.
- Clean immediately: Wipe up spills as soon as the surface is cool enough to touch. Sugar-based spills (like jam or syrup) bond to glass within minutes.
- Check pan cleanliness: Ensure the bottom of your pans is free from grit or old burnt layers before placing them on the hob.
Regular maintenance takes five minutes a day but saves hours of scrubbing later. Keep a scraper and cleaner handy right next to the stove.
Cost-Benefit Analysis: DIY vs. Professional Repair
Should you fix it yourself or call someone? Here’s a quick breakdown based on typical costs in Brisbane and similar Australian markets.
| Issue | DIY Cost (AUD) | Professional Cost (AUD) | Recommendation |
|---|---|---|---|
| Burnt-on residue | $15 - $30 (cleaners/tools) | $80 - $120 (call-out fee) | Definitely DIY |
| Minor surface scratch | $20 - $40 (polishing kit) | $100+ (specialist refinish) | DIY or ignore if cosmetic |
| Faulty heating element | $50 - $150 (part only) | $150 - $300 (parts + labor) | DIY if experienced; else Pro |
| Cracked glass top | N/A (hard to source exact fit) | $200 - $400+ | Often better to replace hob |
Notice that for most cleaning issues, hiring a professional is overkill. You’re paying for their travel time, not complex skills. Reserve professional help for internal electrical components or structural damage.
Frequently Asked Questions
Can I use a razor blade on any electric hob?
You should only use a razor blade on smooth ceramic or glass hobs. Never use it on textured surfaces, stainless steel surrounds, or plastic control panels, as it will scratch them. Always hold the blade at a shallow angle to avoid digging into the glass.
Why does my induction hob click when I turn it on?
Clicking or buzzing is often normal due to the vibration of coils inside the induction zone. However, loud cracking sounds might indicate thermal expansion of the glass or a loose component. If the sound is accompanied by error codes, consult your user manual or a technician.
Is baking soda safe for all hobs?
Baking soda is mildly abrasive and generally safe for ceramic, glass, and stainless steel hobs. However, test it on a small, hidden area first if your hob has a special coating. Rinse thoroughly to prevent white powdery residue from entering ventilation slots.
What if the burnt mark won’t come off?
If standard cleaners fail, the damage might be etching rather than staining. Etching is permanent physical change to the glass surface. In this case, polishing compounds designed specifically for glass ceramics can reduce visibility, but complete removal is rarely possible without professional refinishing.
How often should I deep clean my electric hob?
A quick wipe-down after each use is essential. Deep cleaning with a scraper and cleaner should be done weekly or whenever visible buildup occurs. Regular maintenance prevents the need for aggressive scrubbing that can damage the surface over time.