Extractor Fan Diagnostic Assistant
Diagnostic Steps
Start Diagnosis
Click the first step below to begin identifying your extractor fan issue.
Nothing ruins the vibe of cooking dinner faster than a kitchen that smells like burnt garlic and old oil. You turn on your kitchen extractor fan, expecting it to whisk away the smoke from your pan, but instead, you hear a low hum, a rattling noise, or absolutely nothing at all. Before you call out a technician for an expensive extractor fan repair job, you need to know if the unit is actually broken or just clogged with years of grease.
Testing an extractor fan isn't rocket science, but it does require a bit of caution since you're dealing with electricity and potentially sharp blades. If you follow a logical troubleshooting path, you can often fix the problem yourself by cleaning or adjusting components. This guide walks you through exactly how to test every part of the system, from the power supply to the motor bearings, so you can decide whether to DIY or hire a pro.
Gather Your Tools and Safety Gear
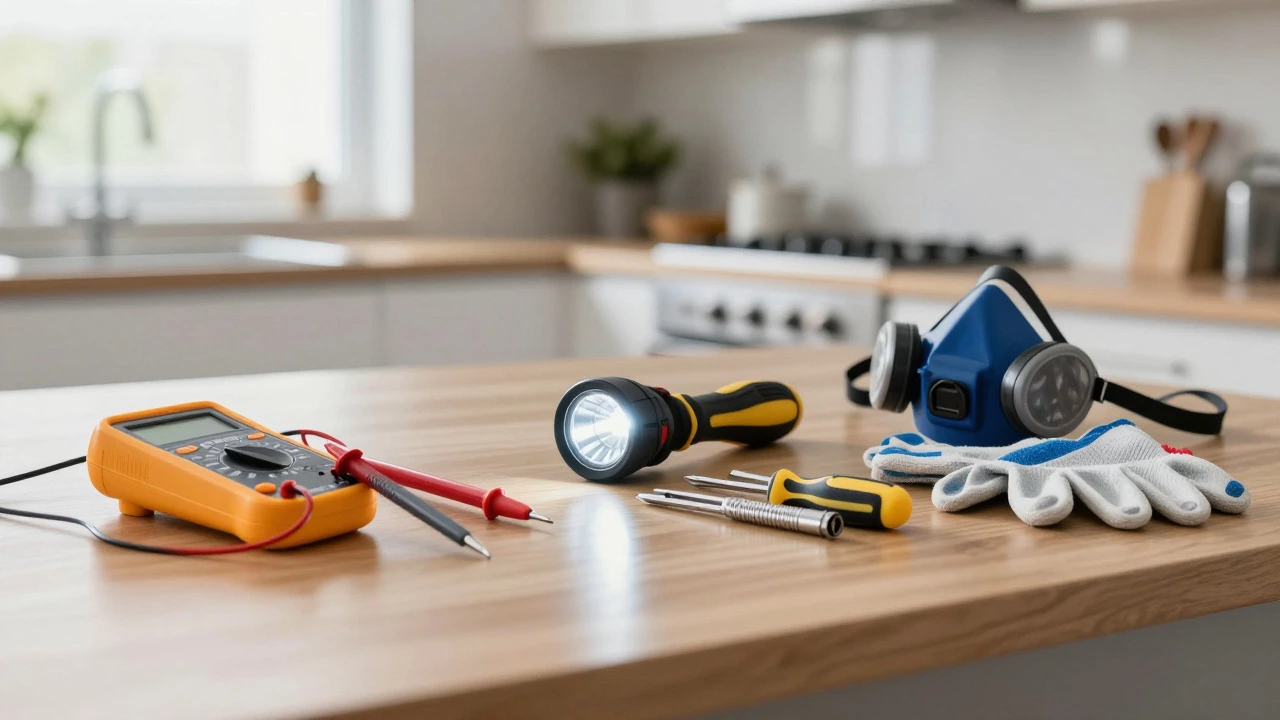
Before you start poking around inside your cabinetry, make sure you have the right tools. You don't need a full workshop, but having these items on hand will make the process smoother and safer.
- Multimeter: Essential for checking voltage and continuity. A basic digital multimeter costs less than $30 and saves you from guessing.
- Flashlight: The area under your range hood is rarely well-lit. You need to see dust buildup and wire connections clearly.
- Screwdriver set: Both Phillips head and flathead screws are common in Australian appliances.
- Gloves and mask: Old grease is sticky and unpleasant. Dust masks protect your lungs from accumulated grime.
- Clean cloth and degreaser: For wiping down surfaces after testing.
Safety first: Always turn off the power to the extractor fan at the circuit breaker before removing any panels or touching wires. In Australia, our standard household voltage is 230V AC, which is dangerous if mishandled. Verify the power is off using your multimeter before proceeding.
Check the Power Supply and Switches
The most common reason an extractor fan doesn't work isn't a broken motor-it's a lack of power. Start with the simplest possibilities before tearing anything apart.
First, check the wall switch or the buttons on the hood itself. If it's a pull-cord model, ensure the cord hasn't gotten stuck or disconnected internally. If it has electronic touch controls, sometimes they get coated in invisible grease film that prevents them from registering your touch. Clean the panel with a damp cloth and try again.
If the switches seem fine, use your multimeter to check for voltage at the fan's connection point. Strip back a small section of the insulation (if accessible) or check the terminals where the wires connect to the fan housing. Set your multimeter to AC Voltage (V~). Place one probe on the live wire and the other on the neutral. You should read approximately 230V. If you read 0V, the issue is upstream-check your circuit breaker, fuse box, or the wiring leading to the fan.
| Issue | Symptom | Solution |
|---|---|---|
| Tripped Breaker | No power to fan or nearby outlets | Reset the circuit breaker; investigate if it trips again |
| Faulty Switch | Intermittent operation or no response | Replace the wall switch or internal control board |
| Loose Wiring | Fan works sporadically | Tighten terminal connections; replace damaged wires |
Inspect and Clean the Grease Filters
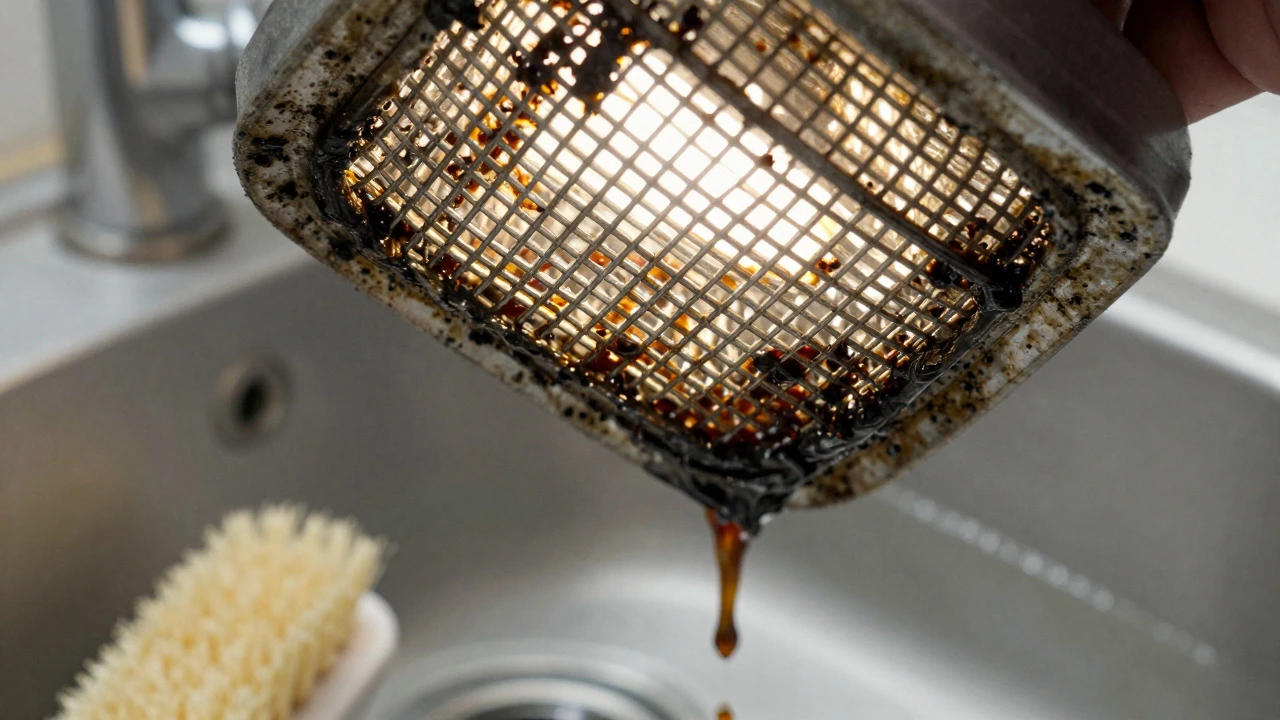
If power is reaching the fan but it's not moving air effectively, the culprit is likely the filters. Most modern hoods use aluminum mesh or charcoal filters to trap grease and odors. Over time, these become clogged, restricting airflow significantly.
Remove the filters according to your manufacturer's instructions. Usually, this involves pressing a release button or unscrewing a latch. Hold the filter up to a light source. If you can't see much light passing through, it's blocked. For metal mesh filters, soak them in hot water with dish soap or a dedicated degreaser for 15-20 minutes. Scrub gently with a soft brush, rinse thoroughly, and let them dry completely before reinstalling.
Charcoal filters cannot be cleaned-they absorb odors until they're saturated. If your fan has a charcoal filter and it's been more than three months since the last replacement, swap it out. A clogged charcoal filter acts like a brick wall against airflow, making even a powerful motor struggle to pull air through.
Test the Motor Continuity
Once you've ruled out power issues and blockages, it's time to check the motor itself. This requires accessing the internal wiring, so ensure the power is still off at the breaker.
Disconnect the wires leading to the motor. Set your multimeter to the resistance (Ohms, Ω) setting. Touch one probe to each of the motor's terminals. You should get a reading between 100Ω and 1000Ω, depending on the motor size. If you get 'OL' (open loop) or infinity, the motor winding is broken, and the motor needs replacing. If you get 0Ω, there's a short circuit, which also means the motor is dead.
For fans with multiple speeds, check each speed terminal individually. Some motors have separate windings for low, medium, and high speeds. If only one speed fails while others work, the specific winding for that speed may be faulty, or the capacitor might be weak.
Examine the Capacitor
Many single-phase extractor fan motors rely on a run capacitor to start and maintain rotation. Capacitors degrade over time, especially in warm, greasy environments like kitchens. A weak capacitor causes the motor to hum without starting, or to run sluggishly.
Locate the capacitor-it's usually a small cylindrical or rectangular component near the motor. Note its rating (e.g., 4µF, 250VAC). Discharge the capacitor safely by touching both terminals with an insulated screwdriver handle (be careful!). Then, use your multimeter set to capacitance mode (if available) or resistance mode to test it. A good capacitor will show a rising resistance value that then drops back down. If it stays at 0Ω or OL, replace it with an identical rated capacitor. These are cheap and easy to find at hardware stores in Brisbane or online.
Check for Mechanical Obstructions
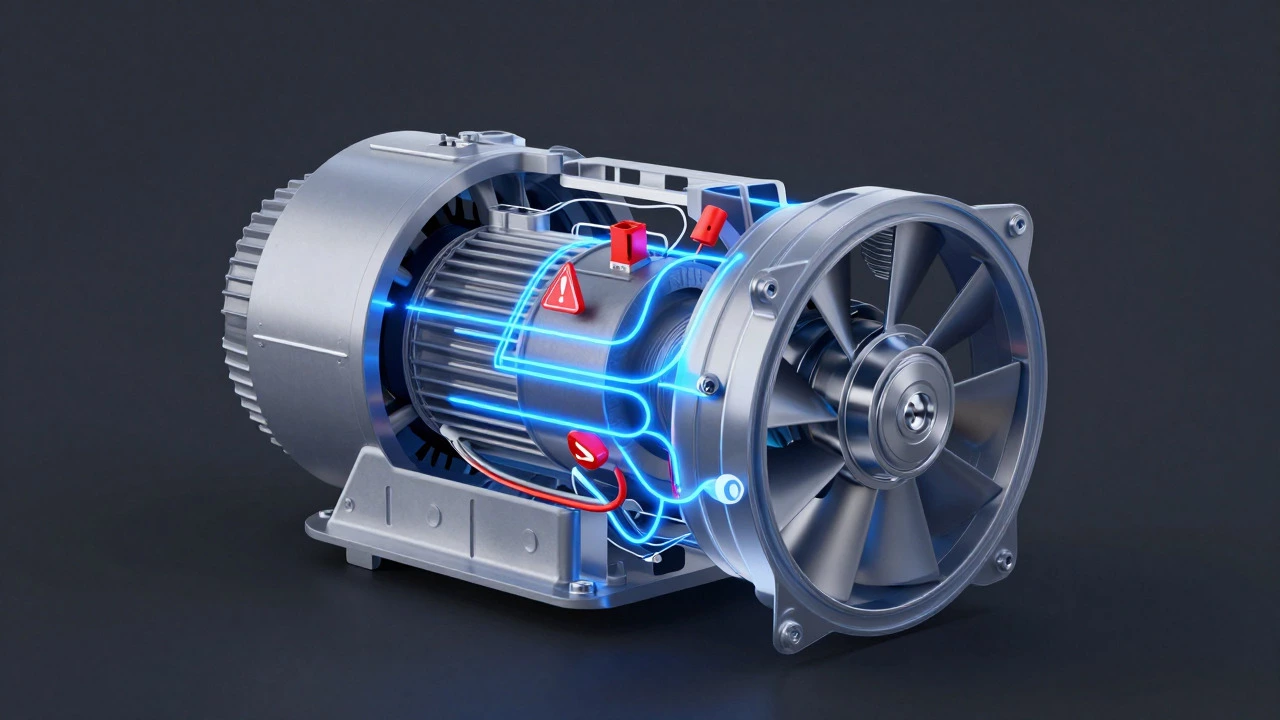
Even if the electrical components are perfect, the fan won't work if something is physically blocking the impeller. Turn off the power and manually spin the fan blade. It should rotate freely with minimal resistance. If it feels gritty, sticks, or wobbles, there's a mechanical issue.
Common problems include:
- Grease buildup on bearings: Wipe down the shaft and bearings with a degreaser. Apply a drop of lightweight machine oil if the bearings are not sealed.
- Foreign objects: Small pieces of food, insect nests, or debris can jam the blades. Remove any obstructions carefully.
- Bent impeller: If the blade is bent, it can rub against the housing, causing friction and noise. Straighten minor bends or replace the impeller if severely damaged.
After cleaning and freeing up the mechanism, spin the blade again. It should move smoothly and silently. Reconnect the power and test the fan on different speeds.
When to Call a Professional
While many extractor fan issues can be resolved with basic testing and cleaning, some problems require professional expertise. Consider calling a qualified electrician or appliance repair technician if:
- You smell burning plastic or notice scorch marks on wires or components.
- The motor continues to fail after replacing the capacitor and checking continuity.
- You are uncomfortable working with live electrical circuits or confined spaces.
- The fan is integrated into a complex ducting system that requires disassembly beyond the hood itself.
In Brisbane, licensed technicians adhere to strict electrical safety standards. Attempting complex repairs without proper knowledge can void warranties and pose fire risks. If your DIY efforts haven't restored functionality, it's time to seek help.
How often should I clean my extractor fan filters?
Metal mesh filters should be cleaned every 1-2 months if you cook frequently, especially with oily foods. Charcoal filters need replacement every 3-6 months, depending on usage intensity. Regular cleaning maintains airflow efficiency and reduces strain on the motor.
Why does my extractor fan make a loud humming noise?
A humming noise often indicates a failing capacitor, worn motor bearings, or a loose component vibrating against the housing. Check the capacitor first, as it's the easiest and cheapest fix. If that doesn't resolve it, inspect the motor mounts and bearings for wear.
Can I use a regular vacuum cleaner to clean the fan interior?
Yes, but be cautious. Use a soft brush attachment to avoid damaging the delicate fan blades or motor windings. Do not spray water directly into the motor housing. Vacuuming helps remove loose dust and grease particles before wet cleaning.
Is it safe to test the fan while it's plugged in?
No. Always disconnect power at the circuit breaker before opening the fan housing or touching internal components. Even when switched off, capacitors can hold a charge. Use a multimeter to verify zero voltage before proceeding.
What is the average lifespan of a kitchen extractor fan motor?
With proper maintenance, a quality extractor fan motor can last 10-15 years. However, heavy use, poor ventilation, and infrequent cleaning can shorten this lifespan. Signs of impending failure include increased noise, reduced airflow, and intermittent operation.