DIY Fan Repair: Quick Fixes and Essential Tips
When tackling DIY fan repair, the hands‑on process of fixing household fans yourself. Also known as do‑it‑yourself fan fix, it helps you restore airflow without waiting for a technician.
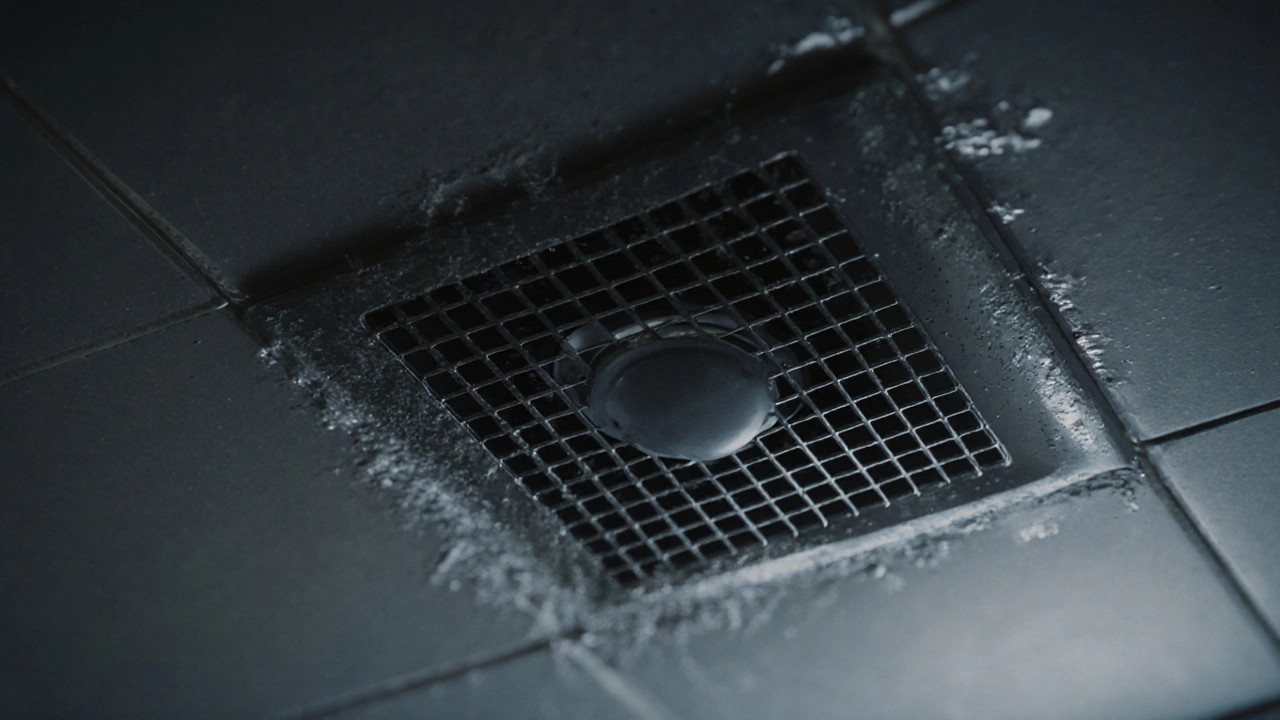
Most home fans are extractor fans, ventilation units that pull humid air from kitchens or bathrooms to the outdoors. These devices share a simple anatomy: a motor, a blade, a housing, and an electrical connection. Understanding each part makes the repair steps logical and reduces the guesswork that often leads to mistakes.
Key Parts, Tools, and Safety Basics
The heart of any fan is the fan motor, the electric component that spins the blades. When the motor stalls, you’ll hear a humming noise but see no movement. Testing it with a multimeter is the quickest way to confirm a fault. You’ll also need a screwdriver set, a socket wrench, and a lamp‑rated replacement motor for most models.
Safety is a non‑negotiable part of DIY fan repair. Always turn off the circuit breaker before opening the housing, and use insulated tools to avoid electric shock. A short slip can damage the wiring or cause a fire. Remember, proper ventilation safety, practices that keep air flow efficient and electrical hazards minimal protects both your home and your health.
Semantic connections guide the process: DIY fan repair encompasses extractor fan maintenance, DIY fan repair requires basic electrical safety, and fan motor replacement influences ventilation efficiency. Keeping these relationships in mind lets you troubleshoot methodically, from the power supply to the blade clearance.
Start by removing the fan’s outer grille. Most grilles snap or screw in place, so a flat‑head screwdriver is usually enough. Once the grille is off, you can inspect the blades for dust buildup—cleaning them often restores performance without any part swaps.
If cleaning doesn’t help, the next step is to check the motor. Disconnect the wiring, set your multimeter to continuity, and probe the motor terminals. No continuity means the motor is dead and should be replaced. When you order a new motor, match the voltage (120 V or 240 V) and the spindle size to avoid compatibility issues.
Replacing the motor is straightforward: detach the old motor’s mounting brackets, slide the new unit into place, reconnect the wiring using the original color codes, and tighten the bolts. Double‑check that the blade spins freely before re‑installing the grille.
After reassembly, flip the breaker back on and run the fan. Listen for smooth operation and feel for airflow. If the fan still hums without moving, re‑examine the wiring connections—loose contacts are a common culprit.
Beyond motor issues, look out for a worn‑out fan belt (if your model uses one) and a faulty capacitor. A belt that slips will cause the blades to lag, and a bad capacitor can prevent the motor from starting. Both parts are inexpensive and can be swapped with the same tools used for the motor.
Regular maintenance keeps your fan humming for years. Schedule a quick clean‑out every six months, check the motor’s temperature during operation, and tighten any loose screws. These habits reduce the chance of a surprise breakdown during a rainy night.
Below you’ll find a curated collection of step‑by‑step guides, cost breakdowns, and safety checklists that dive deeper into each of these topics. Whether you’re fixing a noisy kitchen extractor, troubleshooting a bathroom fan that won’t start, or replacing a motor for the first time, the articles ahead give you the exact actions you need to get the air moving again.
How to Service a Bathroom Extractor Fan - Simple DIY Guide
Learn how to safely service a bathroom extractor fan with a step‑by‑step DIY guide, tools list, maintenance schedule, common fixes, and a FAQ to keep your fan running smoothly.