Oven Repair Tips: Simple Fixes to Keep Your Kitchen Cooking
Got an oven that’s acting up? Before you call a tech, try a few quick checks you can do yourself. Most problems are simple, and a little know‑how can save you time and cash.
Common Oven Problems and What They Mean
First, figure out what’s wrong. Is the oven not heating at all? That usually points to a broken heating element or a tripped breaker. If you notice uneven cooking, the thermostat or temperature sensor might be off. Strange noises often mean a fan or motor issue, while error codes on digital panels give clues about sensors or electronics.
Another frequent gripe is a door that won’t close properly. A warped gasket can let heat escape, making the oven work harder and stay cooler. Finally, if you see smoke or a burnt smell, turn the oven off immediately – a failed igniter or a piece of food stuck in the heating chamber could be the cause.
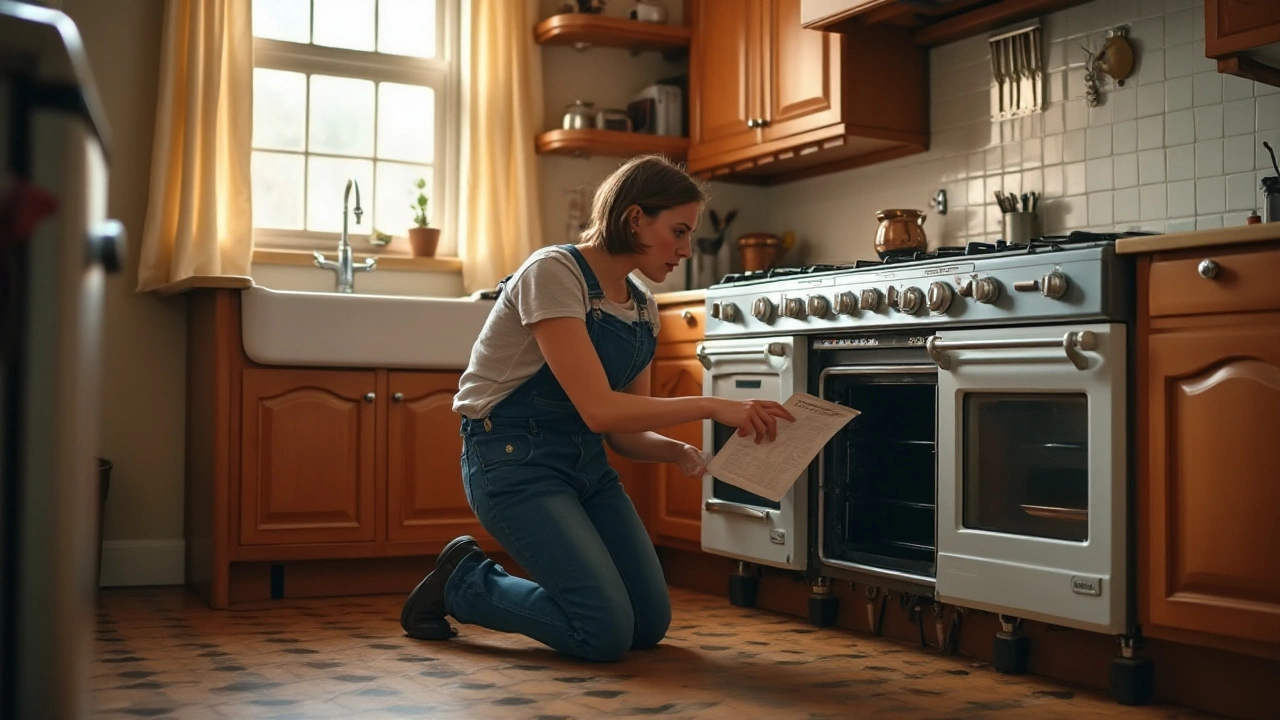
Step‑by‑Step DIY Checks Before Calling a Pro
1. Safety first. Unplug the oven or switch off the circuit breaker. Give any hot parts a chance to cool before you start.
2. Power check. Make sure the outlet works. Plug another appliance in or test the breaker. A dead circuit can look like a broken oven.
3. Reset the oven. Many modern ovens have a reset button or a simple power‑cycle trick: leave it unplugged for a minute, then plug it back in. This can clear minor electronic glitches.
4. Inspect the heating element. Open the oven door and look at the bottom (for electric ovens) or the top (for gas models). If the element is blackened, blistered, or broken, it needs replacing.
5. Test the thermostat or sensor. If your oven’s temperature is way off, you can use an oven thermometer to compare. A big difference means the thermostat or sensor is likely faulty.
6. Look at the igniter (gas ovens). A weak igniter will glow but not spark enough to light the gas. If it looks discolored or doesn’t glow bright red, it’s time for a new one.
7. Check the fan and motor. Listen for a humming sound when the oven is on. If the fan isn’t spinning, dust or a worn motor could be the problem. A quick clean of the fan blades often helps.
8. Examine the door gasket. Press the gasket with your thumb – it should feel firm, not crumbly. Replace it if it’s damaged; a tight seal keeps heat where it belongs.
9. Clean out debris. Food bits and grease can build up and cause smoke or uneven heating. A soft brush and a little soapy water (when the oven is cool) do the trick.
If any of these steps point to a broken part, you can order a replacement online and install it yourself if you’re comfortable with basic DIY. Otherwise, it’s a good cue to call a local Glastonbury technician who knows the ins and outs of oven repair.
When you do call a pro, have this info ready: the oven’s make and model, the exact symptom, and any error codes you saw. That helps the technician bring the right parts and speeds up the fix.
Remember, regular maintenance can keep most of these issues at bay. Wipe spills right away, keep the interior clean, and run a light cleaning cycle every few months. A little care now means fewer emergency repairs later.
Got more oven questions? Our Glastonbury team is just a phone call away, ready to diagnose tough problems and get your oven back to baking, roasting, and toasting in no time.
Navigating the Challenges of Replacing an Electric Oven
Replacing an electric oven can seem like a daunting task for many, with considerations ranging from electrical safety to fitting the new appliance properly into your kitchen space. Various factors, such as the size and type of the new unit, need to be taken into account. This guide explores the necessary steps and precautions involved in electric oven replacement, offering practical advice and tips to make the process smoother and stress-free. With the right preparation and knowledge, it's possible to tackle this task safely.