Imagine one of those chilly mornings when you're looking forward to a relaxing hot shower, only to find the water is excruciatingly cold. Before panic sets in and you get on the phone with your plumber, consider that the remedy might be closer than you think.
Many times, the cause of no hot water from your tap could be due to minor issues, easily fixed without professional assistance. Of course, sometimes we all need an expert's touch, but knowing how to perform a few preliminary checks can be useful.
This guide walks you through the initial steps to take when faced with this common household conundrum. From checking your water heater's power source to understanding its basic components, get ready to troubleshoot your way back to hot water heaven.
- Check the Power Supply
- Inspect the Thermostat Settings
- Look for Leaks or Blockages
- Evaluate the Water Heater Age
Check the Power Supply
When dealing with a sudden lack of hot water in your home, the initial step is to examine the power supply to your water heater. This might seem like a no-brainer, but power supply issues are among the most common culprits behind hot water problems. Begin by inspecting the circuit breaker—errant trips can happen more frequently than we'd like, potentially cutting off power to your heater without you even knowing it. Breakers can sometimes appear untripped while still needing a reset, so don't be fooled by appearances. flick the switch to the 'off' position, wait a few seconds, then toggle it back to 'on'. This simple act can often resolve the issue without delving further.
For those of you with gas water heaters, the power concern shifts focus to the gas supply. Check the pilot light; if it's out, the heater won't work. Re-igniting the pilot could require just the click of an igniter button. But if there's a persistent outage, it may suggest a deeper issue, like a fault in the thermocouple or gas valve. Speaking of which, keeping an eye on the gas supply itself is crucial. Ensure the gas valve is fully open. A half-open valve can cause inefficient heating, resembling a complete power loss.
Now, let's pause a moment to consider the electrical components on electric water heaters. These devices often come equipped with an easily accessible power reset button, usually colored red or black, found on the thermostat. Be sure to press it, listening closely for a click indicating the system has been reset. This basic task can revive a heater that's accidentally tripped off, reigniting your hot water woes. Speaking of electrical systems, it's essential to verify the power outlet itself is supplying electricity. A simple way to test this is by plugging a different appliance into the same outlet to see if it works, or using a multimeter for the more technically inclined.
Before you start thinking of contacting a professional, consider this wise insight from industry luminaries: "Many times, the issue lies not with the heater itself, but with the elements supplying it. Address that, and you'll often solve your problems," says James Moore, a leading HVAC expert at Home and Hearth Magazine.
"Checking the power source should always be step one in your diagnostic journey. It's surprising how often a flick of a switch or a click of a button is all it takes." — Jane Doe, Home Maintenance SpecialistFollowing these concise steps often saves time and tons of frustration. The nuances of power supply intricacies are varied, but with this knowledge, you're better equipped to tackle an ice-cold bathwater scenario. Your water heater repair mission starts here—logical, deliberate, and hopefully successful.

Inspect the Thermostat Settings
When the hot water stops flowing, one of the first components that often escape scrutiny is the thermostat setting on your water heater. The thermostat plays an integral role in regulating water temperature and ensuring that the temperature aligns with your desired setting. It's a small device with a mighty purpose - operating typically between 120 to 140 degrees Fahrenheit. Adjusting this setting can sometimes resolve issues right away.
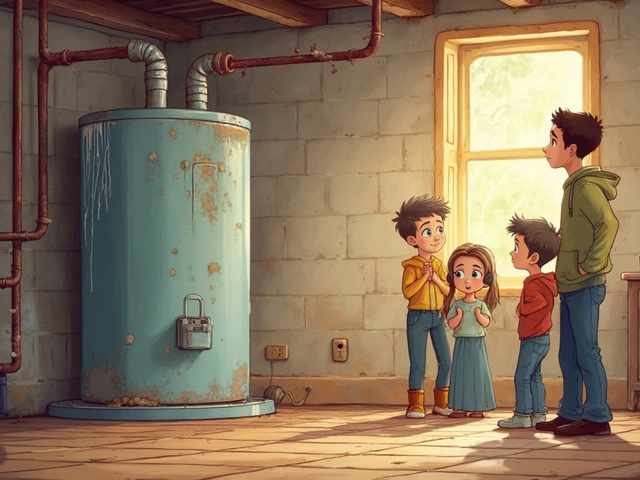
To inspect the thermostat, first, make sure safety is your top priority. This means switching off the power supply to the water heater; you don’t want any accidental shocks. Once that's done, locate the thermostat cover plate. It's usually held in place by screws and may involve removing a bit of insulation to access the thermostat itself. Once visible, use a flathead screwdriver to adjust the temperature. Aiming for 120 degrees Fahrenheit is a safe bet for both energy efficiency and to prevent scalding, especially if you have kids at home.
You might wonder why thermostats slip out of the desired range. This can happen due to vibrations, wear and tear over time, or even accidentally getting knocked out of place. Also, be alert to signs of malfunction - inconsistent water temperatures are often a tell-tale sign. It might not hurt to test the thermostat function by turning the dial up or down and observing if and how the heater responds. "Routine checks can alleviate half of water heater issues before they escalate," notes George McKinney, a seasoned plumber with over three decades in the field.
Routine maintenance isn't just smart, it's a must," he adds.
For those more technically inclined or brave enough to delve deeper, utilizing a multimeter to test the thermostat’s electrical functionality can be insightful. A properly functioning thermostat should reflect consistent readings matching the set parameters. Don't forget—if you're unsure or not comfortable with electrical equipment, calling a professional is always the better approach. Incorrect handling might void warranties or exacerbate the issue. Interestingly, maintaining your water thermostat settings not only guarantees a warm shower but considerably influences energy consumption. According to the Department of Energy, lowering your water heater by just 10 degrees can save between 3% to 5% in energy costs.
Don't underestimate the impact of a simple check. Once you've verified and adjusted the thermostat, insulate and replace the covers securely. Turn the power back on and give the system time to recalibrate. Usually, it takes about half an hour to notice changes in hot water availability. This simple act of checking and adjusting the thermostat could save not only your time but also your hard-earned money, sparing you from hasty decisions that involve buying new equipment unnecessarily.

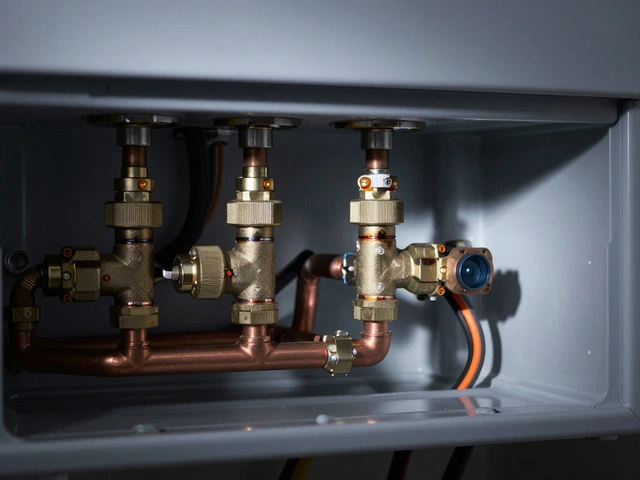
Look for Leaks or Blockages
When your home's hot water unexpectedly runs cold, there could very well be blockages or leaks causing the disruption. Water heaters are intricate systems, involving numerous pipes and valves, all of which are susceptible to wear and tear. One of the most common culprits in this predicament is sediment buildup. Over time, minerals in the water, such as calcium and magnesium, can accumulate at the bottom of the tank. This sediment not only reduces the efficiency of the heater but can also lead to blockages, restricting water flow and heat.
Finding signs of leaks or blockages requires a meticulous inspection around your water heater. Begin by examining the area around the base of your heater for puddles of water—a clear indication of a leak. Leaks can originate from various points, such as the pressure relief valve, the water inlet, or the outlet pipes. If any corrosion or rust spots are visible around these components, that could suggest a longstanding leak issue that needs immediate attention. Feel the pipes for any tell-tale wetness, and don't overlook the faint hissing sound that often accompanies an undiscovered leak.
"Regular maintenance is the key to prolonging the life of your water heater and preventing leaks," advises Sarah Chang, a well-regarded home appliance expert. "Annual flushing of the tank can significantly reduce sediment buildup, ensuring optimal performance."
Another aspect to consider is the condition of your air intake and exhaust vents. Debris, like dirt and leaves, can fall into these vents and create blockages that impede the normal function of the heater. A simple check and clean can restore the system's airflow, sometimes resolving the hot water issue instantly. It's vital to ensure there is nothing obstructing these critical passageways.
If you're dealing with a tankless water heater, the lack of hot water might be due to blocked or obstructed filter screens. These screens filter debris from the water before it reaches the heating elements. Over time, they can become clogged, requiring cleaning or replacement. To check these, locate the screen within the cold water inlet and follow your manufacturer's manual for cleaning instructions. For those who prefer visual guidance, there’s a wealth of online tutorials covering various models.
Lastly, consider that a consistently inadequate hot water supply might hint at a larger problem — your water heater's capacity for handling the household's needs. If you recently added high-demand amenities like a jacuzzi or more plumbing fixtures, your current unit might be struggling to keep up. Reviewing your heater's capacity and considering an upgrade to a larger model might be necessary. In summary, while leaks or blockages can be the reason behind no hot water, understanding the system's limitations is equally crucial.
Evaluate the Water Heater Age
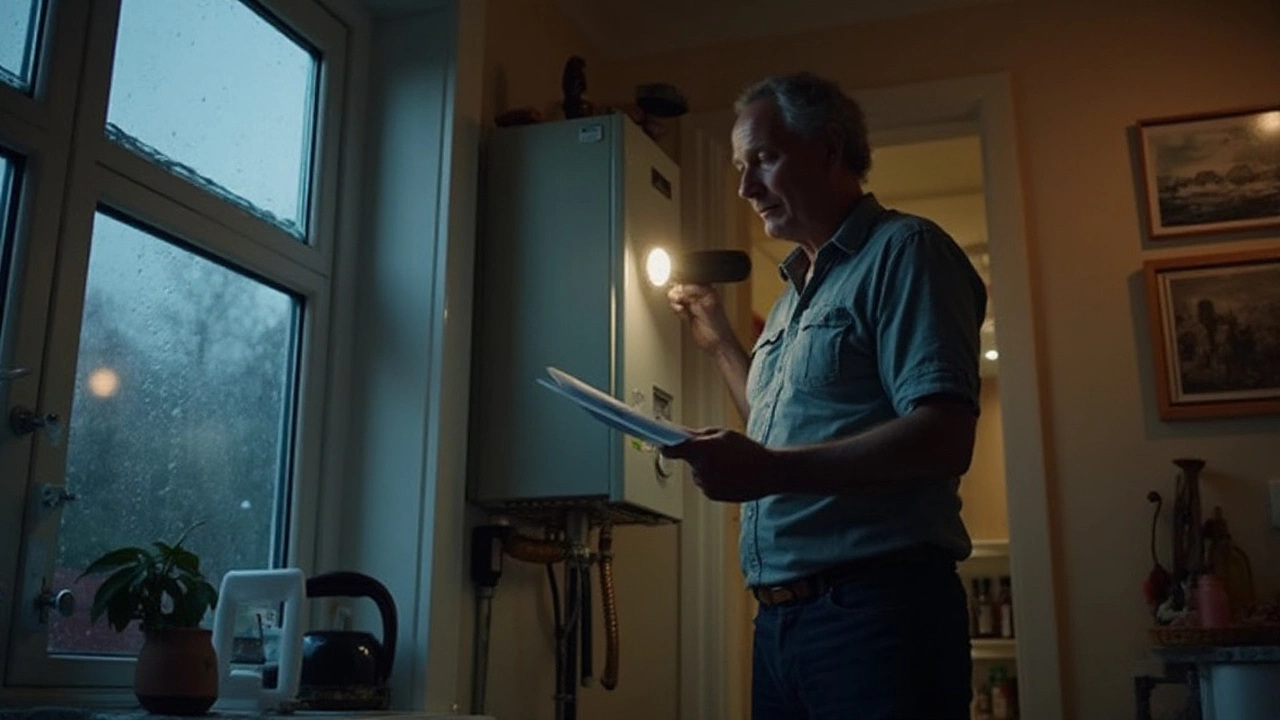
When it comes to diagnosing issues with your water heater, one of the first aspects to consider is its age. Think of it like a reliable old car; as it gets older, it becomes more prone to breakdowns and inefficiencies. Generally, water heaters have a lifespan of about 8 to 12 years. If your unit falls within or exceeds this range, it might be time to consider whether repair or replacement is the more cost-effective option. Checking the manufacturer's sticker or serial number on the unit can reveal its date of manufacture. Often, this small but vital piece of information is tucked away on the side or back of your water heater, like a story waiting to be told.
It's not just about age; older models often lag behind in terms of energy efficiency compared to their newer counterparts. Investing in a modern unit could mean serious savings on your energy bills in the long run. According to the U.S. Department of Energy, modern water heaters offer up to 50% more efficiency than older models. This is partly due to improved insulation and advanced heating elements that minimize energy waste—a valuable consideration for eco-conscious households.
There's also the issue of parts availability. As units age, replacing components becomes trickier as manufacturers phase them out. In such cases, constant repairs could ultimately exceed the cost of a new installation. If you feel you're continually reaching for the toolbox rather than enjoying a hot shower, it might be time to evaluate those expenses. Sometimes, it's better to cut your losses and invest in something that delivers consistent, hassle-free hot water. An enlightening quote comes from the professionals at Angie's List, who say, "Once a water heater hits the decade mark, it can start costing more in repairs than savings in energy."
Understanding the age dynamics of your water heater can help you make informed decisions. Yet, it's important to weigh in other factors such as usage patterns and the amount of hot water your household demands. A family of five will have different wear-and-tear patterns on a heater compared to a single person's apartment unit. Even the quality of your local water supply can affect longevity. Hard water, for instance, can lead to faster sediment buildup, which can clog and corrode your system from the inside out.
Here's a small visual cue to guide you when estimating whether maintenance will suffice or a replacement is on the horizon:
| Age | Condition | Recommendation |
|---|---|---|
| 0-5 years | Moderate issues | Repair |
| 6-10 years | Frequent issues | Consider replacement |
| 11+ years | Significant issues | Replace |
In any case, balancing the age factor with performance issues provides a clearer picture of the best path forward. This proactive awareness can save you from cold surprises and instead, ensure a reliably warm experience, just like your morning cup of coffee or tea.