Extractor Fan Replacement Advisor
Answer the questions below to get a personalized recommendation on who should do the job and an estimated cost breakdown.
Who Should Do It?
Estimated Total Cost
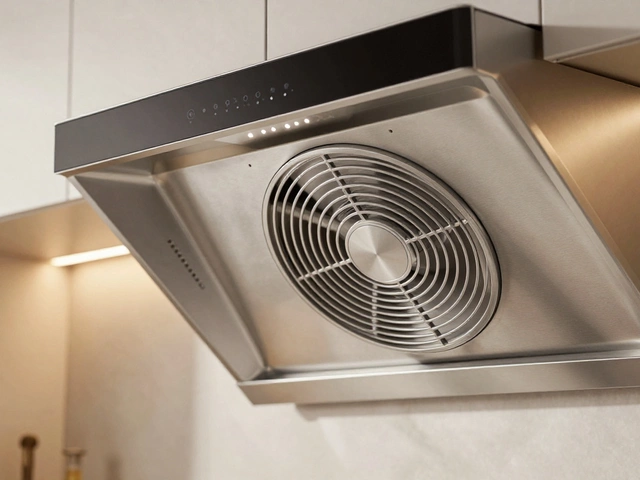
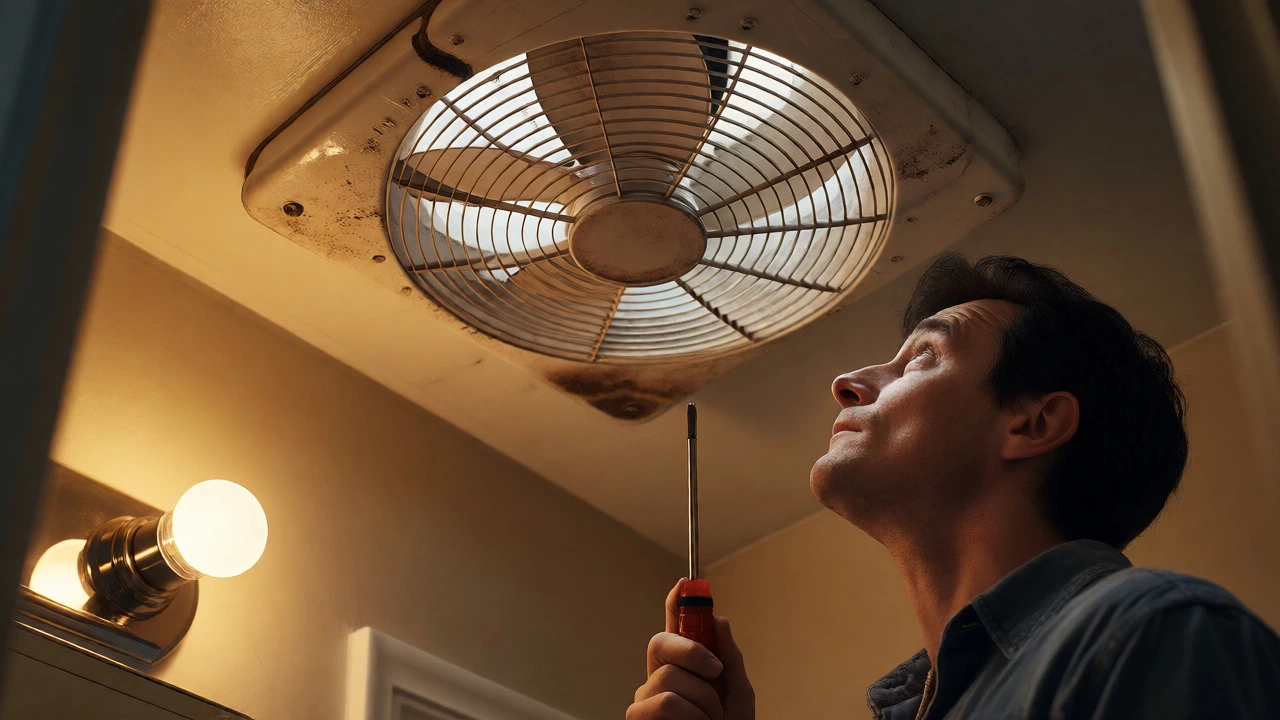
You’re standing on a step stool, staring at the ceiling or wall where your old extractor fan is a device used to remove moisture and odors from indoor air by exhausting it outside or through a carbon filter sits dead silent. It’s caked in grease, it rattles like a dying robot, or maybe it just stopped spinning entirely. The question isn’t just "how do I fix this?" but "who should actually touch the wires?" This is where most homeowners hesitate. Do you grab your screwdriver and trust your YouTube education, or do you call a professional?
The answer depends less on your courage and more on the type of wiring you have behind that plastic cover. In the UK and many other regions, electrical work falls under specific regulations (like Part P in England) that dictate who can legally and safely handle mains electricity. If you get this wrong, you don’t just risk a shock; you risk invalidating your home insurance if a fire starts.
Understanding Your Extraction System
Before you decide who does the job, you need to know what you’re dealing with. Not all fans are created equal. There are two main types, and they require different skill sets to replace.
- Ducted Fans: These pull air out of the room and push it through a duct to the outside world. They are generally safer for DIYers because the motor is often low-voltage or isolated, though the mains supply still needs care.
- Recirculating Fans: These pull air through charcoal filters and blow it back into the room. They are easier to install because there’s no hole to drill in the wall or roof, but the electrical connection is identical to ducted models.
Most modern fans operate on mains voltage typically 230V AC in Europe and the UK, or 120V/240V in North America. This is not low-voltage lighting. Touching live wires without isolating the circuit is dangerous. If your fan is hardwired directly into a junction box rather than plugged into a socket, you are working with permanent connections. That changes the risk profile significantly.
When You Can Safely Replace It Yourself
You can likely handle the replacement yourself if three conditions are met: you are comfortable using a multimeter, you can isolate the circuit at the consumer unit (fuse box), and the new fan is a direct swap-in for the old one. Many homeowners successfully replace fans that are mounted on existing brackets. If the new unit uses the same screw holes and the same cable entry point, you’re essentially doing mechanical work with a small electrical component.
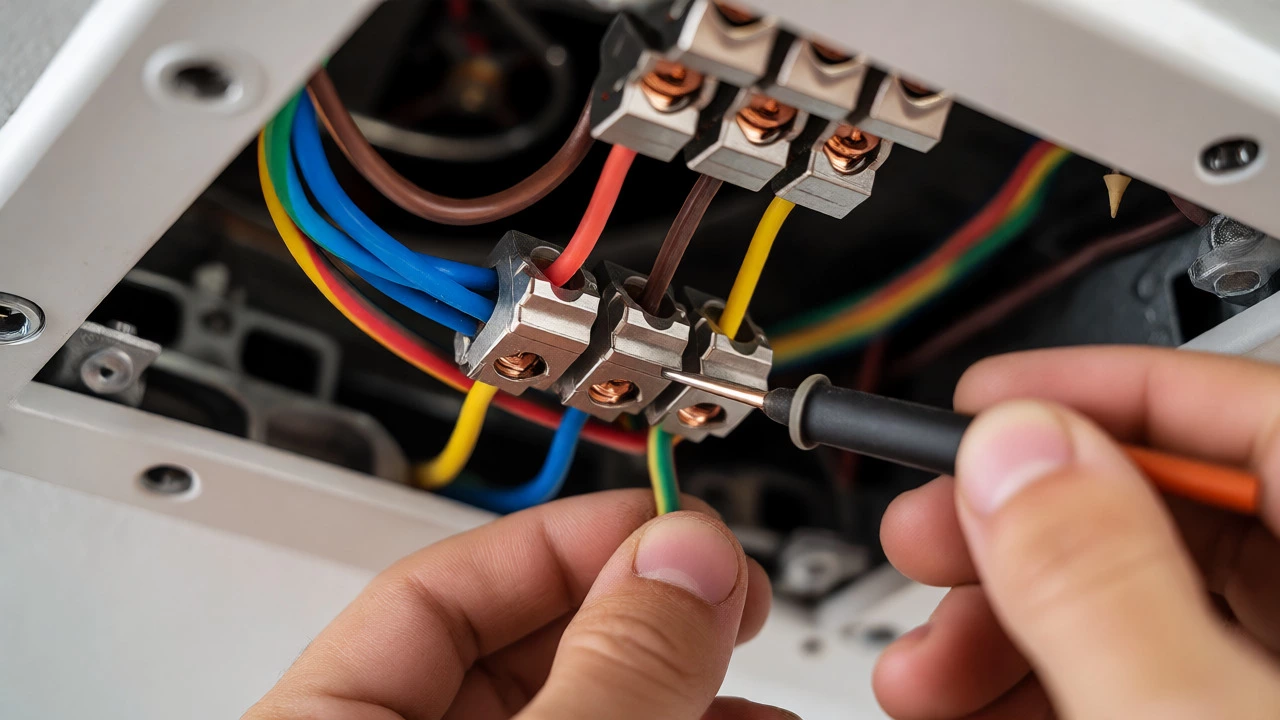
Here’s the reality check: if you can confidently identify the Live (Brown/Red), Neutral (Blue/Black), and Earth (Green/Yellow) wires, and you know how to use terminal blocks correctly, you have the basic skills. However, if you open the panel and see a tangle of unlabelled wires, or if the fan is controlled by a separate switch that you can’t locate, pause. Misidentifying a wire here can short-circuit your entire house or leave the fan permanently powered when it shouldn’t be.
Why You Might Need a Qualified Electrician
Hiring a qualified electrician a tradesperson certified to perform electrical installations and repairs according to local building codes isn’t about admitting defeat; it’s about liability and complexity. Certain scenarios make professional help non-negotiable.
| Scenario | Recommended Action | Reasoning |
|---|---|---|
| New Installation Location | Hire Electrician | Requires running new cables, drilling structural holes, and ensuring IP rating compliance for bathrooms. |
| Hardwired Swap (Same Spot) | DIY Possible | If wiring colors match standards and circuit is isolated, this is a straightforward swap. |
| Bathroom Zone 1 or 2 | Hire Electrician | Strict regulations on IP ratings and bonding apply near water sources to prevent shock hazards. |
| Fan Controlled by Light Switch | DIY Possible | Simple parallel connection, provided the light switch circuit is properly identified. |
| Unknown Wiring History | Hire Electrician | Older homes may lack earth wires or use obsolete color codes requiring testing. |
In wet rooms like bathrooms, the stakes are higher. Electrical zones define where devices can be placed based on their proximity to showers and baths. A fan installed in Zone 1 (inside the shower tray) requires a minimum IPX7 rating and often a SELV (Separated Extra-Low Voltage) supply. An amateur might miss these nuances, leading to condensation buildup or worse, electrocution risks. If your fan is in a bathroom, especially older properties, paying £80-£150 for a certified installer is cheap insurance compared to rewiring a flooded ceiling.
The Cost Breakdown: Parts vs. Labor
Let’s talk numbers. As of late 2026, a standard inline ducted fan costs between £40 and £120 depending on noise levels (measured in sones) and airflow capacity (liters per second). Silent fans from brands like Nuaire or Vent-Axia command a premium but save you headaches later.
Labor costs vary by region. In London and the South East, expect to pay £100-£150 for a simple replacement. In the North or rural areas, this might drop to £60-£90. If the job involves chasing walls for new cabling or cutting new vents in brickwork, add another £100-£200. Always ask for a fixed quote before they start. Avoid hourly rates unless the scope is genuinely unclear, as delays in finding studs or dealing with asbestos insulation (in pre-1980s homes) can balloon the bill.
Step-by-Step: The DIY Replacement Process
If you’ve decided to go it alone, follow this strict sequence. Skipping steps is how people end up with blown fuses or singed fingertips.
- Isolate Power: Go to your consumer unit. Turn off the breaker labeled for lights or sockets. Use a non-contact voltage tester on the old fan terminals to confirm zero voltage. Never assume the switch is off.
- Remove Old Unit: Unscrew the cover. Take a photo of the wiring configuration before disconnecting anything. This is your map.
- Disconnect Wires: Loosen the terminal screws. Cap each wire individually with wire nuts or tape immediately after removal to prevent accidental contact.
- Prepare New Mount: Check if the new fan fits the existing bracket. If not, you’ll need to drill new pilot holes. Ensure the fan is level; a tilted fan vibrates and leaks condensate.
- Connect Wires: Match Live to Live, Neutral to Neutral, Earth to Earth. For older systems without colored wires, refer to your photo or use a multimeter to trace continuity. Secure terminals tightly-loose connections cause heat buildup.
- Test Before Closing: Restore power briefly. Does the fan spin? Is it quiet? If yes, turn power off again, fit the cover, and secure it.

Common Pitfalls to Avoid
One frequent mistake is ignoring the flexible ducting. When replacing a fan, always inspect the duct. If it’s crushed, kinked, or disconnected, the new fan will struggle regardless of its power. Clean the vent outlet outside too; bird nests and leaves block airflow regularly.
Another issue is oversizing. Installing a massive industrial fan in a tiny toilet creates negative pressure that can suck combustion gases back down your chimney if you have an open fire. Stick to recommended CFM (Cubic Feet per Minute) or L/s ratings for your room size. A general rule of thumb: a bathroom needs roughly 15 L/s, while a kitchen might need 60+ L/s depending on cooking volume.
Related Concepts and Next Steps
Replacing an extractor fan often reveals underlying issues. If your fan was failing due to excessive humidity, consider adding a humidistat control. These sensors trigger the fan only when moisture levels rise, saving energy and reducing wear. Also, think about maintenance. Grease filters in kitchen hoods need monthly washing. Inline fans in lofts rarely need cleaning but should be checked annually for dust buildup on the impeller.
If you hire someone, ensure they provide a Minor Works Certificate. This document proves the installation meets current British Standards (BS 7671). Keep it with your home records. Future buyers or insurers may ask for it during property sales.
Can I replace an extractor fan without turning off the mains?
No. You must isolate the circuit at the consumer unit (fuse box). Relying solely on the wall switch is risky because switches can fail internally or be wired incorrectly, leaving the fan live even when switched off. Always verify with a voltage tester.
Do I need an electrician to change an extractor fan?
Not always. If it’s a simple swap in the same location with accessible wiring, a competent DIYer can do it. However, if you are installing a new fan in a new location, working in a bathroom zone, or unsure about the wiring, hire a qualified electrician to ensure safety and code compliance.
How much does it cost to replace an extractor fan?
The fan unit itself costs £40-£150. Labor typically ranges from £60 to £150 depending on your location and job complexity. Simple swaps are cheaper; new installations involving drilling and cabling cost more.
What happens if I connect the wires backwards?
If you swap Live and Neutral, the fan may still run, but it’s unsafe. The switch might not cut the live feed, meaning the fan remains energized when off. This increases shock risk during maintenance. Always double-check polarity against your manual.
Can I replace a recirculating fan with a ducted one?
Yes, but it requires more work. You’ll need to cut a vent hole in the wall or roof and run ducting. This often makes it a job for a professional, especially if structural elements like joists or pipes are in the way.