Electric Stove Repair vs. Replace Calculator
Enter the details of your broken electric stove below to determine if you should fix it or buy a new one. This tool uses industry-standard guidelines for Australian households.
Recommendation
Cost Breakdown
- Estimated Part Cost: $0
- Estimated Labor Cost: $0
- Total Estimated Repair: $0
- New Stove Threshold (50% rule): $0
You’re standing in your kitchen, staring at a burner that won’t heat up or an oven that stays cold no matter how high you crank the dial. The first thought is usually panic: "Do I need to buy a new $2,000 unit?" But here’s the truth most people don’t realize until they’ve already handed over their credit card: electric stoves are remarkably durable machines with very few moving parts. Unlike gas cooktops with complex valves or refrigerators with intricate compressors, an electric range is mostly resistive heating elements and simple switches. In fact, industry data suggests that over 85% of common electric stove failures can be fixed for less than $150 in parts.
Before you call a removal service, let’s break down exactly what breaks, why it happens, and when it actually makes sense to keep fighting for your current appliance versus upgrading. We’ll look at the specific components, the real costs involved (not just generic estimates), and the safety checks you need to do before touching anything.
The Core Components That Actually Break
To understand if your stove is repairable, you have to know what’s inside. An electric stove relies on three main systems: the power delivery system, the heating elements, and the control interface. When one of these fails, the symptom tells you which part is guilty.
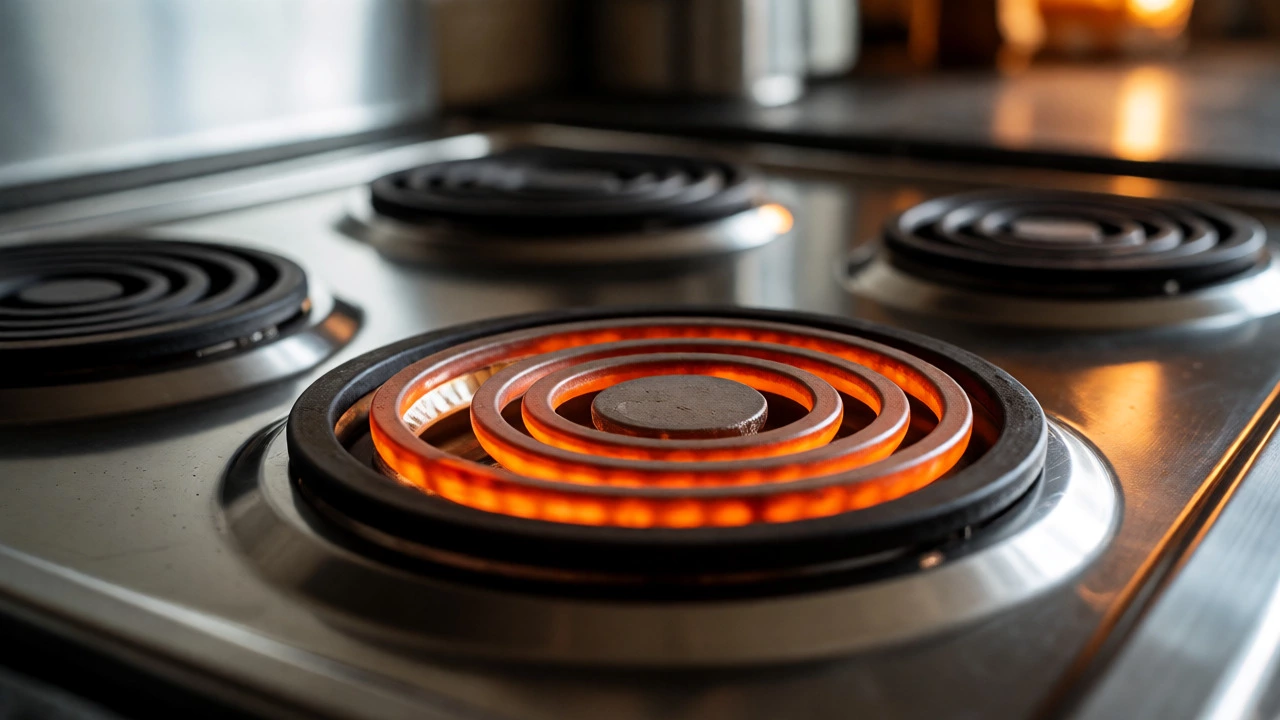
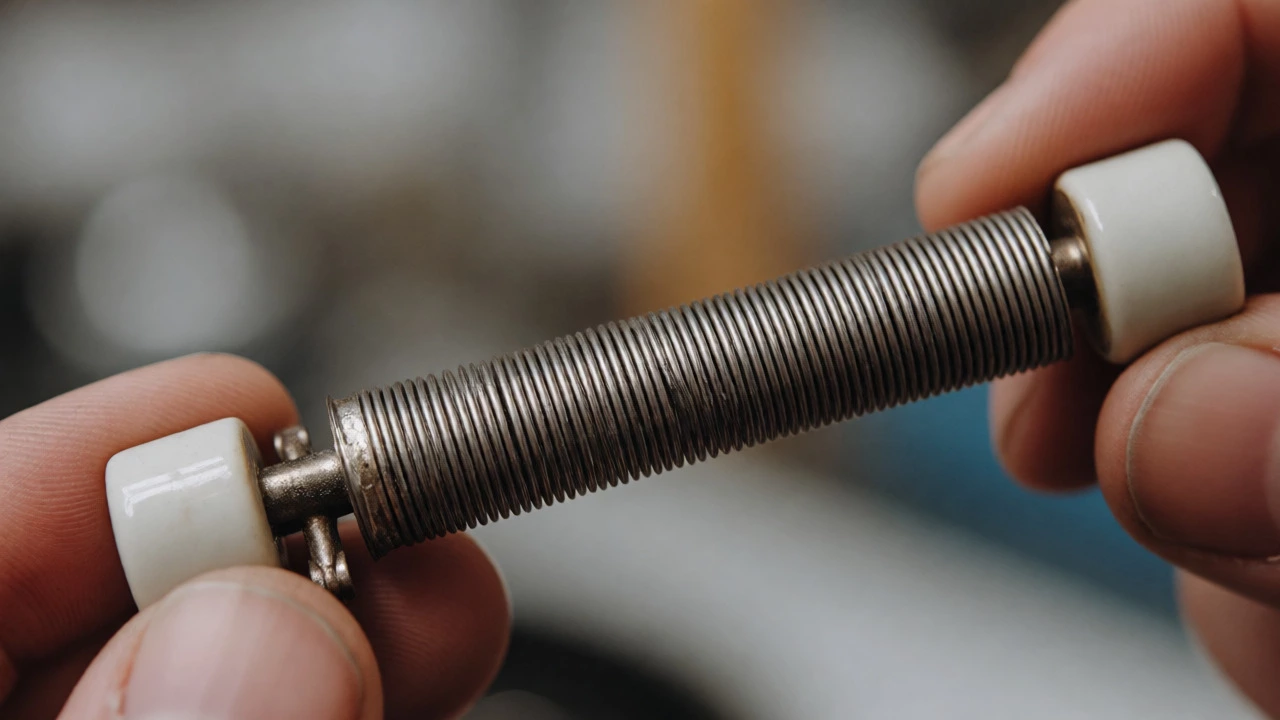
- Heating Elements: These are the coils under your pots or the exposed rods in your oven. They work by passing electricity through a resistive wire (usually nichrome). Over time, thermal expansion and contraction cause the wire to fatigue and snap. This is the #1 failure point.
- Oven Thermostats and Sensors: Modern ovens use NTC thermistors to measure temperature. If this sensor drifts out of calibration, your cake burns while the display says 180°C. Older models use bimetallic strips, which are also prone to wear.
- Infinite Switches: Those knobs you turn to set "Low," "Med," or "High" aren’t just dials; they’re variable resistors or solid-state relays. Contacts inside can carbonize from arcing, leading to intermittent heating or complete failure.
- Door Latches and Seals: While not electrical, a broken latch means the oven doesn’t lock, so the safety interlock prevents heating. A torn door seal lets heat escape, forcing the element to run continuously, which eventually kills it.
Diagnostic Checklist: Is It Worth Fixing?
Not every broken stove is worth saving. You need to weigh the age of the unit against the cost of the fix. Here’s a practical rule of thumb used by technicians in Brisbane and across Australia: if the repair cost exceeds 50% of the price of a comparable new model, consider replacing it. However, if your stove is less than 7 years old, repairs are almost always cheaper.
| Component Failure | Typical Part Cost (AUD) | Labor Estimate (AUD) | Verdict |
|---|---|---|---|
| Hob Element (Standard Coil) | $30 - $60 | $80 - $120 | Repair |
| Oven Bake/Broil Element | $40 - $90 | $100 - $150 | Repair |
| Oven Temperature Sensor | $20 - $40 | $90 - $130 | Repair |
| Infinite Switch (Single) | $25 - $50 | $80 - $110 | Repair |
| Main Control Board (PCB) | $150 - $350 | $120 - $180 | Assess Age |
| Glass Cooktop Surface | $200 - $400 | $150 - $250 | Often Replace |
Notice the pattern? Small parts are cheap. Large structural parts or complex electronics get expensive fast. If your glass cooktop has a spiderweb crack, water can seep into the insulation below, causing shorts that damage multiple elements. In that case, fixing the glass often reveals deeper corrosion, making replacement the smarter financial move.
Safety First: What You Can Do Yourself
You don’t need to be an engineer to diagnose basic issues, but you must respect the electricity. Electric stoves run on 240V in Australia, which is lethal. Never test components with the power on unless you are trained.
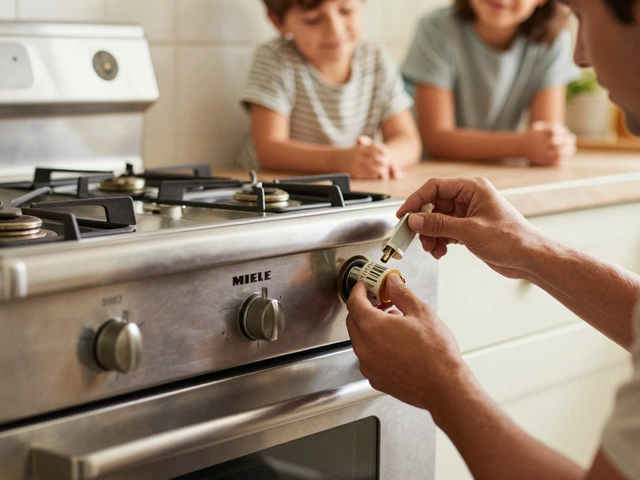
Start with the simplest checks. Unplug the stove or flip the breaker. Pull out the faulty hob element and inspect it visually. Look for blistered spots, holes in the metal sheath, or blackened areas where the coil touched the drip pan. If you see physical damage, replace it. Parts are widely available online or at local appliance spares shops. Swapping a plug-in element takes two minutes-just pull it out and push the new one in.
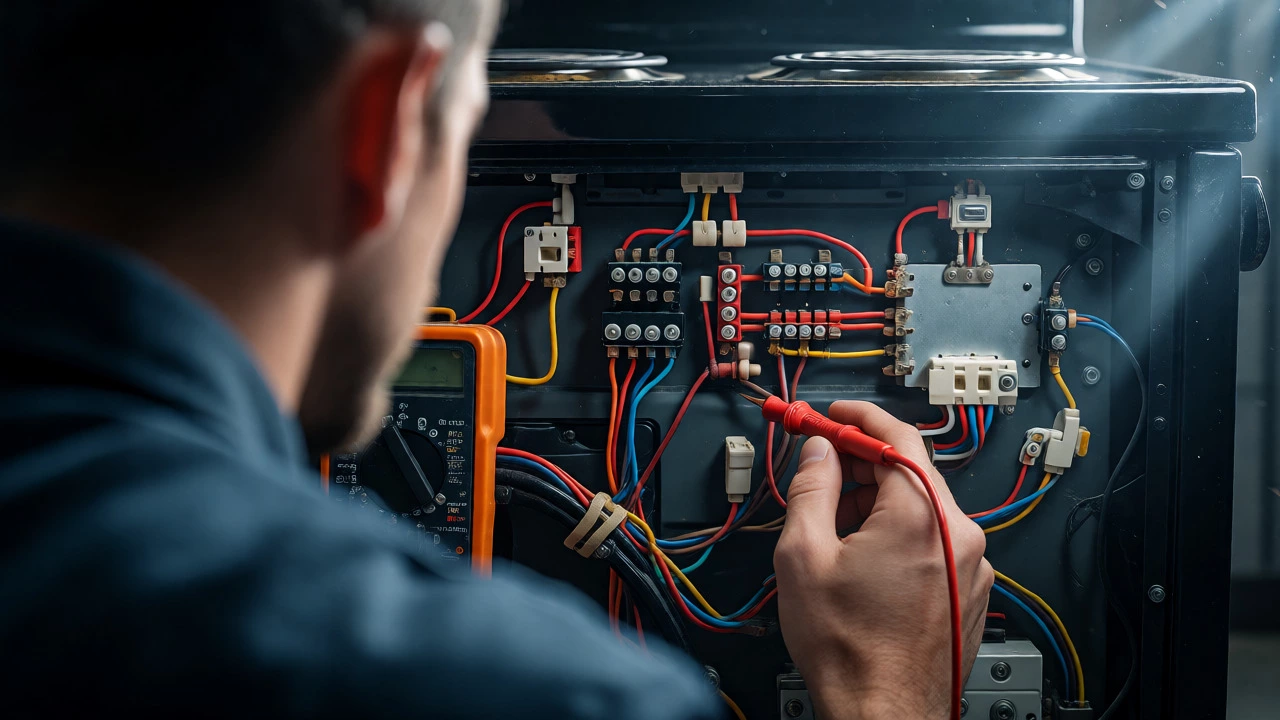
If the element looks fine, the issue might be the socket. Burnt terminals in the wall outlet or the stove’s rear connection block are common culprits. Use a multimeter to check for continuity across the element. If it reads infinite resistance (OL), the circuit is open, meaning the wire is broken inside. Replace it. If it reads near zero ohms, the element is good, and the problem lies in the switch or wiring.
When Professional Help Saves Money
Some jobs require specialized tools and knowledge. Replacing an oven thermostat, for instance, involves removing the back panel and dealing with high-voltage capacitors in some models. Worse, incorrect installation of a thermostat can lead to runaway temperatures, potentially starting a fire. Technicians have infrared thermometers and calibrated probes to verify that the new part actually holds the correct temperature curve.
Also, consider warranty implications. If your stove is still under manufacturer warranty, DIY repairs void it immediately. Even if it’s out of warranty, keeping receipts from a licensed technician adds value if you ever sell the home or claim insurance for accidental damage.
The Hidden Factor: Energy Efficiency
A failing element doesn’t just stop working; it works inefficiently. A degraded bake element might take 20 minutes longer to preheat, wasting electricity. A leaky door seal forces the element to cycle on and off more frequently, increasing wear. By repairing these minor issues, you’re not just fixing a function; you’re restoring efficiency. In a city like Brisbane, where energy prices fluctuate, maintaining a well-tuned oven can save noticeable dollars annually compared to running a poorly insulated older unit.
Signs It’s Time to Let Go
Despite our best efforts, sometimes the machine wins. Watch for these red flags that signal the end of life for your electric stove:
- Multiple Failures in Short Succession: If you replaced the top element last month and now the oven sensor is dead, you’re chasing ghosts. The underlying wiring harness may be brittle due to heat exposure.
- Obsolete Parts: Check availability. If you own a 15-year-old imported brand and the manufacturer stopped supporting it five years ago, finding a matching infinite switch could take weeks and cost double.
- Rust and Corrosion: Peeling enamel inside the oven cavity isn’t just ugly; it traps moisture and food particles, accelerating rust on the metal shell. Once the structural integrity is compromised, repairs become temporary patches.
- Electrical Instability: If the stove trips your household RCD (Residual Current Device) repeatedly, there may be insulation breakdown in the main wiring loom. Rewiring a loom is labor-intensive and often rivals the cost of a new mid-range stove.
Ultimately, an electric stove is one of the most repair-friendly appliances in your home. Its simplicity is its strength. Before you dump it, spend twenty minutes checking the obvious: elements, seals, and connections. You might find that a $40 part and an afternoon of effort saves you thousands.
How long do electric stove elements typically last?
With normal daily use, standard coil elements usually last between 5 to 10 years. Oven bake and broil elements can last similar durations, though heavy baking (high heat for long periods) accelerates wear. Glass-top radiant elements may fail sooner if subjected to rapid temperature changes or impact.
Can I replace an electric stove element myself?
Yes, for most plug-in style elements found on hobs and many ovens. You simply unplug the stove, remove the screws holding the element bracket, disconnect the wires (note their positions), and install the new part. Ensure the power is completely off before starting. If your model uses hard-wired elements or requires disassembling the entire oven back panel, hiring a professional is safer.
Why is my electric oven heating unevenly?
Uneven heating is often caused by a failing fan motor in convection ovens, a weak bake element that isn't cycling properly, or a damaged door seal letting heat escape. Sometimes, it's simply improper rack placement blocking airflow. Check the seal first, then ensure the fan spins freely when the oven is on.
Is it cheaper to repair or replace an old electric stove?
If the stove is under 7-10 years old and the issue is a single component like an element or switch, repair is significantly cheaper. If the stove is older than 12 years, or if the control board and multiple elements fail simultaneously, replacement is usually more cost-effective due to rising labor rates and potential future failures.
What does it mean if my stove trips the circuit breaker?
A tripping breaker indicates a short circuit or ground fault. This could be a damaged heating element with compromised insulation, wet internal components, or a faulty internal wire. Stop using the appliance immediately and consult a technician, as continuing to reset the breaker can cause further damage or fire risk.