Extractor Fan Replacement: Simple Steps to Get Your Kitchen or Bathroom Back in Action
If your extractor fan is making strange noises, barely moving air, or has stopped working altogether, it’s probably time for a replacement. A fresh fan not only clears steam and smells faster, it also helps prevent mould and keeps your home healthier. Below we’ll walk through the signs that it’s time for a new fan, how to pick the right model, and a practical DIY install you can finish in an afternoon.
When to Replace Your Extractor Fan
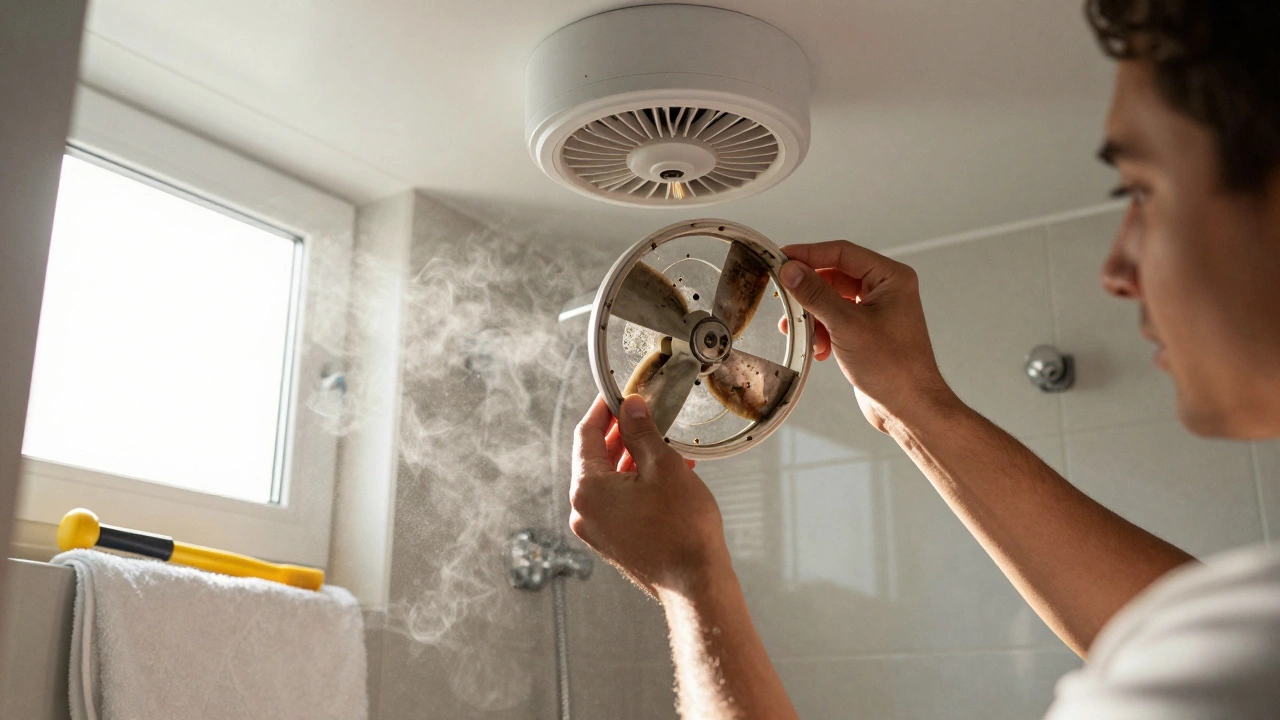
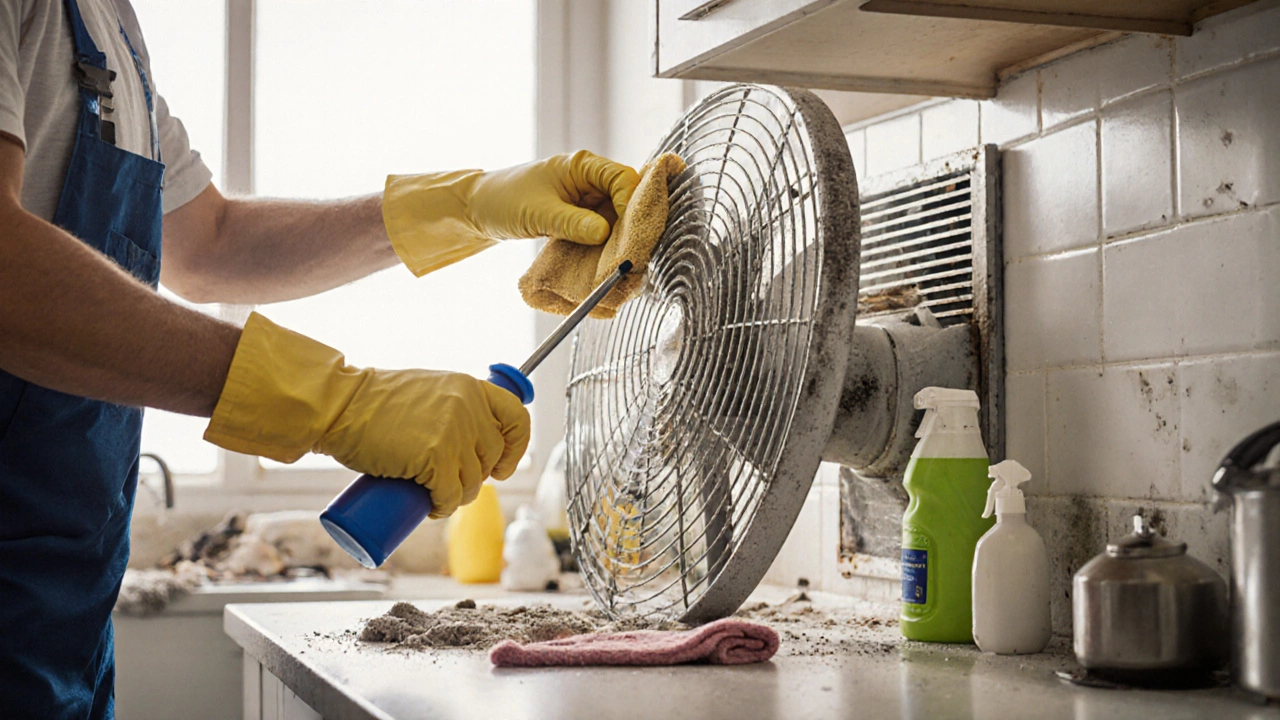
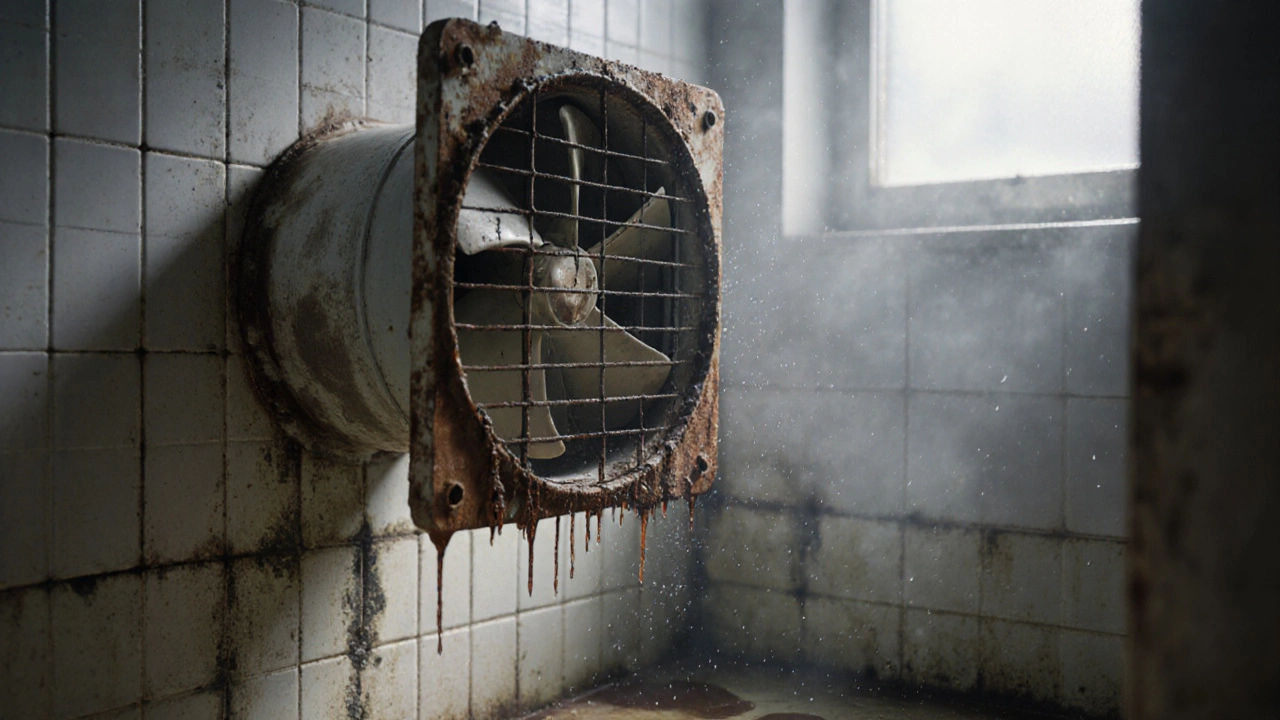
First, check if the fan is truly dead or just clogged. Remove the front grille and give the blades a good clean – a lot of noise comes from dust buildup. If the motor still hums but the blades won’t spin, the motor bearings are likely worn out. Other red flags include a burnt smell, intermittent operation, or visible rust on the housing.
Even if the fan works, consider replacement when you’re renovating the kitchen or bathroom. Newer fans are quieter, more energy‑efficient, and often have auto‑adjusting speed controls. Upgrading can also improve ventilation standards, which is especially useful in tight Glastonbury homes.
In short, replace the fan if:
- It won’t start after cleaning.
- The motor makes grinding or rattling sounds.
- You notice a burnt or oily odor.
- It’s older than 8‑10 years and performance has faded.
- You want a quieter, greener model.
DIY Replacement: Step‑by‑Step Guide
Got the right fan? Great. Here’s a quick rundown of what you’ll need:
- New extractor fan (match size and duct connection).
- Screwdriver set (usually Phillips).
- Adjustable wrench.
- Electrical tape and wire nuts.
- Dust mask and safety glasses.
1. Turn off the power. Switch off the circuit breaker that feeds the fan. Double‑check with a voltage tester – safety first.
2. Detach the old fan. Remove the front grille, then unscrew the mounting brackets that hold the unit to the ceiling or wall. Carefully pull the fan away from the duct.
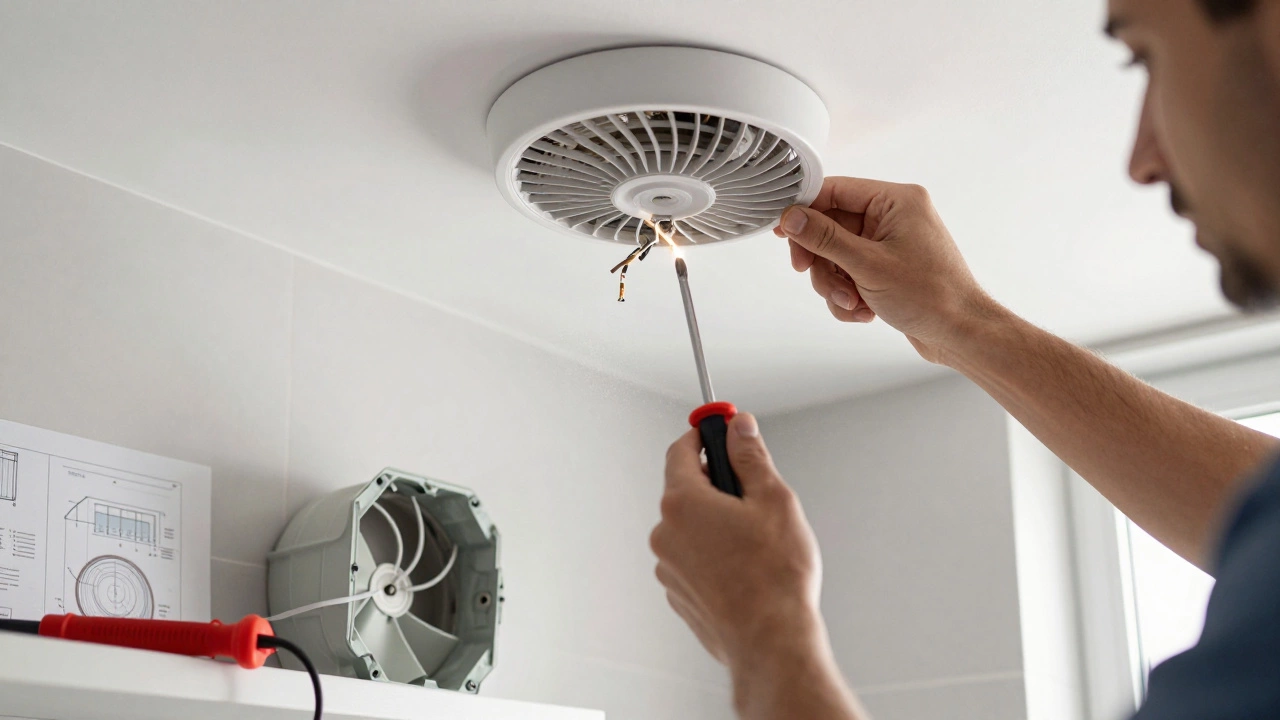
3. Disconnect the wiring. You’ll see a few wires – typically live (brown), neutral (blue), and earth (green‑yellow). Loosen the wire nuts, note which colour goes where, and separate the connections.
4. Fit the new fan. Align the new unit with the existing duct and secure it with the brackets you removed earlier. Make sure the duct clamp is tight to avoid leaks.
5. Reconnect the wires. Match the colours exactly and tighten the wire nuts. Wrap each connection with a bit of electrical tape for extra security.
6. Seal and test. Replace the grille, turn the breaker back on, and run the fan. Listen for smooth operation and feel for airflow. If anything feels off, double‑check the wiring or tighten the mounting screws.
That’s it – most fans can be swapped in under an hour. If you run into stubborn wiring, a corroded duct, or you simply don’t feel comfortable with electricity, give Glastonbury Appliance Repair Services a call. Our technicians can finish the job quickly, and we’ll also clean the surrounding area so your home stays tidy.
After the install, keep the fan healthy with a quick cleaning every six months. Remove the grille, wipe the blades, and vacuum the motor vents. A clean fan lasts longer and stays quieter.
Whether you’re a DIY enthusiast or prefer a professional touch, replacing an extractor fan is a doable project that pays off in fresher air and lower energy bills. Ready to get started? Grab a new fan, follow these steps, and enjoy a breath of fresh air in no time.
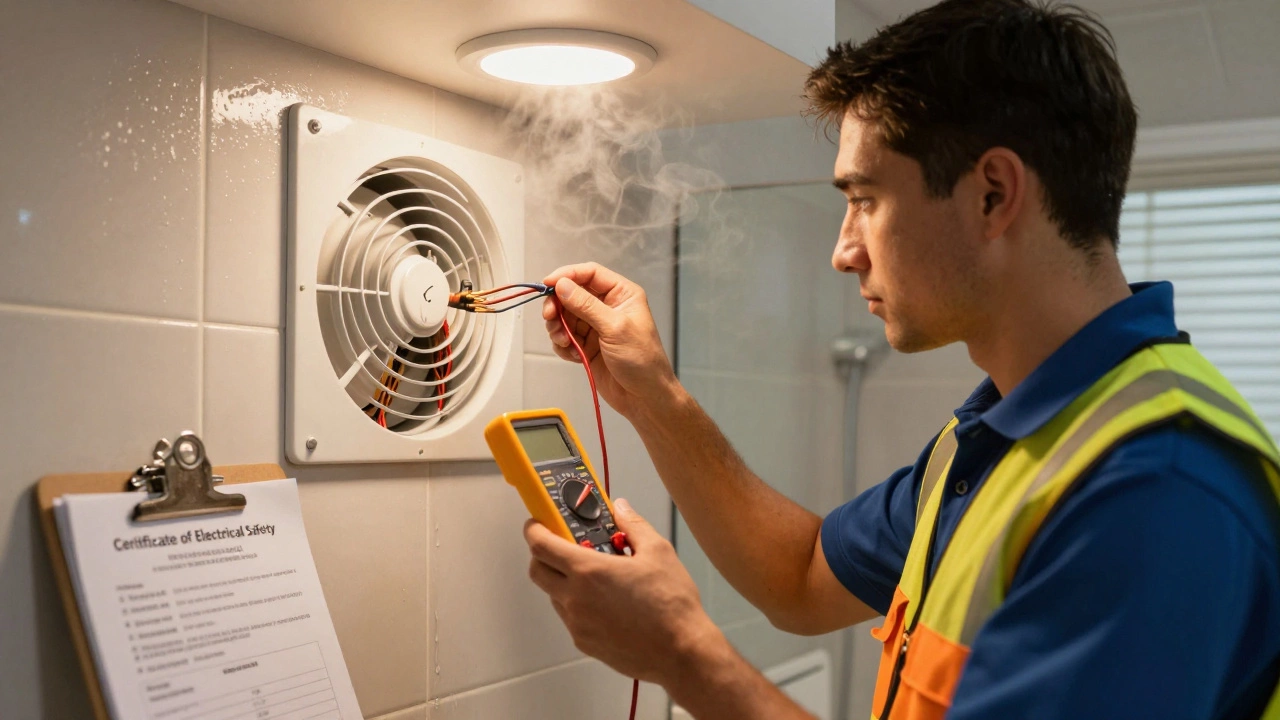
Do I Need an Electrician to Replace an Extractor Fan?
Replacing an extractor fan might seem simple, but in Australia, it's illegal and unsafe to do it yourself without a licensed electrician. Here's what you need to know about safety, law, and costs.
How to Fix a Broken Extractor Fan: Step-by-Step Guide for Homeowners
Learn how to fix a broken extractor fan yourself with simple steps-cleaning, capacitor replacement, motor testing, and when to replace the whole unit. Save money and avoid mold in Brisbane's humid climate.
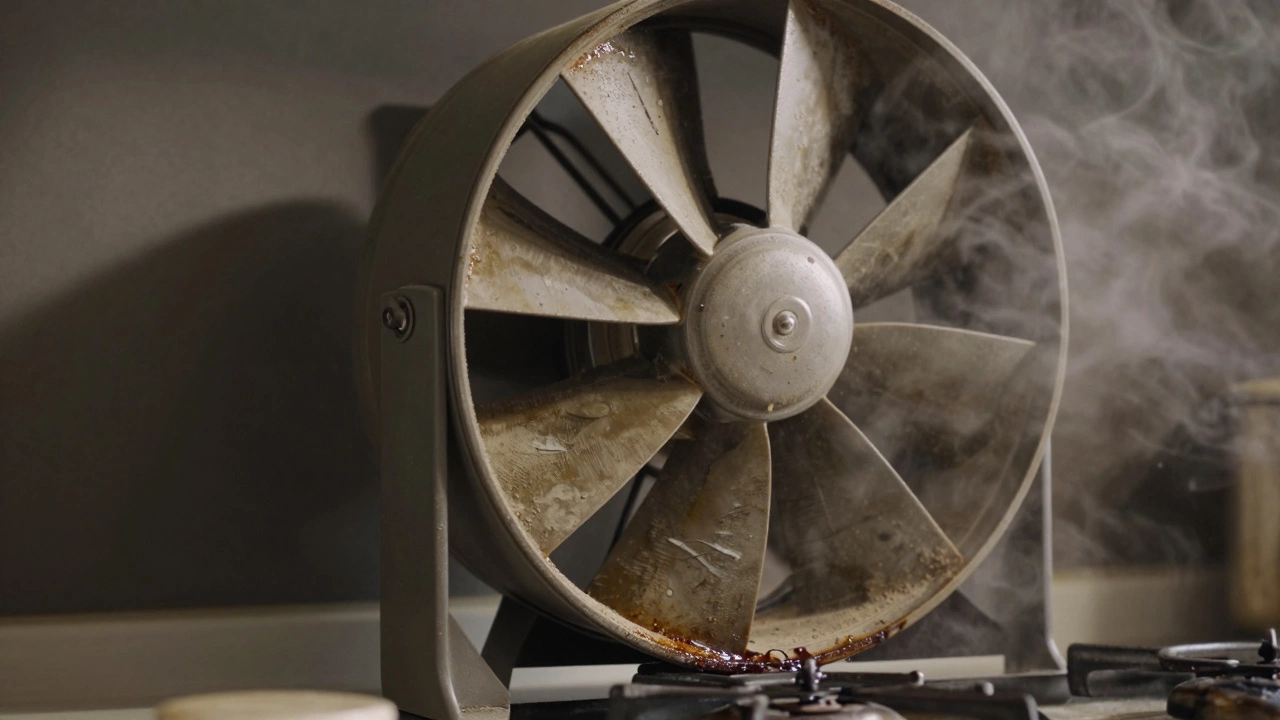
Do Extractor Fans Wear Out? Signs, Lifespan, and When to Replace
Extractor fans wear out over time due to motor strain, grease buildup, and bearing wear. Learn the signs of failure, typical lifespan, and whether repair or replacement is the better choice.
Are Extractor Fans Easy to Replace? A Practical Guide for Homeowners
Replacing an extractor fan is often a simple DIY job that saves money and prevents mould. Learn how to safely swap out your bathroom or kitchen fan with step-by-step guidance and key tips for success.
How Long Does It Take to Fix an Extractor Fan? Real-Time Estimates for Common Issues
How long does it take to fix an extractor fan? From a quick clean to a full replacement, get real time estimates for common issues in Brisbane homes. Save money by knowing what’s fixable and what needs replacing.
How Long Do Extractor Fans Last? Real-World Lifespan and When to Replace
Extractor fans typically last 6-10 years, but neglect can cut that in half. Learn the real signs of failure, how to extend lifespan, and what to look for when replacing one.

Extractor Fan Replacement: How Tough Is It Really?
Wondering if replacing an extractor fan is a big headache or a simple weekend project? This article breaks down what really happens when you swap out an old bathroom or kitchen fan. We’ll look at the tools you need, common pitfalls, and tips to make things go smoothly. Readers will get a clear idea of the work involved and whether it’s something they can tackle themselves. We’ll also point out when it probably makes sense to call in a pro.